Tomato Leaves Yellow With Green Veins: Causes & Fixes
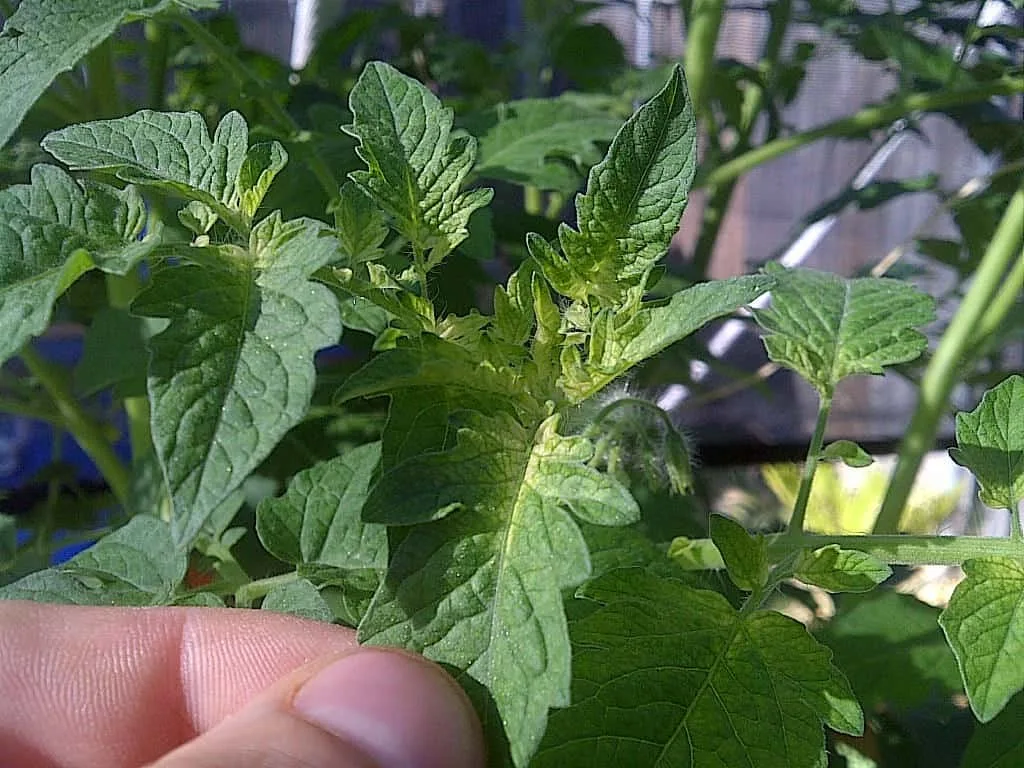
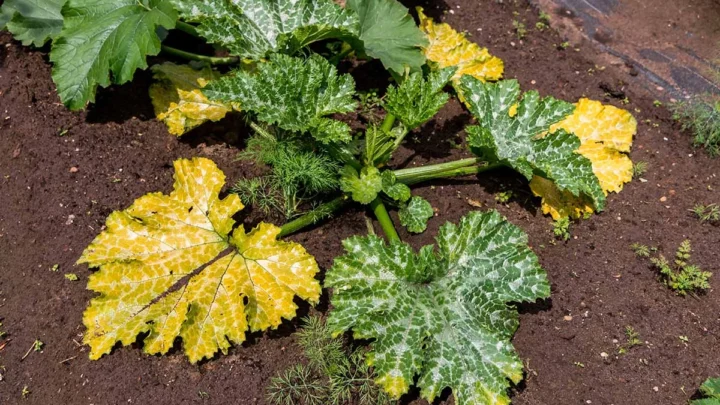
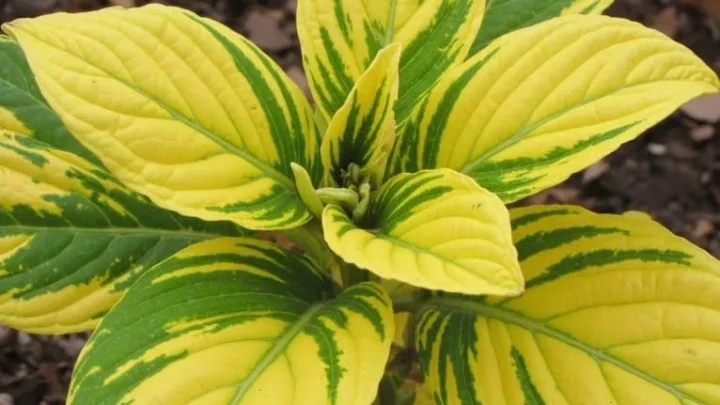
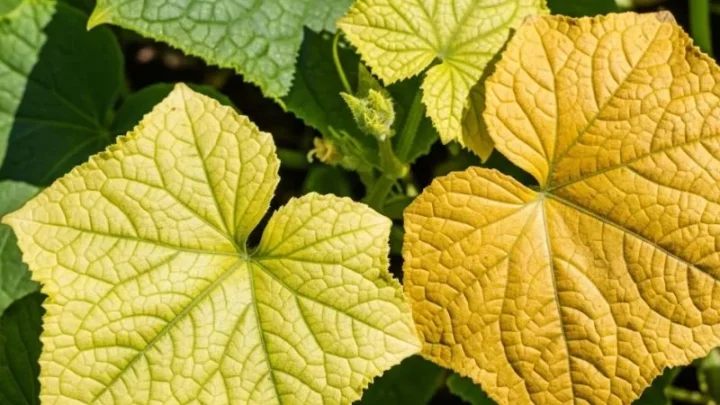
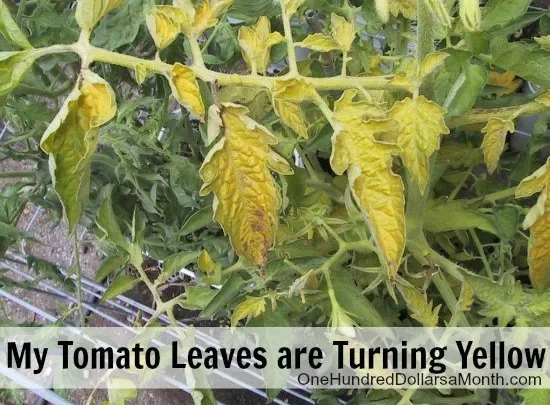
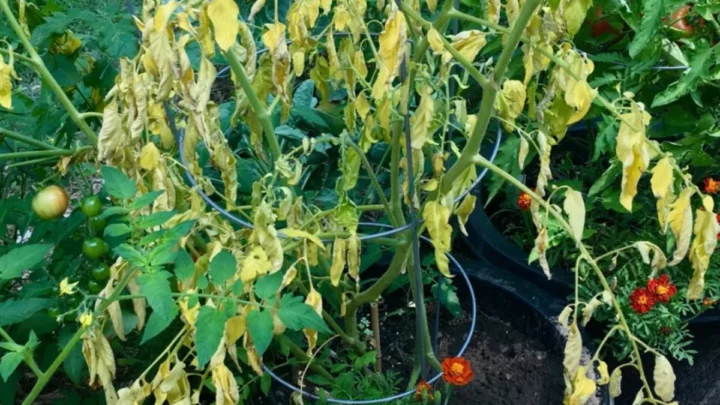
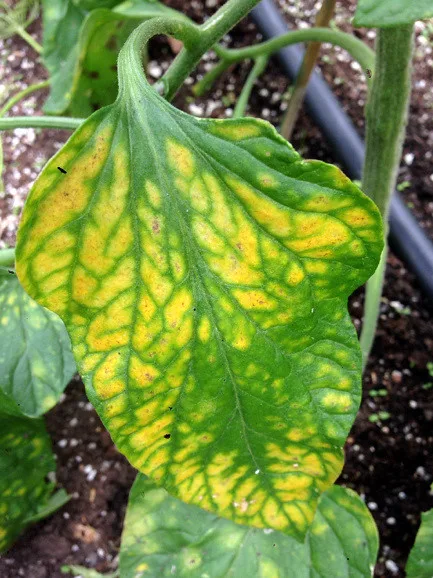
If your tomato leaves are turning yellow while the veins stay stubbornly dark green, your plant is flashing a very specific signal. Why are tomato leaves yellow with green veins? It's called interveinal chlorosis, and it almost always means a nutrient your tomato needs isn't reaching the leaves, either because the soil doesn't have enough or because something is blocking uptake at the roots.
The good news is you can pin down the cause in a few minutes with a quick look, a pH check, and one question about your watering habits. As of 2026, home garden data from university extension programs still points to the same short list of triggers: iron, magnesium, or manganese shortfalls, high soil pH above 7.0, or waterlogged roots. Let's break it down so you know exactly which one is hitting your plant.
Quick Answer
Yellow tomato leaves with green veins mean interveinal chlorosis. It's caused by a nutrient the leaf can't access. Iron deficiency shows on new top leaves.
Magnesium deficiency shows on older bottom leaves. High soil pH, cold soil, and soggy roots are the usual root causes.
The Quick Diagnosis: Where the Yellowing Starts Tells You Everything
The single fastest clue is leaf position. Nutrients behave differently inside the plant, and that behaviour tells you what's missing.
- Yellowing on the top, newest leaves with green veins: iron, manganese, sulfur, or zinc.
- Yellowing on the bottom, oldest leaves with green veins: magnesium.
- Yellowing all over at once: usually pH lockout or waterlogged roots.
That split happens because some nutrients move freely inside the plant (mobile) and some don't (immobile). Mobile nutrients like magnesium get pulled from old leaves to feed new growth, so the old leaves yellow first. Immobile nutrients like iron get stuck where they land, so new growth suffers when supply drops.
Look at your plant right now. Note which leaves are affected before you do anything else. That one observation cuts the possible causes in half.
What Interveinal Chlorosis Really Means Inside the Plant
Chlorosis means the leaf isn't making enough chlorophyll, the green pigment that runs photosynthesis. The veins stay green because they carry a stronger nutrient supply and hold onto chlorophyll longer than the surrounding tissue.
When iron, magnesium, or manganese runs short, chlorophyll production stalls in the tissue between the veins first. The vein network stays green a little longer. That's the classic yellow-with-green-veins pattern.
Magnesium is the central atom in every chlorophyll molecule. Iron and manganese aren't part of chlorophyll itself, but the plant can't build chlorophyll without them. Take any of the three away and the leaf loses colour from the tissue outward, leaving those tidy green veins behind.
For a plain-language reference on nutrient roles, the USDA and university extension services are the most reliable places to check.
The 5 Real Causes of Yellow Leaves With Green Veins
Five causes cover almost every case a home grower will see. Match your leaf pattern to the right one before you reach for any product.
Iron Deficiency (Almost Always Starts on New Growth)
Iron chlorosis hits the youngest leaves first. The tissue turns pale yellow, then almost white, while the veins stay a sharp dark green. Lower leaves usually still look normal.
True iron shortage in native soil is rare. The far more common cause is iron already in the soil that the plant can't absorb because pH is too high. This is called lime-induced chlorosis.
Magnesium Deficiency (Old Leaves First)
Magnesium starts at the bottom. Older leaves turn yellow between the veins, often with a slight purple or reddish tint along the edges as it worsens. The top of the plant looks fine at first.
It's common in sandy soils, in containers that have been watered heavily all season, and after big doses of high-potassium fertiliser. Potassium competes with magnesium at the root.
Manganese Deficiency (Speckled Yellowing)
Manganese looks a lot like iron on new growth, but the yellowing is patchier. You'll often see tiny green freckles or a mottled look inside the yellow zones, not smooth pale tissue.
Like iron, manganese usually isn't missing from the soil. It's locked out by high pH or by very wet, poorly drained ground.
High Soil pH Locking Out Nutrients
This is the hidden trigger behind most yellow-vein tomato leaves in the western US, calcareous soils, and container mixes watered with hard tap water. Above pH 7.0, iron and manganese availability crash hard.
You can dump fertiliser on a high-pH bed for weeks and see zero improvement. The nutrient is there. The plant just can't grab it.
Waterlogged Roots and Cold Soil
Roots need oxygen to move nutrients into the plant. Soggy soil suffocates roots, and cold soil under about 60°F (15°C) slows uptake to a crawl.
The leaves show classic interveinal yellowing even when soil tests come back fine. Fix the drainage or wait for the soil to warm, and the colour often returns on its own.
Step-by-Step Diagnostic Workflow for Your Tomato Plant
Run through these checks in order. Don't skip ahead to a fertiliser fix until you've answered the first three.
- Look at leaf position. Top leaves affected? Suspect iron, manganese, or pH lockout. Bottom leaves? Suspect magnesium.
- Check soil moisture. Push a finger 2 inches down. Soggy or cold? Drainage or temperature is your first suspect, not a nutrient.
- Test soil pH. Use a probe, test strip, or a lab sample. Tomatoes want 6.2 to 6.8. Above 7.0 explains most iron and manganese chlorosis.
- Review recent fertiliser use. Heavy phosphorus locks out iron and zinc. Heavy potassium locks out magnesium. Heavy calcium (lime, gypsum) can suppress magnesium too.
- Check the roots if possible. Brown, mushy roots point to root rot. White, firm roots rule it out.
- Rule out look-alikes. If yellowing is patchy across the plant, oddly twisted, or paired with wilting, jump to the viruses and herbicide section before treating.
A quick table for the leaf-position split:
| Leaf position affected | Most likely nutrient | Common root cause |
|---|---|---|
| Newest top leaves | Iron | Soil pH above 7.0 |
| Newest top leaves, speckled | Manganese | Wet soil or high pH |
| Oldest bottom leaves | Magnesium | Sandy soil, containers, high K feed |
| Whole plant at once | Multiple | Cold or waterlogged roots |
| Scattered, with distorted growth | None (not a deficiency) | Virus or herbicide drift |
Soil pH: The Hidden Trigger Most Gardeners Miss
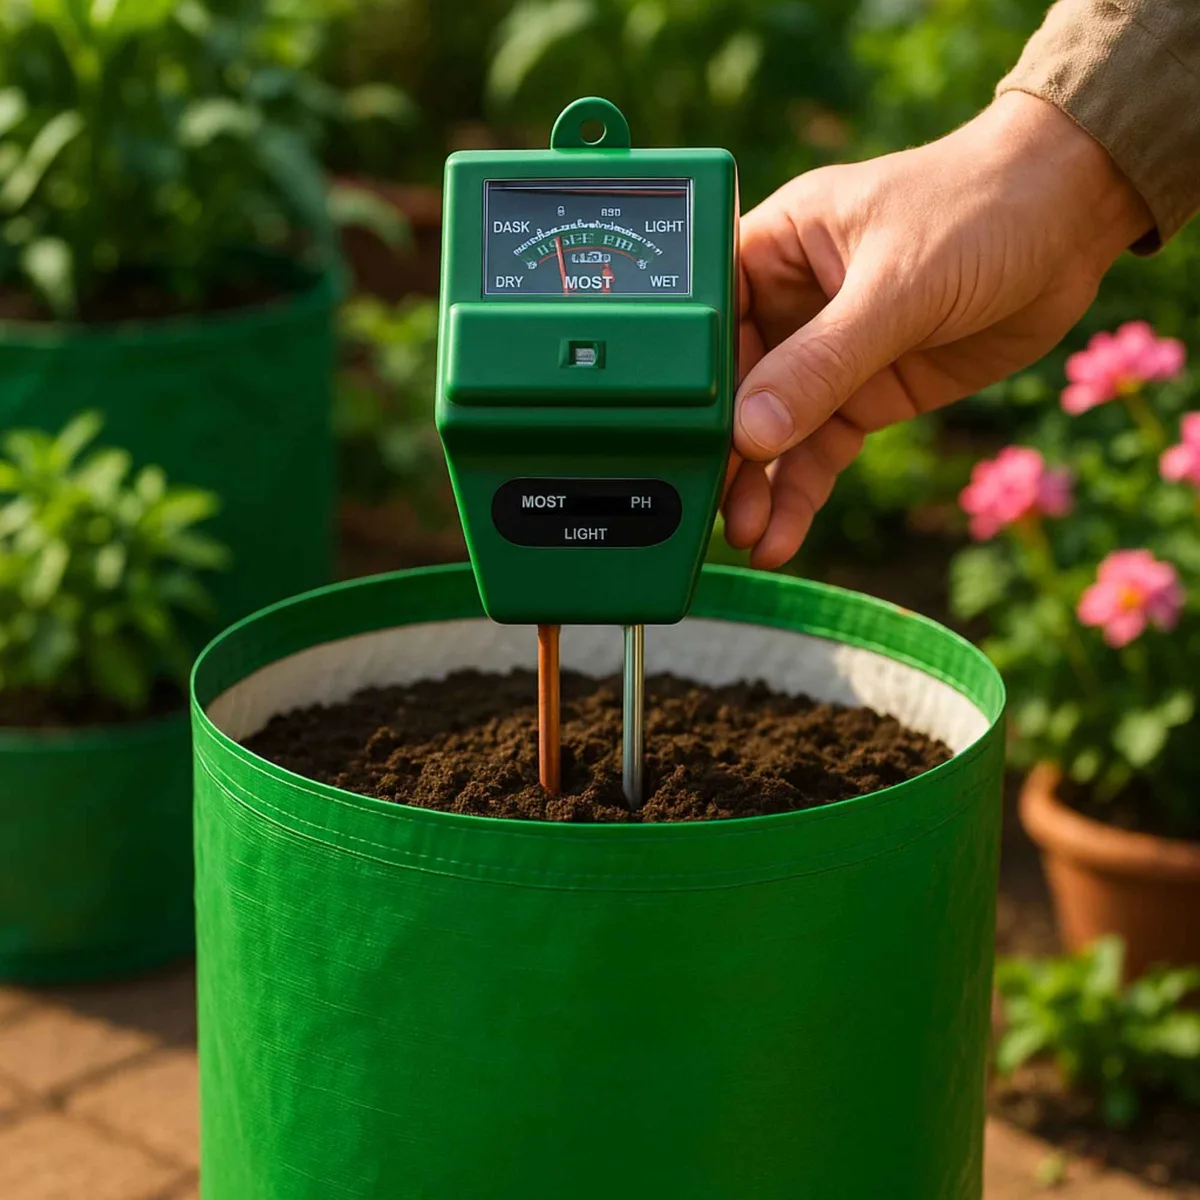
Tomatoes do their best work between pH 6.2 and 6.8. In that band, iron, manganese, zinc, and phosphorus are all available at the root. Push above 7.0 and iron uptake drops off a cliff.
Push above 7.5 and manganese follows.
Most home gardeners never test soil pH. They see yellow leaves, assume a fertiliser problem, and pour more on. In alkaline soil that just adds salts without solving anything.
The nutrient is already there, sitting locked in the soil, waiting for a pH low enough to release it.
A few things quietly push garden pH up over time:
- Hard tap water, common across the western US and Mediterranean climates
- Wood ash applied to beds
- Overuse of dolomitic lime
- Concrete or masonry near a raised bed leaching calcium
A cheap soil probe or a $15 test kit gives you a reading in under a minute. If your pH is above 7.0 and your top leaves are yellow, that's your answer. Correcting pH is slower than a foliar spray, but it's the only fix that lasts more than a season.
How to Fix Each Cause the Right Way
Pick the fix that matches the diagnosis. Skip the shotgun approach, because piling on random fertilisers usually makes the problem worse.
Correcting Iron Chlorosis With Chelated Iron (EDDHA)
If your pH is above 7.0, use chelated iron in the EDDHA form. Regular iron sulfate and EDTA-chelated iron stop working above about pH 7.2, but EDDHA stays plant-available up to pH 9.0.
Apply as a soil drench per label rate, usually 1 to 2 teaspoons per gallon. You'll often see new leaves greening up in 7 to 10 days. If your pH is already below 7.0, iron sulfate at the label rate is cheaper and does the job.
Fixing Magnesium With Epsom Salt (and When Not To)
Epsom salt is magnesium sulfate. Mix 1 tablespoon per gallon of water and spray onto the leaves for fast uptake, or drench the root zone for a slower feed.
Skip Epsom salt if a soil test shows magnesium is already sufficient (50 to 120 ppm). Piling more on can throw off calcium and potassium balance. If your soil is naturally low in magnesium, dolomitic lime corrects it and raises pH at the same time, so only use it when pH is under 6.2.
Adjusting Soil pH Without Shocking the Roots
Lowering pH takes weeks, not days. For alkaline soil, work in elemental sulfur at 1 to 2 pounds per 100 square feet and water it in. Recheck pH in 4 to 6 weeks.
Never dump aluminium sulfate on tomatoes. It drops pH fast but adds aluminium, which is toxic to roots. For raised beds, mulching with pine needles or composted oak leaves nudges pH down gently over a season.
Foliar Spray vs. Soil Drench: Which One Now?
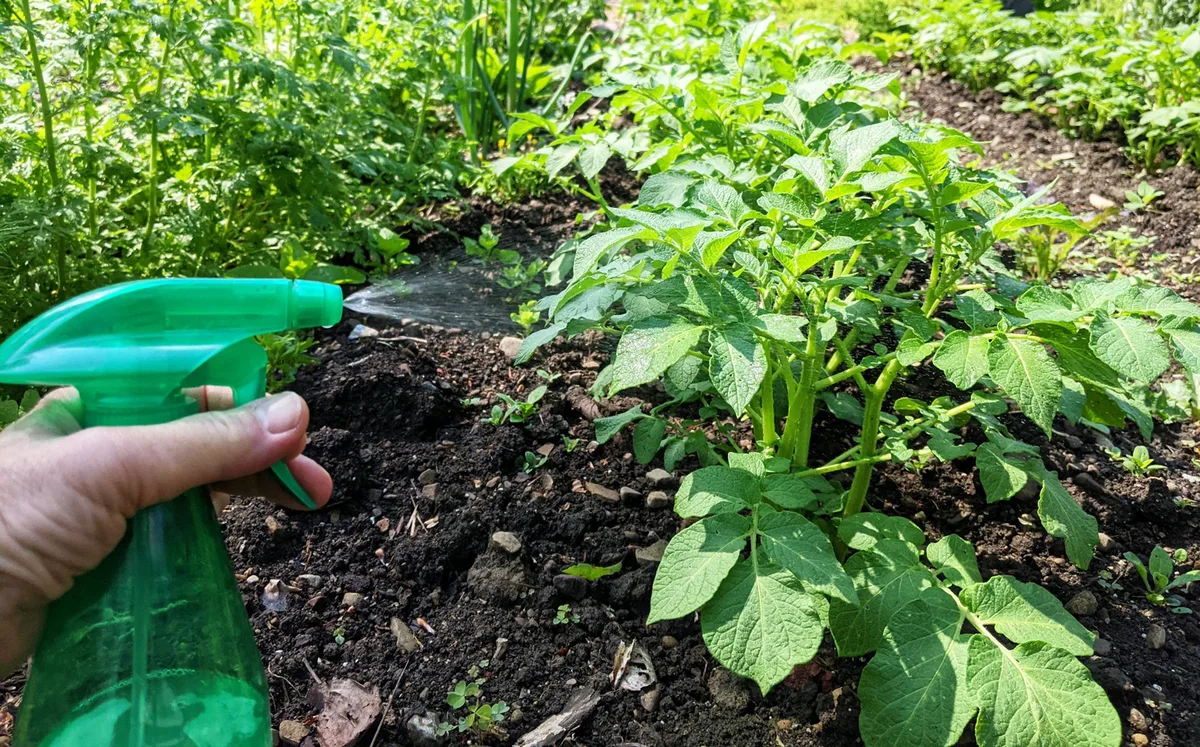
Foliar spray gets nutrients into the leaf within 24 to 48 hours. Use it when the plant looks bad and you need visible recovery quickly. Spray in the early morning or evening, and cover the undersides of leaves where uptake is fastest.
Soil drench is the long-term fix because it feeds every new leaf from the root up. Use both together for a bad case: spray the leaves for quick colour, drench the soil so the fix sticks.
Container and Grow Bag Tomatoes: A Different Set of Rules
Container tomatoes yellow far more often than in-ground plants, and usually for boring reasons: leached nutrients, salt buildup, or pH drift from tap water.
Peat-based potting mixes start around pH 5.5 to 6.0 and drift up as they age, especially with hard water. By midsummer, a bag that started acidic can sit at pH 7.5 with iron completely locked out. A pH probe tells you in 30 seconds.
Feed containers with a balanced tomato fertiliser that includes micronutrients. Look for chelated iron, manganese, and zinc on the label. Once a month, flush the pot with plain water at three times the container volume to wash out accumulated salts.
A quick container troubleshooting table:
| Symptom in container | Most likely cause | First action |
|---|---|---|
| Top leaves yellow after 6+ weeks | Iron lockout from hard water | Flush pot, apply EDDHA iron |
| Bottom leaves yellow | Magnesium leached out | Epsom salt drench |
| All leaves pale, slow growth | Salt buildup | Deep flush with plain water |
| Yellowing after cold snap | Cold roots | Move to warmer spot, wait |
Mistakes That Make Yellow Leaves Worse
Almost every recovery failure traces back to one of these:
- Adding fertiliser without testing pH first. In alkaline soil, more fertiliser adds salts and locks out even more iron.
- Using Epsom salt for every yellow leaf. It fixes magnesium, not iron. Sprayed on iron chlorosis, it does nothing and can cause salt burn.
- Overwatering to "flush out" the problem. Wet roots stop absorbing nutrients, which deepens the yellowing.
- Applying iron sulfate above pH 7.2. The iron converts to unavailable forms within days. Switch to EDDHA above that threshold.
- Mulching heavily with fresh wood chips. They tie up nitrogen and can worsen pale, weak growth.
- Foliar spraying midday in full sun. Droplets act like tiny lenses and scorch leaves. Spray at dawn or dusk.
Recovery Timeline: What to Expect After You Treat It
Old yellow leaves rarely turn green again. Chlorophyll doesn't rebuild once the tissue has faded, so judge success by new growth, not old leaves.
Typical recovery windows after the right correction:
- Foliar spray (iron or magnesium): visible greening on new leaves in 5 to 10 days.
- Soil drench with chelated iron: new growth improves in 7 to 14 days.
- Soil pH correction with elemental sulfur: measurable pH change in 4 to 6 weeks, plant recovery over the following month.
- Drainage or overwatering fix: roots resume uptake within 3 to 7 warm days.
If two weeks pass with zero improvement on new growth, your diagnosis was probably wrong. Recheck pH, look at the roots, and rule out disease before adding more product.
When It's Not a Deficiency: Viruses, Wilts, and Herbicide Drift
Some yellowing looks like chlorosis but isn't. Treating it with fertiliser won't help and can distract you while the real problem spreads.
Tomato yellow leaf curl virus (TYLCV) causes yellowing plus tight, cupped, and stunted new growth. It's spread by whiteflies. There's no cure.
Pull infected plants to protect the rest.
Fusarium and Verticillium wilt turn leaves yellow, often on one side of the plant first, along with wilting on hot days that doesn't recover overnight. Cut a stem near the base. If you see brown streaks inside, it's a soil-borne wilt disease.
Rotate crops and pick resistant varieties (look for VFN codes on seed packets) next season.
Herbicide drift from lawn products (aminopyralid, clopyralid, 2,4-D) causes twisted, cupped, fern-like new growth alongside yellowing. Contaminated straw or horse manure is a common source. There's no fix.
Move future tomatoes to clean soil.
If leaves are yellow but growth looks normal and undistorted, you're almost certainly dealing with a real nutrient issue. If growth is warped, curled, or wilted, stop treating and start looking for a bigger cause.
Prevention: Keeping Tomato Leaves Green All Season
Prevention is easier and cheaper than treatment. A few habits keep chlorosis from showing up in the first place.
- Test soil pH every spring and adjust to 6.2 to 6.8 before planting.
- Feed with a tomato fertiliser that includes chelated micronutrients, not just NPK.
- Mulch 2 to 3 inches deep to stabilise soil moisture and temperature.
- Water deeply and less often. Let the top inch dry between waterings.
- Rotate tomato beds every 2 to 3 years to reduce disease pressure.
- Avoid straw or manure from unknown sources to sidestep herbicide carryover.
For container growers, refresh the top third of potting mix each spring and flush pots monthly. That single habit prevents most midsummer yellowing.
Frequently Asked Questions
Will yellow leaves with green veins turn green again after treatment?
Rarely. Once leaf tissue loses chlorophyll, it usually stays pale. Judge recovery by the new growth that emerges after treatment.
If the newest leaves come in green and full-sized within 10 to 14 days, your fix is working. Old yellow leaves can be trimmed off once new growth looks healthy.
Is Epsom salt safe to use on every tomato plant?
Only when magnesium is actually low. Epsom salt (magnesium sulfate) fixes magnesium deficiency, which shows on the oldest bottom leaves. Using it on iron chlorosis (top leaves) or in soil that's already balanced can push out calcium and potassium.
A quick soil test tells you before you spray or drench anything.
Can too much fertiliser cause yellow leaves with green veins?
Yes. Excess phosphorus locks out iron and zinc. Excess potassium suppresses magnesium uptake.
Heavy nitrogen bursts can force fast growth that outpaces micronutrient supply. If yellowing started after a big feed, flush the soil with plain water and hold off on fertiliser for 10 to 14 days.
Why do my tomatoes yellow every year in the same spot?
Almost always a soil pH issue or a drainage problem tied to that bed. Alkaline pockets, buried construction debris, or poor drainage under a raised bed all create repeat chlorosis in the same location. Test soil pH from that spot specifically and check how fast water drains after a heavy soak.
Your Fast Decision Guide for Next Time
Use this as a 30-second checklist any time you spot yellow tomato leaves with green veins.
| See this | Do this first |
|---|---|
| Top new leaves yellow, pH above 7.0 | Apply EDDHA chelated iron as a soil drench |
| Bottom old leaves yellow | Epsom salt spray, 1 tbsp per gallon |
| All leaves pale after a cold snap | Wait for soil to warm above 60°F |
| Soggy soil, yellowing across plant | Improve drainage, hold water 3 to 5 days |
| Yellowing plus twisted or cupped growth | Check for virus or herbicide drift |
| Container tomato, midsummer yellowing | Flush pot, apply chelated micronutrient feed |
Diagnose first. Correct pH before adding nutrients. Judge success by new growth, not old leaves.
Get those three habits down and yellow-vein leaves stop being a mystery.

Similar Posts