Save a Tomato Plant With Root Rot in a Container: Fix It
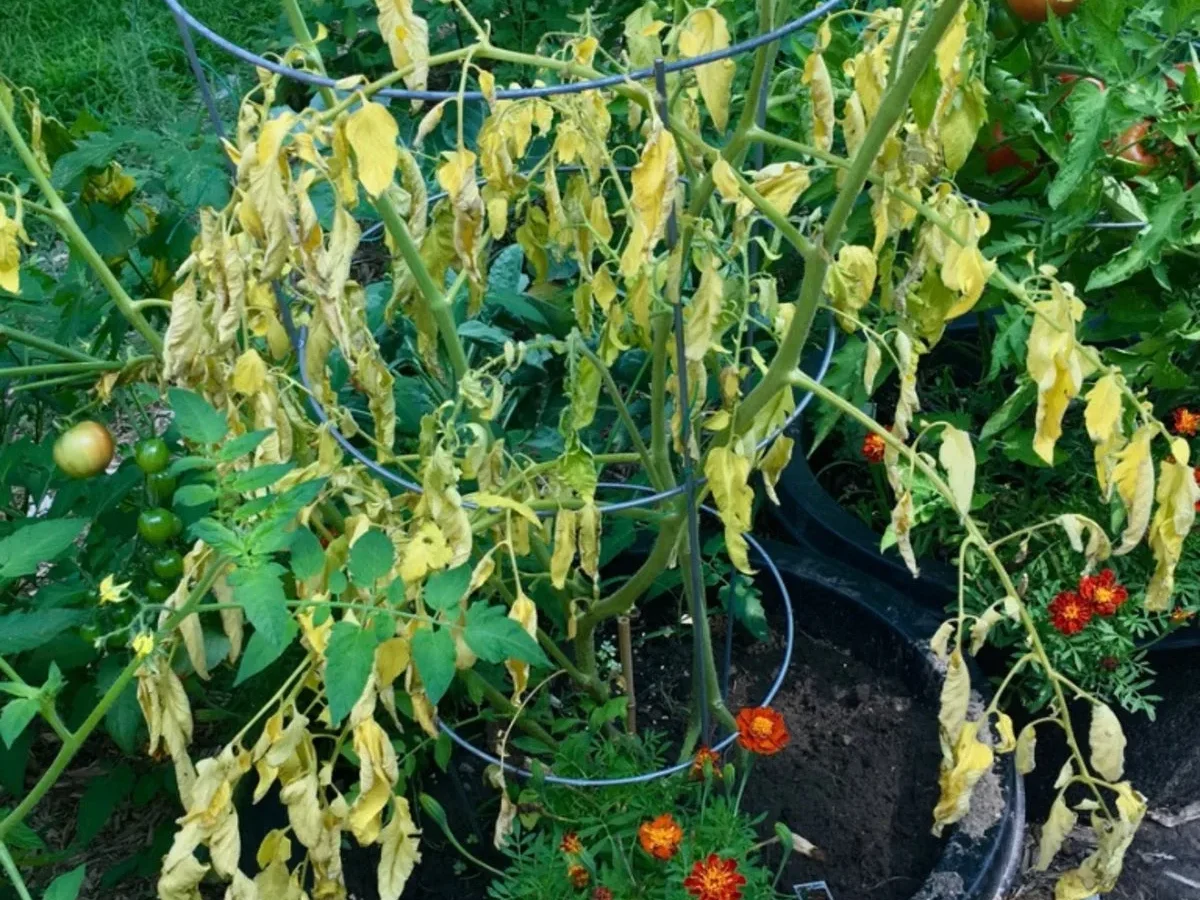
Root rot is the single biggest killer of container tomatoes, and if you're wondering how do I save a tomato plant with root rot in a container, you probably have a small window to act. The good news is that many plants can be pulled back from the edge if you catch it early. The bad news is that roughly half the cases people notice have already crossed the point of no return.
What you do in the next hour matters more than what you do next week.
University extension programs, including Cornell Cooperative Extension and UF/IFAS, point to overwatering and poor drainage as the two leading causes. Root-zone temperatures below 60°F also make Pythium and Phytophthora infections far more likely. As of 2026, growers still lose more container tomatoes to hidden rot than to any pest.
Let's start with what makes a container case genuinely different from anything you'd handle in a garden row.
Quick Answer
Stop watering right away. Slide the plant out and inspect the roots. Cut off any black, mushy, or sour-smelling roots with sterilized shears.
Repot into fresh, sterile, well-draining mix inside a clean container. Keep at least 30% healthy root mass to attempt a rescue. If less remains, take tip cuttings instead.
Why a Container Tomato with Root Rot Needs a Different Rescue Plan Than an In-Ground One
A container is a closed system. Water has one way out, and roots have nowhere to escape when the mix goes anaerobic. That changes everything about how rot behaves and how you treat it.
In-ground plants can send new roots sideways into fresh, oxygenated soil. Container plants can't. Once the mix collapses or waterlogs, the entire root zone suffocates within days.
Three things make containers uniquely risky:
- Small soil volume. A 5-gallon pot holds a fraction of the microbes and buffering capacity of open ground.
- Perched water table. Every container traps a saturated layer at the bottom, no matter how good the drainage looks.
- Temperature swings. Pot walls heat up and cool down fast, stressing roots and inviting pathogens.
That's why the rescue playbook for a container tomato leans hard on bare-rooting, sterile media, and shrinking the top growth. You can't just "improve drainage" the way you would in a raised bed.
The Fast Triage Check: Is Your Plant Actually Salvageable?
Before you do anything else, run this 60-second check. It tells you whether to rescue, clone, or compost.
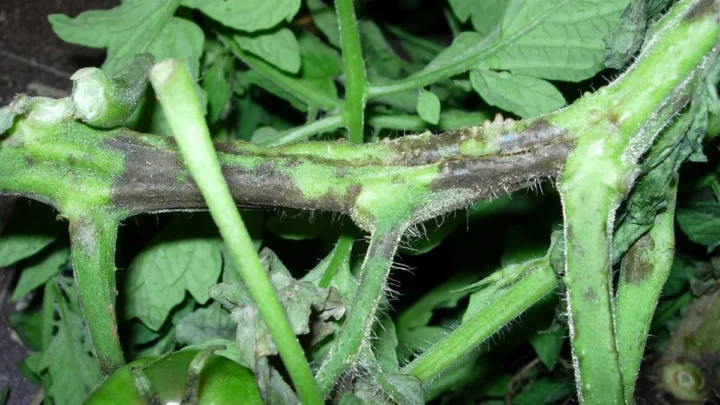
- Stem squeeze test. Pinch the main stem right at the soil line. Firm and green underneath means the crown is alive. Soft, brown, or hollow means the crown has rotted and the plant is gone.
- Lift test. Pick up the pot. If it's heavy and the soil surface is still wet more than a day after watering, drainage has failed.
- Smell test. A healthy root zone smells earthy. Sour, sulfurous, or swampy means anaerobic decay is well underway.
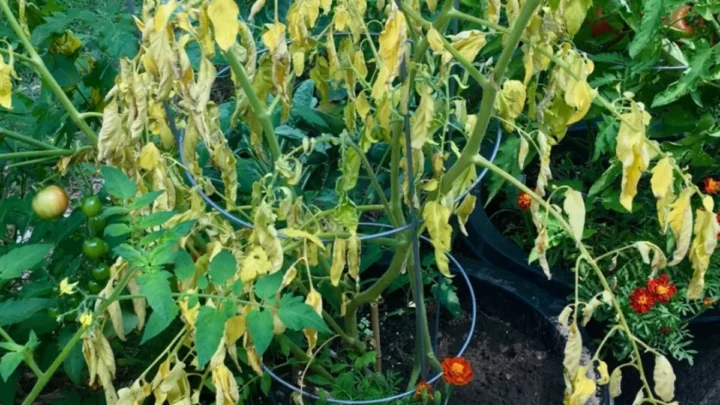
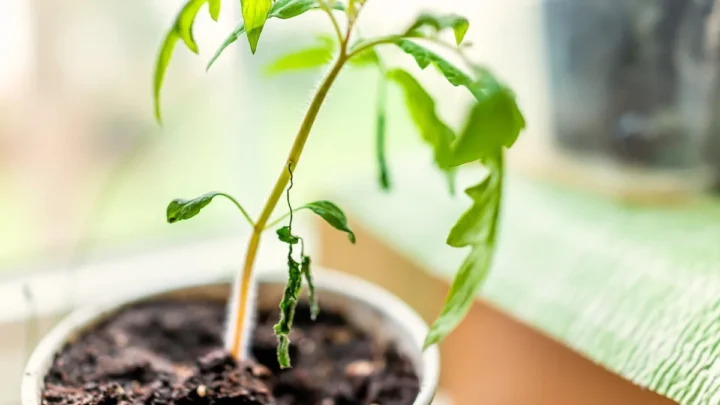
- Foliage check. Wilting that doesn't recover after the soil dries is a root problem, not a thirst problem.
If the crown is firm and at least some roots still smell earthy, you have a real shot. If the crown crumbles between your fingers, skip ahead to the cuttings section.
Reading the Symptoms Above the Soil vs. Below
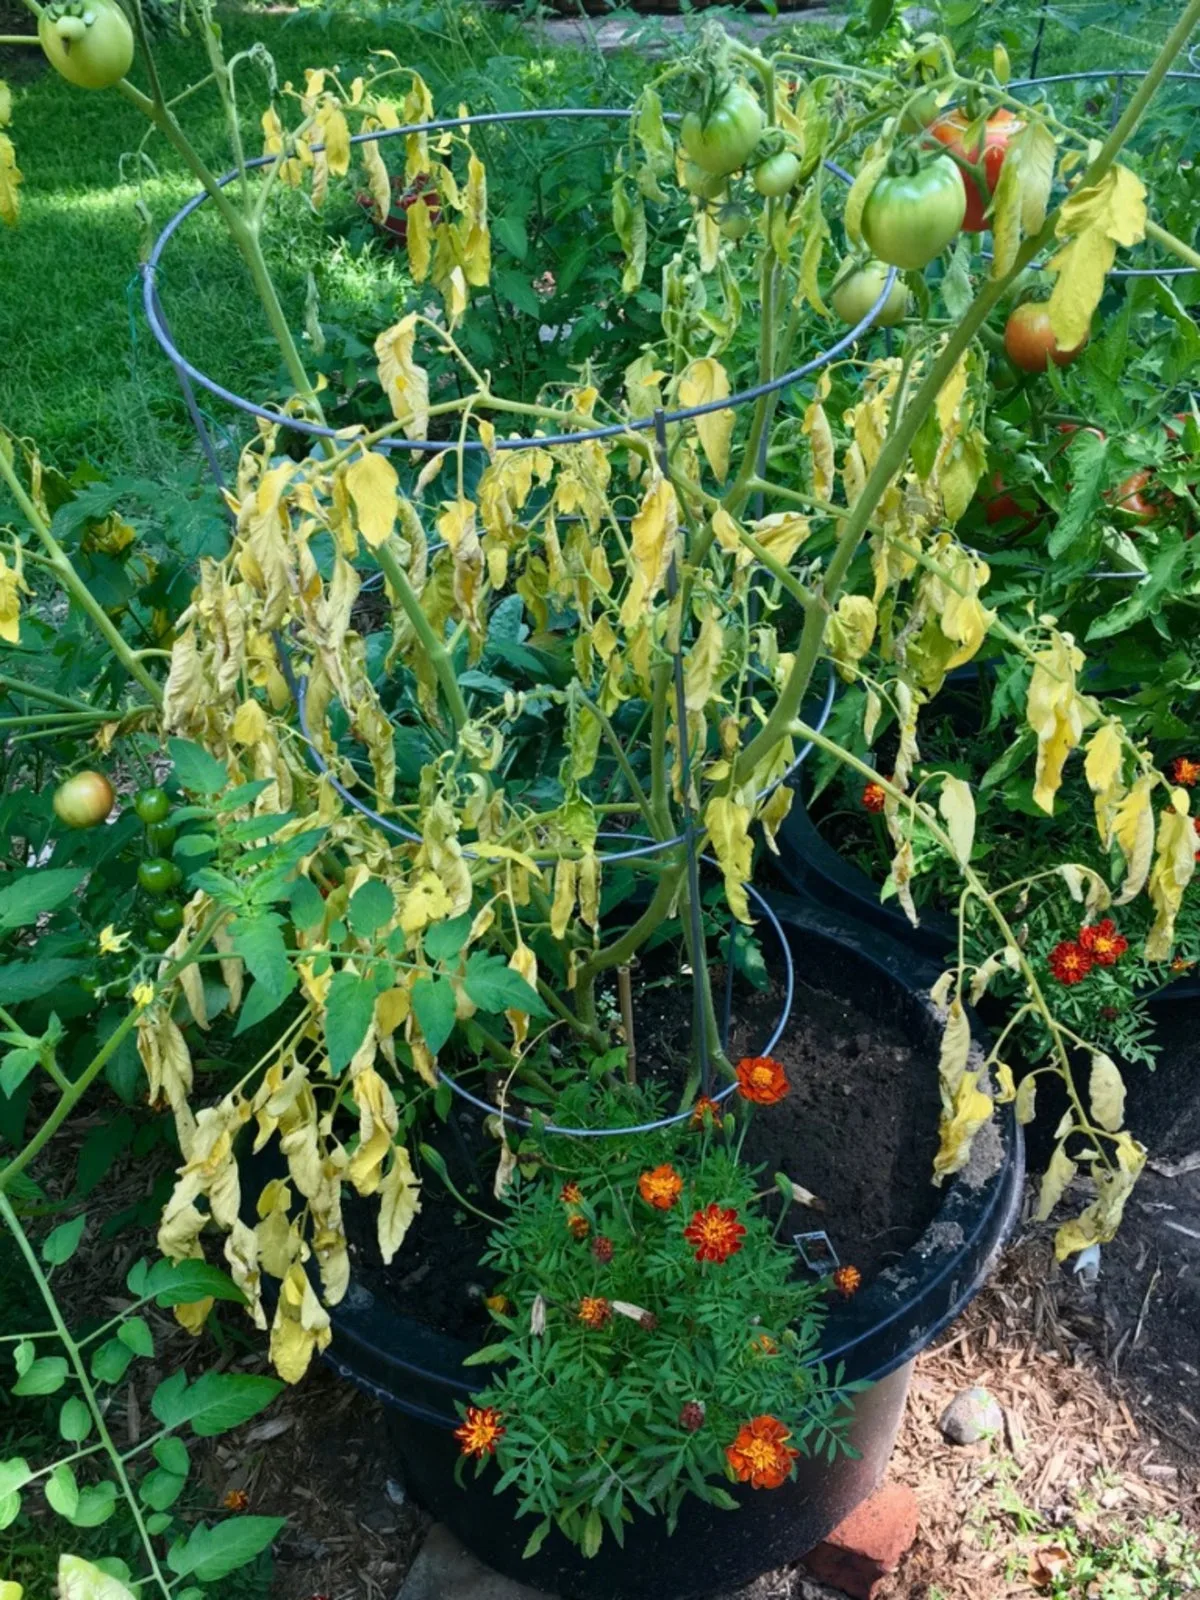
Above-ground symptoms lie. A wilting tomato looks the same whether it's thirsty, cooked, or drowning. That's why you have to check both ends of the plant before you decide what to do.
Wilting Despite Wet Soil, Yellow Lower Leaves, and Other Early Warning Signs
Watch for the tells that point specifically to root damage, not general stress:
- Wilting in the morning when the soil is clearly moist.
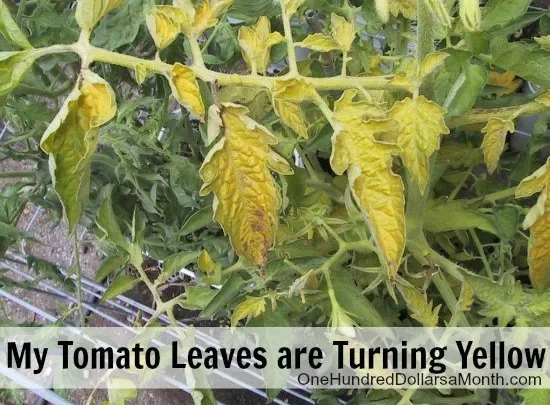
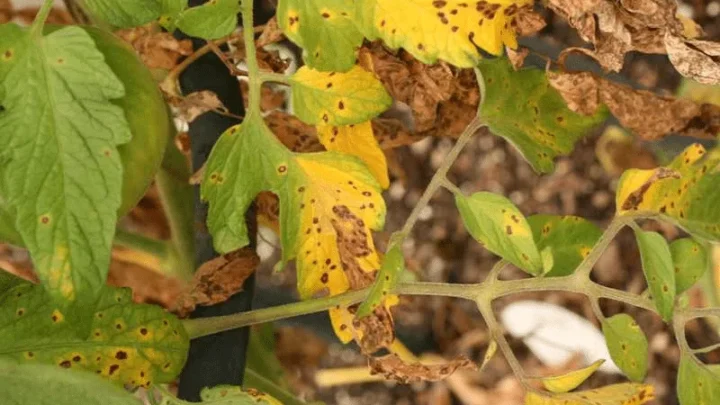
- Lower leaves yellowing first, then dropping, while the top still looks fine.
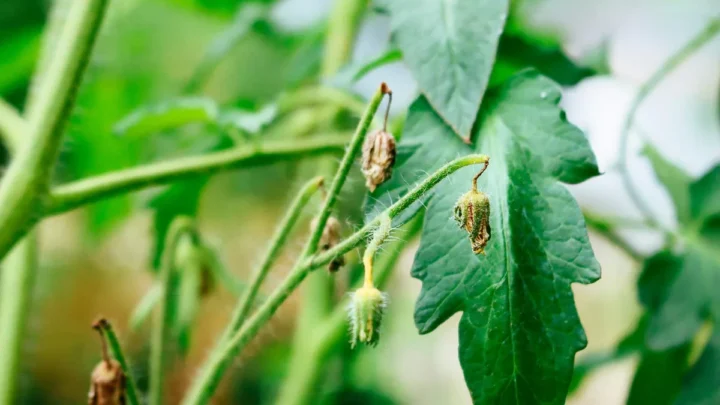
- Sudden leaf curl or scorch on a plant that was healthy last week.
- Blossom drop even in mild weather.
- Fungus gnats hovering near the soil surface, a classic sign of chronic wet media.
Any two of these together, and you're almost certainly looking at a root-zone problem, not a foliar disease.
What Healthy Roots vs. Rotted Roots Actually Look and Smell Like
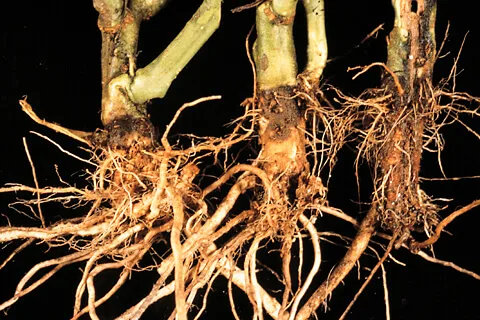
Healthy tomato roots are white to cream-colored, firm, and slightly springy. They smell like clean soil after rain. When you tug a root tip, it holds.
Rotted roots are dark brown to black, slimy, and slip through your fingers when you pull. The outer sheath often slides right off the inner strand, leaving a bare thread behind. The smell is unmistakable, somewhere between rotten egg and pond water.
Fusarium and Verticillium wilts leave the roots looking mostly intact but discolor the vascular tissue inside the stem. Pythium and Phytophthora, the classic overwatering pathogens, destroy the fine feeder roots first and work upward from there.
The 30% Rule: How Much Healthy Root You Need to Bother Saving It
Rescue only makes sense if roughly 30% of the original root mass is still white, firm, and alive. Below that threshold, the plant can't support its own leaf load, and repotting almost always fails within two weeks.
Use this quick guide after you've rinsed the root ball:
| Healthy Root Mass Remaining | Recommended Action |
|---|---|
| 70% or more | Trim damaged roots, treat, repot. High recovery odds. |
| 30% to 70% | Full rescue protocol plus heavy top pruning. Moderate odds. |
| Under 30%, firm crown | Take cuttings. Compost the parent. |
| Any amount, mushy crown | Discard. Sanitize the pot. |
The 30% figure isn't arbitrary. It's the rough point at which the remaining vascular system can still move enough water to keep the leaves turgid while new roots regenerate.
The Root Rot Decision Tree for Container Tomatoes
Every rescue decision follows the same logic. Match your plant to the branch that fits, then follow the specific action for that branch.
Branch 1: Mild Case, Firm Stem, Mostly White Roots, Soggy Soil
You caught it early. Most roots are still healthy, the crown is firm, and the only real problem is a waterlogged pot.
Action: Let the pot dry out fully. Move it to a warmer, breezier spot. Skip fertilizer for two weeks.
Do not repot unless the mix has clearly collapsed. Sometimes the fix is patience and a lighter watering hand.
Branch 2: Moderate Case, Some Black Roots, Stem Still Firm, 30 to 60% Healthy Tissue
This is the classic rescue scenario. The plant is worth saving, but it needs surgery.
Action: Unpot, rinse, prune the black roots, treat with a biological inoculant like Trichoderma or a diluted hydrogen peroxide drench, and repot into fresh sterile mix. Cut the top growth back by one-third to match the reduced root mass.
Branch 3: Severe Case, Mushy Crown, Sour Smell, Less Than 30% Healthy Roots
The plant is functionally dead, even if a few leaves still look green. Rescue attempts almost always fail here.
Action: Cut 4 to 6 inch healthy tip cuttings immediately, root them in water or perlite, and discard the parent. Bag the infected root ball for the trash. Don't compost it at home.
Branch 4: Late-Season Plant, When Cuttings Beat Rehab
If you're inside six weeks of your first frost, the rehab math stops working. A rescued plant needs two to three weeks just to regenerate roots before it can push new growth.
Action: Take cuttings from the healthiest stems. Root them indoors under lights. They'll be ready for a fall greenhouse crop or an early start next season.
Step-by-Step: Unpotting, Rinsing, and Pruning the Root Ball
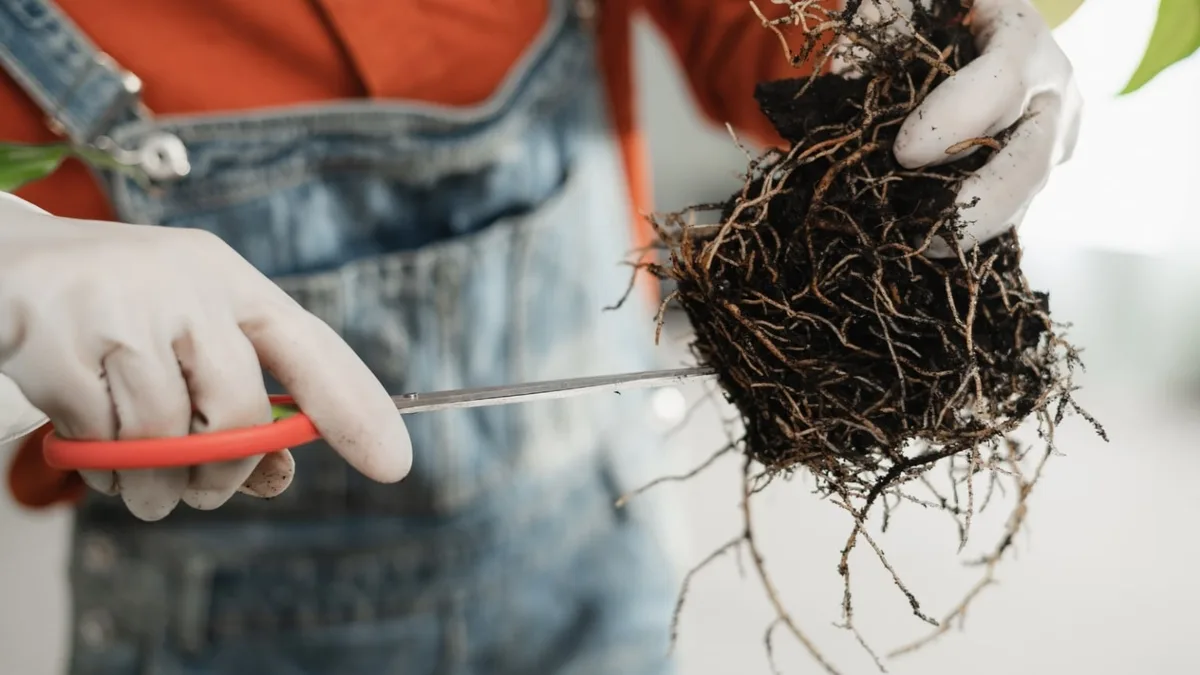
Move fast, but work clean. Every cut is a doorway for a new pathogen, so sanitize your shears first with a 10% bleach solution or isopropyl alcohol.
Work through these steps in order:
- Water lightly an hour before unpotting so the root ball slides out in one piece.
- Tip the pot sideways and support the main stem with one hand. Wiggle the pot free rather than yanking the plant.
- Rinse the root ball with a gentle hose stream until you can see individual roots. Skip pressure washing, which shreds healthy tissue.
- Trim the rotted roots with sterile shears. Cut back to firm, white, or cream-colored tissue every time.
- Prune the top growth by roughly the same percentage you removed below. If you cut 40% of the roots, take 40% of the leaves.
- Set the plant aside on clean newspaper while you prep the new pot. Don't let bare roots sit in the sun.
If the fine feeder roots are gone but the main taproot and a few laterals remain firm, the plant can still bounce back. It just needs stress-free conditions for the next two weeks.
Choosing the Right Treatment: Hydrogen Peroxide, Trichoderma, or Just Fresh Mix
There's no single "best" treatment. The right choice depends on how deep the rot went and how much of the microbiome is still intact.
| Treatment | Best For | How to Apply |
|---|---|---|
| Fresh sterile mix only | Mild cases, mostly healthy roots | Repot without additives. Let nature restart. |
| 3% hydrogen peroxide drench | Actively rotting roots, sour smell | Dilute 1 part peroxide to 4 parts water. Soak roots 20 minutes, rinse. |
| Trichoderma harzianum | Moderate rot, recovering plant | Dust roots at repotting or drench per label. Colonizes and outcompetes pathogens. |
| Bacillus subtilis drench | Ongoing pathogen pressure | Apply as soil drench after repotting, then monthly. |
Hydrogen peroxide is a sledgehammer. It kills pathogens fast but also wipes out beneficial microbes. Use it once, then rebuild biology with Trichoderma or a quality compost tea.
Skip chemical fungicides for a home container tomato you plan to eat. Most home rescues succeed with biologicals alone, and you avoid the residue question entirely.
Repotting Into a Container That Won't Cause This Again
The pot and the mix caused the problem the first time. Fix both, or you'll be back here in a month.
Pot Material, Size, and Drainage Hole Setup
Fabric grow bags are the safest choice for tomato rescues. They air-prune roots and dry out evenly, which almost eliminates the perched water table problem.
Terracotta wicks moisture out through its walls, so it's a solid second pick in humid climates. Glazed ceramic and plastic hold water longest, which is exactly what you don't want right now.
Size matters. An indeterminate tomato needs at least 5 to 7 gallons, and 10 gallons is better. The drainage hole should be at least 1/2 inch across, with three or more holes per pot.
Never set the pot in a saucer that traps standing water.
The Potting Mix Recipe That Actually Drains
Skip anything labeled "moisture control" or "water-retaining." Those are the mixes that killed the last root system.
A tomato-friendly recipe looks like this:
- 60% quality peat or coco coir, based potting mix
- 30% coarse perlite or pumice
- 10% aged compost or worm castings
Target a pH between 6.2 and 6.8. Add a small handful of dolomite lime per 5 gallons if your mix runs acidic. That extra 30 to 40% coarse aggregate is what breaks up the perched water layer and keeps oxygen moving through the root zone.
Post-Rescue Care: Watering, Light, and Feeding for the First Two Weeks
The first fortnight decides whether the rescue holds. Baby the plant, but don't smother it.
Place the pot in bright shade for the first three to five days. Direct afternoon sun on a plant with a reduced root system triggers immediate wilt. Move it back into full sun gradually, an hour more each day.
Water by weight, not by schedule. Lift the pot after repotting and remember that weight. Water only when the pot feels noticeably lighter, usually every three to five days at this stage.
Hold all fertilizer for 10 to 14 days. Salt-based feed on damaged roots causes chemical burn, and the plant can't use the nutrients until new root tips form anyway. After two weeks, restart with a half-strength balanced feed like a 5-5-5 liquid.
Watch the growing tip. New leaf emerging in the crown is your signal that the rescue took. If the tip stays limp or turns black after seven days, move to cuttings.
Taking Insurance Cuttings Before the Parent Plant Fails
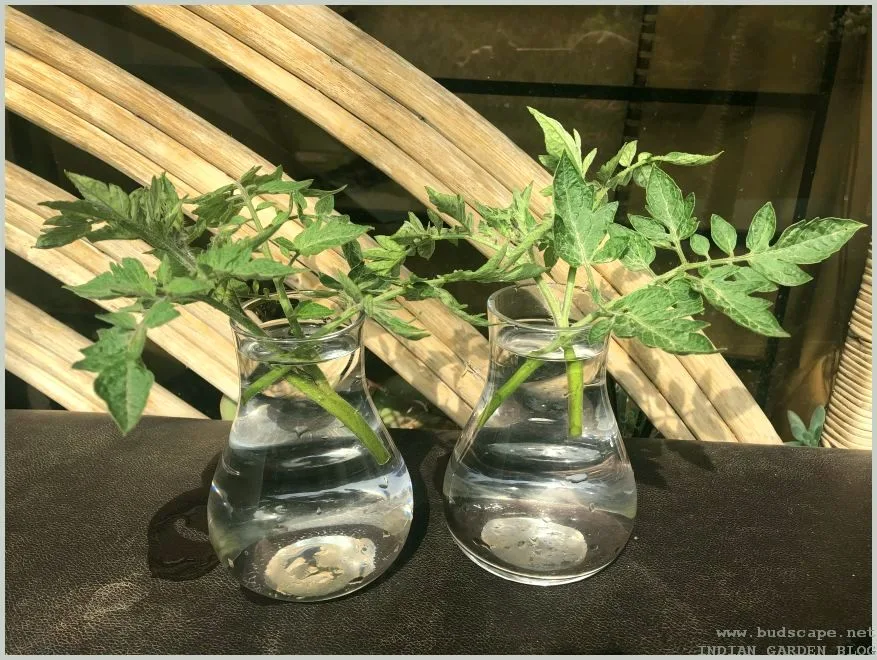
Take cuttings the same day you diagnose the rot, even if you're planning a full rescue. It costs nothing and buys you a backup if the parent doesn't recover.
Choose the healthiest side shoots or top growth. Cut 4 to 6 inch pieces just below a leaf node using sterile shears. Strip the bottom leaves, leaving two or three at the top.
You have two rooting options:
- Water jar method. Place cuttings in a clean glass of room-temperature water. Change the water every two days. Roots appear in 7 to 14 days.
- Perlite or vermiculite method. Push cuttings into moist perlite in a small pot. Cover loosely with a clear bag to hold humidity. Roots appear in the same window.
Once the new roots hit about 1 inch, pot up into the same well-draining mix used for the parent rescue. Tomato cuttings inherit the exact genetics of the mother plant, so a rescued heirloom lives on even if the original never recovers.
Mistakes That Kill Rescued Tomatoes (Even When You Did Everything Else Right)
Most rescue failures trace back to a small handful of avoidable errors. Watch for these traps.
- Feeding too soon. Fertilizer on healing roots burns the tender new tips. Wait the full 10 to 14 days.
- Overwatering out of guilt. You caused the problem with too much water once. Don't do it again trying to "help."
- Skipping the top-prune. Full leaf load on a reduced root system pulls water the plant can't replace. Wilt follows within days.
- Reusing the old pot without sanitizing. Pathogen spores cling to pot walls for months. A 10% bleach soak or 30 minutes of direct sun kills most of them.
- Mixing old contaminated soil into the new mix. Even a handful of the original media can reinfect fresh roots. Toss all of it.
- Ignoring the saucer. A pot draining into standing water is still sitting in a swamp.
Preventing Root Rot in Your Next Container Tomato
Prevention is 95% about oxygen at the root zone. Get that right and rot rarely takes hold, even in a wet summer.
Start with a container sized to the variety. Indeterminate types need 7 to 10 gallons minimum, determinates get by in 5. Fabric pots or terracotta beat plastic every time on drainage.
Build the mix with 25 to 40% coarse aggregate baked in. Perlite, pumice, or small pine bark all work. Never reuse potting mix from a rot-affected plant, and solarize suspect batches under clear plastic for four to six weeks before touching them again.
Water only when the top inch is genuinely dry. Better yet, lift the pot. Light means water.
Heavy means wait. A cheap moisture meter helps, but the pot-weight habit is more reliable long term.
Frequently Asked Questions
Can a tomato plant recover from root rot on its own?
Only in the mildest cases. If drainage is the sole issue and roots are still mostly white, drying out the pot can be enough. Once black rot spreads or the crown softens, the plant will not self-recover.
Intervention is required.
How long does it take a rescued tomato to bounce back?
New root growth usually appears within 7 to 14 days, and visible top growth resumes around week three. Fruit set may pause for two to four weeks while the plant rebuilds. Late-season rescues rarely produce a full crop before frost.
Is hydrogen peroxide safe for tomato roots?
Yes, at the right dilution. A 3% hydrogen peroxide solution diluted 1 part to 4 parts water is safe for a one-time root soak. Stronger concentrations or repeated use damages beneficial microbes and burns healthy root tissue.
Can I plant a healthy tomato in the same pot after root rot?
Not without sanitizing first. Empty the pot completely, scrub it, and soak in a 10% bleach solution for 30 minutes. Rinse thoroughly and refill with fresh sterile mix.
Reusing infected soil almost guarantees a repeat.
What does root rot smell like versus healthy soil?
Healthy container soil smells earthy and slightly sweet, like fresh forest floor. Root rot smells sour, sulfurous, or swampy, similar to standing pond water. The stronger the odor, the further the anaerobic decay has progressed.
Your Quick Decision Guide: Save, Clone, or Compost
Use this at-a-glance summary the moment you suspect trouble.
| Situation | Action |
|---|---|
| Firm crown, 70%+ healthy roots, early season | Rescue. Trim, treat, repot. High success rate. |
| Firm crown, 30 to 70% healthy roots | Rescue plus top-prune. Take backup cuttings. |
| Firm crown, under 30% healthy roots | Take cuttings. Compost the parent. |
| Soft or mushy crown, any root status | Discard. Sanitize the pot. Start fresh. |
| Any case within 6 weeks of frost | Cuttings only. Rehab math doesn't work. |
The plant tells you what it needs if you read it honestly. A firm stem and a few white roots deserve your best rescue effort. A mushy crown and a sour smell deserve a clean pot, a fresh bag of mix, and a smarter watering plan for round two.

Similar Posts