How to Water a Sloped Garden Without Runoff
How do I water a garden on a slope with a garden hose without causing runoff? It's a problem almost every hillside gardener faces. Turn on the hose and watch your water, and your precious topsoil, race downhill.
A standard garden hose at normal pressure pushes 5 to 10 gallons per minute, and on an incline, that volume simply won't soak in fast enough.
The good news is you don't need an expensive irrigation system to fix this. With a few adjustments to your nozzle, your watering routine, and a handful of low-cost tricks, you can keep every drop where your plants actually need it. Let's break down exactly how to do that.
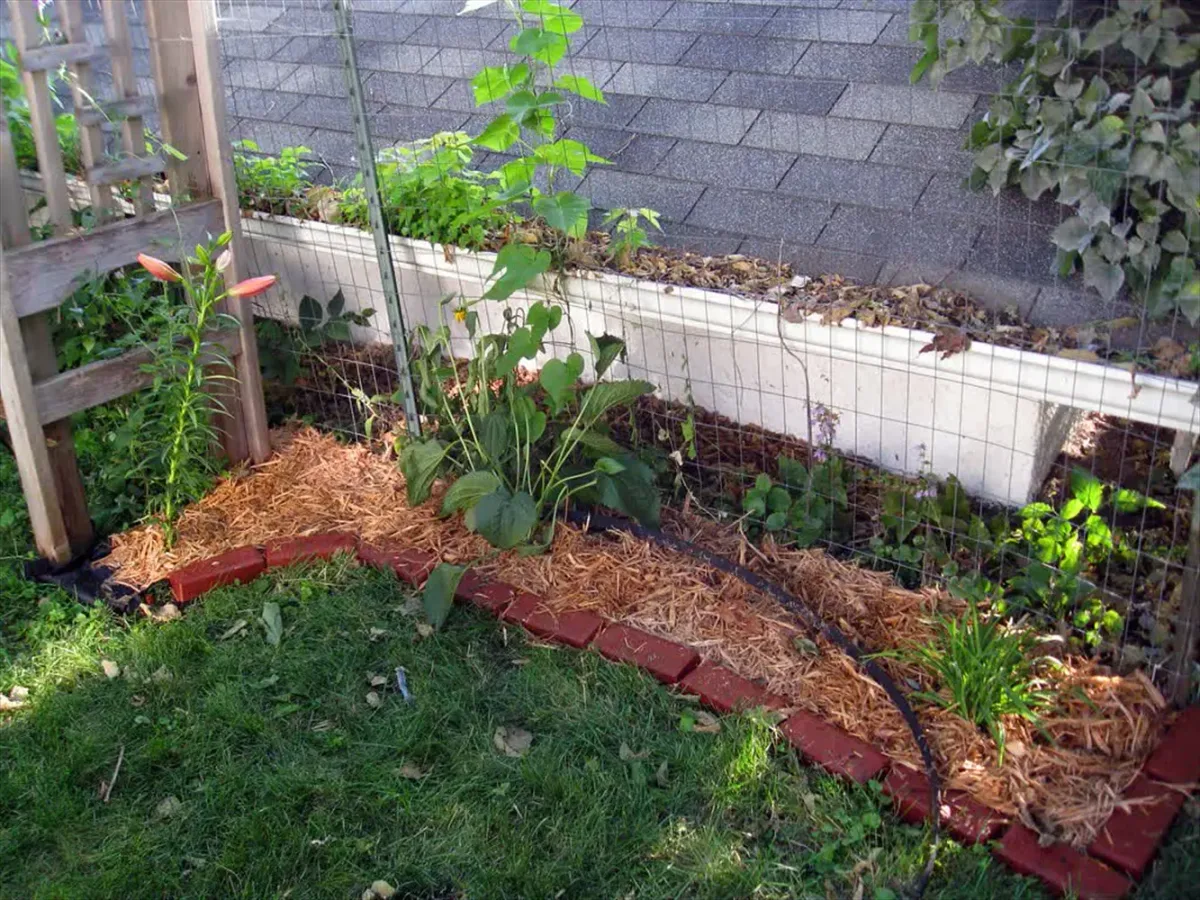
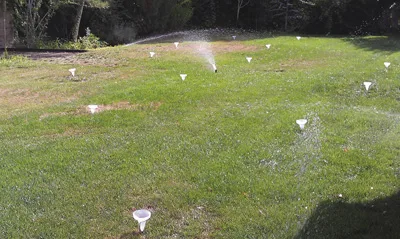
Image source: Bing (Web (fair-use with source credit))
Quick Answer
Yes, you can water a sloped garden with a hose and stop the runoff. Use a gentle shower or mist spray pattern on your nozzle, not a jet stream. Water slowly in short cycles, run the hose for 10 minutes, then let it sit for 20 before running it again.
This gives the soil time to absorb each round instead of letting water sheet downhill.
Why Water Runoff Happens on Slopes (and Why It Matters)
Water finds the path of least resistance, which means it follows gravity straight down any incline. On flat ground, that extra moisture just spreads out and soaks in. On a slope, it gains speed and momentum before the soil can drink it up.
The faster the water moves, the more soil it carries with it.
This isn't just about wasted water bills. Soil erosion from runoff strips away the nutrient-rich top layer that your plants depend on. Exposed roots follow.
Sediment clogs nearby drains and storm sewers. And the plants on the lower part of your garden get drenched while the middle and upper sections stay bone dry.
Think about it this way. You might run your hose for 30 minutes and feel like you've given the garden a proper soak. But if half that water never touched the root zone because it ran off the surface, your plants got less than half what you thought you gave them.
That's why the method matters far more than the duration.
Getting this right protects your investment in both time and money. A single heavy watering session that causes erosion sets your garden back weeks. Plants struggle to re-establish their root systems after topsoil loss.
Mulch gets washed away. Seeds wash downstream before they even germinate.
The good news is that small changes in how you apply water make a huge difference. It comes down to slowing the flow, giving the soil time to absorb, and protecting the surface so water moves downward instead of sideways. We'll walk through exactly how to do that next.
Assess Your Slope and Soil: The First Decision Point
Before you touch your hose, take a few minutes to understand two things: how steep your ground really is, and how fast your soil drinks. These two factors decide almost everything that follows.
Measuring your slope is simpler than you think. Grab a long 2-by-4 board and a standard carpenter's level. Stand the board vertically against the ground so it touches the soil at both ends. Place the level on top of the board and adjust the board's angle until the bubble sits perfectly between the lines.
That angle, shown as a percentage, tells you whether you're dealing with a gentle incline, a moderate slope, or something steeper.
Here's a quick reference for where you likely fall:
| Slope Grade | Category | What It Means for Watering |
|---|---|---|
| Under 10% | Gentle | Standard slow-watering methods work well |
| 10–30% | Moderate | Needs terracing or contour tricks |
| Over 30% | Steep | Requires swales, rock barriers, or groundcover |
Now test your soil's absorption rate. This is called a soak test and it takes about an hour. Dig a small hole roughly 6 inches deep and 6 inches wide in a few different spots around your garden. Fill each hole with water and note how long it takes to fully drain.
- Drains in under 10 minutes? You have sandy soil. Water flows through fast, but runoff still happens on the surface before the sand gets a chance to absorb it.
- Drains in 10 to 30 minutes? You have loamy soil. This is the sweet spot. Your soil will hold moisture well if you slow the watering pace.
- Drains in 30 minutes or longer? You have clay soil. Water sits on top and sheets downhill easily. Clay is the worst offender for runoff and you'll need the most aggressive strategies.
Check out our guide on how garden hoses are measured so you can pair the right hose size with the right watering approach for your slope.
The USDA Natural Resources Conservation Service maintains detailed guides on slope assessment and soil erosion prevention that are worth bookmarking if you have a particularly tricky incline.
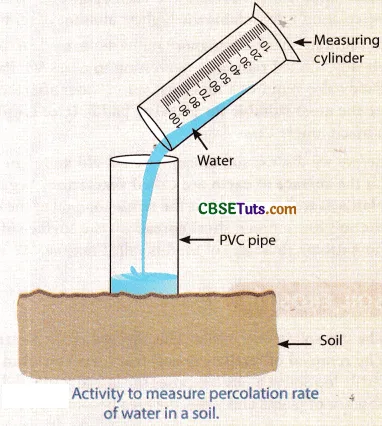
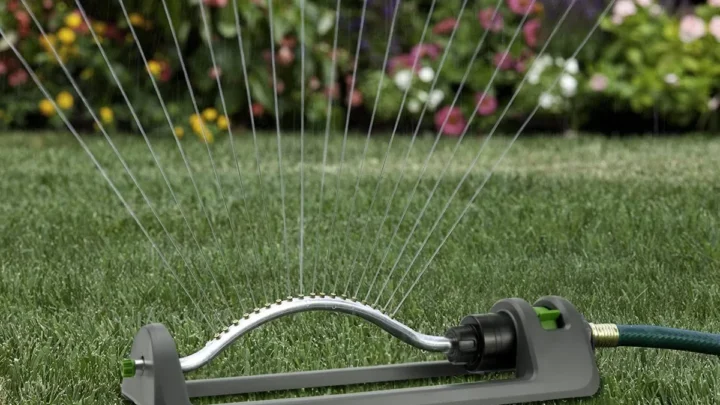
Image source: Bing (Web (fair-use with source credit))
Knowing both numbers, your slope percentage and your soil type, gives you a clear map. A steep slope with sandy soil needs different treatment than a moderate slope with heavy clay. Once you have that picture, picking your watering strategy becomes straightforward.
Choose the Right Method for Your Slope Type
The method you pick depends entirely on the numbers you just found. There's no point using a simple hose-and-nozzle approach on a steep bank with clay soil, it will just repeat the same runoff cycle every time you water. Match the tool to the terrain and the problem shrinks dramatically.
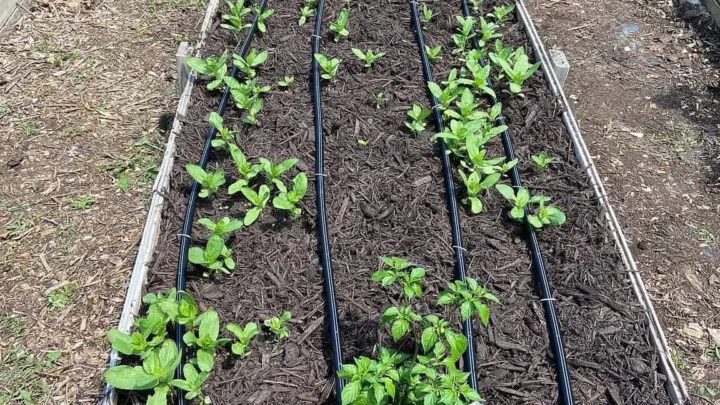
Gentle slopes under 10% grade. These are forgiving. A soaker hose or drip irrigation line laid along the natural contour of the ground does the job beautifully. Lay the hose horizontally across the slope rather than running it straight up and down.
Water seeps out slowly and the soil absorbs it before gravity can pull it further downslope.
Mulch is your secret weapon here too. A 2 to 3 inch layer of wood chips or straw over the bed surface slows water movement significantly. It also keeps the soil from compacting under the force of sprinkled water, which is what creates the crust that causes sheet flow in the first place.
If you want to skip the hose altogether on gentle beds, consider unglazed clay ollas buried at soil level. These ancient irrigation vessels leak water slowly through their porous walls, delivering moisture directly to the root zone with zero surface runoff.
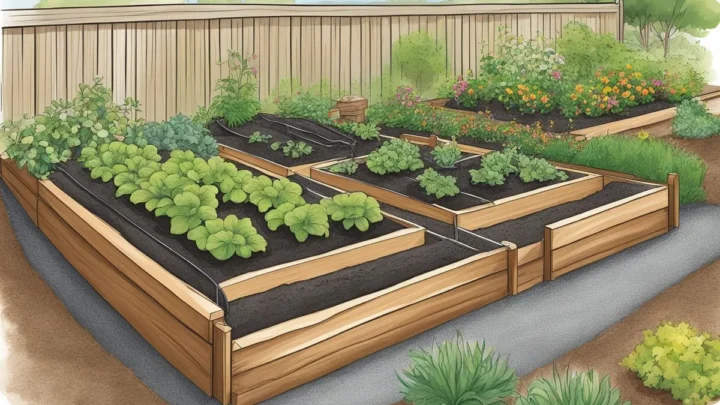
Moderate slopes between 10% and 30%. At this point, a simple hose trick won't cut it. You need to physically interrupt the downhill path of the water. Terracing, building flat steps into the slope, is the gold standard.
Each terrace acts as a mini dam that catches water and holds it long enough for soaking.
Building terraces can be done with retained earth walls made from timber, stone, or railroad ties. Aim for riser heights of 6 to 12 inches depending on what you're growing. Narrow vegetable beds do well with taller steps.
Flower borders can use shallower ones.
Another option on moderate slopes is contour berms. These are low ridges of packed earth built along the natural level lines of the hillside. Water hits the berm, pools briefly behind it, and then slowly percolates through the soil instead of racing past.
Look into the best nozzle options for controlling spray patterns — a good adjustable nozzle is essential when you're trying to hit just the right flow rate for terrace-fed beds.
Steep slopes over 30%. This is serious territory. Standard gardening methods break down here. You need engineering-level thinking.
Swales, shallow trenches dug on contour, are the most effective solution. They capture sheet flow and direct it into settling areas or storage ponds rather than letting it accelerate down the face of the hill.
If digging swales isn't practical, rock barriers or step terracing with deep retaining walls become necessary. Plant deep-rooted groundcover like creeping juniper, sedum, or native grasses immediately after installation. Bare soil on a steep slope is a ticking erosion clock.
Consider consulting a local university extension service before attempting any major reshaping on a steep site. They can assess whether your slope needs professional engineering input or if homeowner-level modifications will hold up through a full storm season.
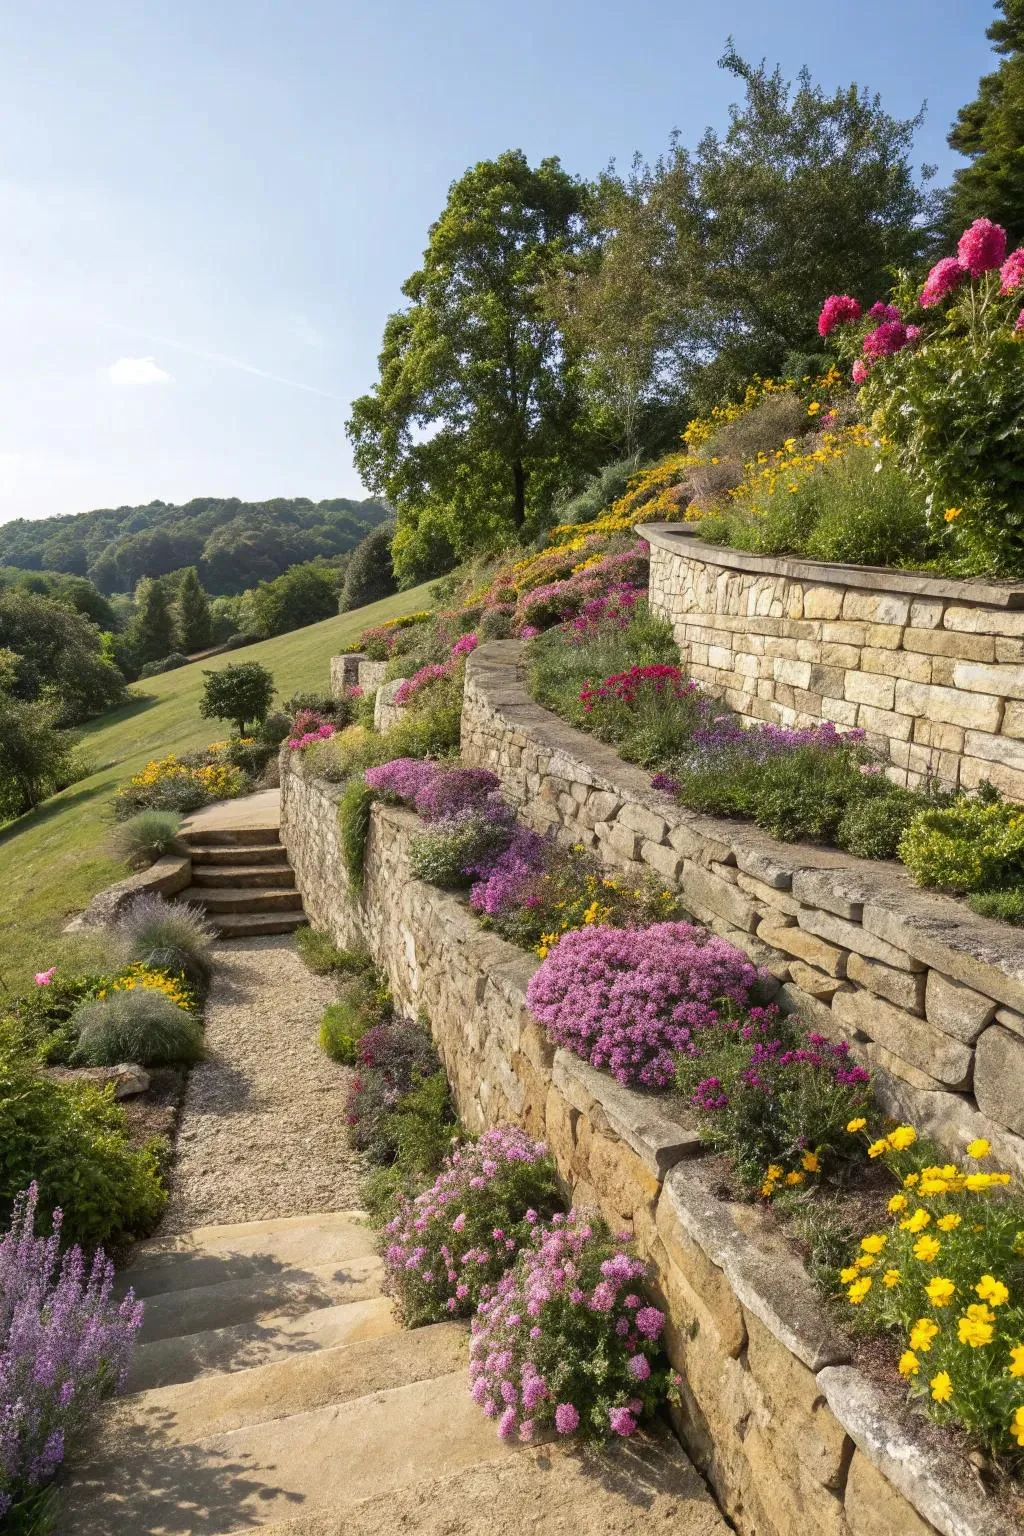
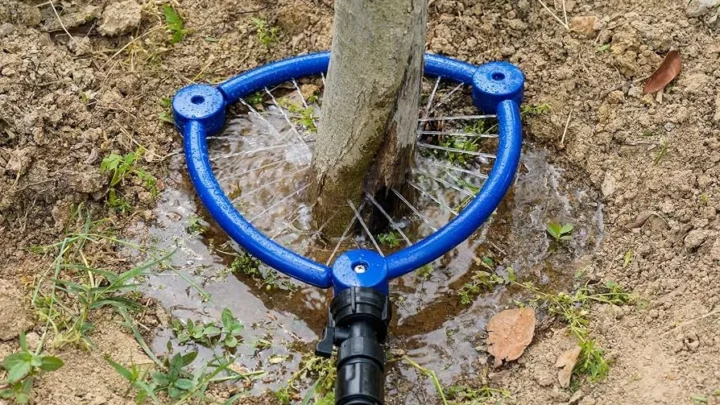
Image source: Bing (Web (fair-use with source credit))
The progression is always the same: gentler slopes get simpler fixes, steeper ones demand structural changes. Get the diagnosis right first, and the solution almost picks itself.
Step-by-Step: Watering a Slope Without Runoff
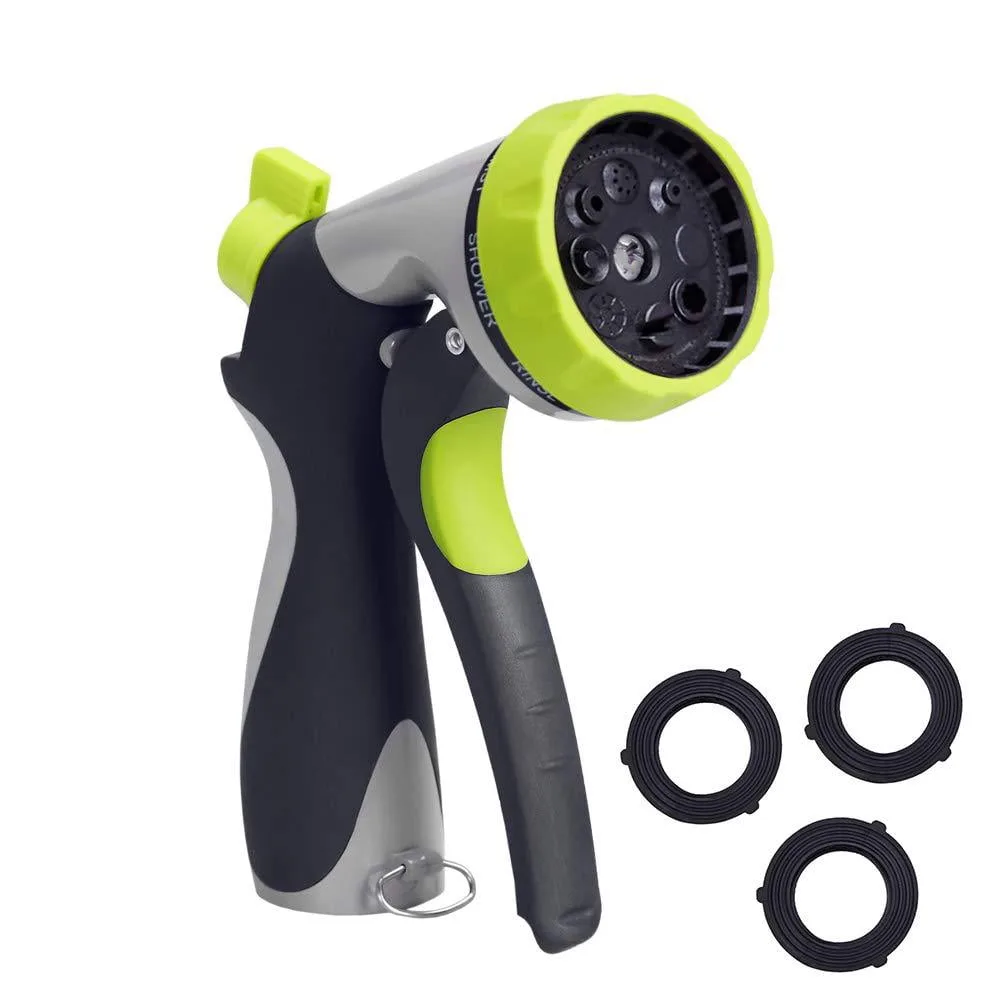
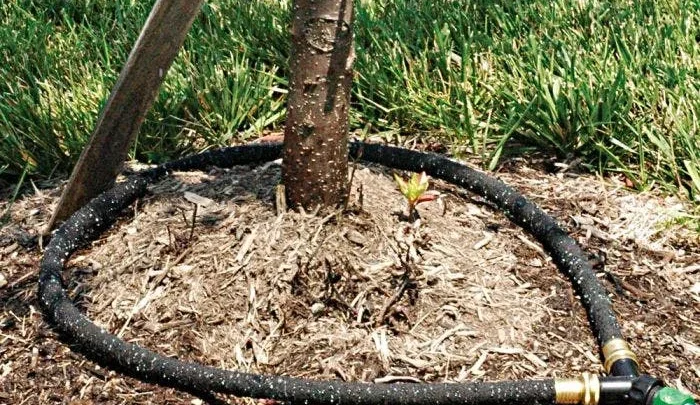
Image source: Bing (Web (fair-use with source credit))
Once you've identified your slope type and picked your approach, here's the practical routine that works across almost every scenario. You don't need fancy equipment. You need patience and the right nozzle setting.
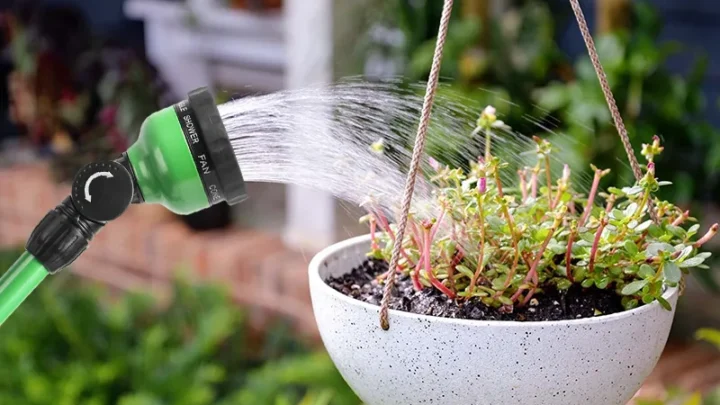
Start with your nozzle. A strong jet stream is the fastest way to create runoff. Switch to a shower or mist pattern instead. If you don't have an adjustable nozzle yet, learn how to pick the right one for gentle coverage.
You want soft, scattered droplets, not a coherent high-pressure beam.
Position your hose along the contour. This is the single most important placement decision. Lay the hose horizontally across the slope, running side to side, not up and down. Water dripping from a horizontal hose creates tiny equal-length rings of moisture that the soil can absorb gradually.
A vertical hose lets water gather at the bottom of each stretch and then surge downhill all at once.
Apply the cycle-and-soak method. This is the technique that separates successful slope watering from the runoff cycle. Turn the water on for just 10 minutes. Turn it off.
Wait 20 minutes. Turn it back on for another 10. Repeat until the bed has received roughly half an inch of water total.
That half-inch is the sweet spot most garden soils can handle in a single session without pooling or running. Going beyond that on the first pass just adds to the runoff problem.
Check your work after each cycle. Walk the slope and look for three things:
- Standing water in any area means the soil is already saturated. Stop watering there and move to a drier section.
- Visible rills, tiny channels carving into the soil, mean the flow is too fast. Dial it back.
- Dry patches uphill from wet ones mean water is bypassing those areas entirely. Reposition the hose.
Keep a log of how many cycles each bed needs. You'll start seeing patterns after a few weeks. Some sections of your slope will always drain faster.
Others will stay moist longer. Let those observations guide your schedule rather than watering by the clock alone.
This method takes longer upfront than blasting the whole slope for 30 minutes straight. But the payoff is real. Your soil stays in place.
Your plants get evenly soaked. And your water bill drops because you're actually using what you pay for instead of watching it leave your property.
Common Mistakes That Waste Water and Damage Soil
Even experienced gardeners fall into the same runoff traps on slopes. Knowing what not to do is almost as useful as knowing what to do. Here are the mistakes that show up most often, and the ones most worth avoiding.
Running the hose in one long continuous stream. This is the number one error. Thirty minutes of uninterrupted flow on a slope guarantees runoff, regardless of what nozzle you're using. The soil can only absorb so much at a time.
Beyond that threshold, everything excess becomes surface flow. Break every watering session into short cycles with rest periods in between. Your plants will thank you.
Placing hoses straight up and down the slope. We covered why in the step-by-step section, but it bears repeating. A vertical hose is basically a water chute. Every drop collects at the lowest point and then floods downward together.
Horizontal placement along the contour line is always the better call.
Over-relying on oscillating or sprinkler heads. Sprinklers look efficient at a glance. In practice, they throw water with enough force to compact the soil surface and create that crusting effect that accelerates runoff. On a slope, the water beads up on the crust and rolls away before it ever penetrates.
If you must use a sprinkler, place it inside a shallow trench dug on contour so the water has to travel laterally through soil before reaching the edge.
Skipping mulch entirely. Mulch isn't optional on a slope. It's your first line of defense against impact from water droplets. Without it, rain or hose water hits bare soil directly, breaking apart the aggregate structure and sealing the surface.
With a 2 to 4 inch mulch layer, water passes through the organic blanket and into the soil below with minimal disruption. Replenish mulch after heavy rains, it shifts and compresses over time.
Watering during the hottest part of the day. Evaporation losses spike when temperatures peak. You end up running the hose longer to compensate, which just means more volume hitting the slope at once. Early morning is the ideal window.
The soil is cooler and more receptive, the air is calm, and evaporation is minimal.
Assuming one fixed schedule works year-round. Spring rains may mean your slope stays moist for days after a watering. Summer drought conditions mean that same schedule leaves beds parched. Watch your soil, not the calendar.
Adjust cycle frequency and duration based on what the ground actually needs rather than following a rigid routine.
Keeping Your Slope Garden Healthy Long-Term
Good slope irrigation isn't a one-time fix. It's an ongoing practice that changes with the seasons and responds to what the weather throws at you. The habits you build now determine whether your garden holds together through heavy storms or washes away piece by piece.
Refresh your mulch regularly. After any significant rain event, walk the beds and check mulch depth. Erosion steals mulch faster on slopes. Top it back up to that 2 to 4 inch target whenever you can see bare soil showing through.
Mulch is cheap insurance against the next downpour.
Inspect after big storms. Look for new rill channels, exposed roots, or areas where water carved fresh paths through the bed. Small gullies formed in a single heavy rain are warning signs. Fill them immediately with additional mulch or soil, and consider adding a rock barrier or stepping up your terrace retention at that spot before the next rain hits.
Adjust your watering schedule by season. Spring might only need one or two light cycles per week if you're getting steady rainfall. Midsummer could demand daily cycle-and-soak sessions in dry spells. Fall usually means backing off as temperatures drop and plant water needs decrease.
Pay attention to your local extension service forecasts for guidance on seasonal shifts.
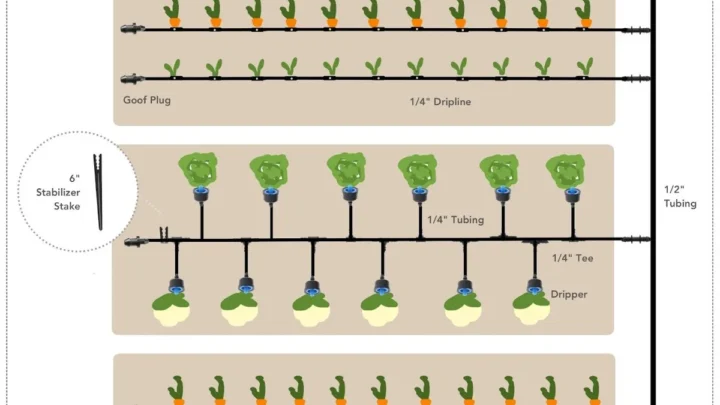
Know when to invest in a permanent system. If you've tried the basic hose-and-mulch approach for a full growing season and runoff is still a problem, it may be time to install a dedicated drip irrigation zone or a soaker hose grid tied to a timer. These systems deliver water slowly and consistently, eliminating the human variable that often causes cycle timing mistakes. A basic drip kit for a moderate-sized slope bed runs $50 to $150 at most garden centers.
Revisit your slope assessment annually. Soil compaction, root growth, and organic matter buildup all change the absorption rate over time. What worked in spring might behave differently by late summer. Run a quick soak test each season and adjust your cycles accordingly.
The goal is a garden where water sinks in the moment it touches the soil surface, not one where it pools, accelerates, and disappears over the edge. That state is achievable, but it requires watching your beds closely and tweaking your approach as conditions shift. Stay engaged with the process and your slope garden will hold together through every season.
Common Mistakes That Waste Water and Damage Soil
Even experienced gardeners fall into the same runoff traps on slopes. Here are the mistakes worth avoiding and how to correct them quickly.
Running water continuously instead of cycling it. A single 30-minute hose session guarantees runoff on most inclines. Break every watering into short 10-minute cycles with 20-minute rests between them. This gives the soil time to absorb each round instead of letting excess sheet downhill.
Positioning the hose straight up and down the slope. Water flows fastest along the fall line. Lay hoses horizontally along the natural contour lines so moisture spreads evenly across the bed instead of pooling at the bottom. This simple repositioning cuts runoff by half or more.
Using a jet or straight-stream nozzle setting. High-pressure streams compact the soil surface and create that crust which accelerates runoff. Switch to a shower, mist, or gentle spray pattern. If your current nozzle lacks these settings, explore adjustable options designed for softer coverage.
Skipping mulch on bare soil. Bare soil takes direct impact from water droplets, sealing the surface and forcing water to run off. A 2-to-4-inch mulch layer absorbs that impact and slows infiltration. Replenish mulch after heavy rains when it shifts or compresses.
Ignoring seasonal soil changes. Clay that drains slowly in spring may dry out and crack by midsummer, changing how fast water enters. Run a quick soak test each season and adjust your cycle timing accordingly. Let what you see in the garden guide your schedule, not a fixed calendar.
Keeping Your Slope Garden Healthy Long-Term
Good slope irrigation is an ongoing practice that adapts to weather, plant growth, and soil changes. Build a few simple routines into your gardening calendar and the system sustains itself.
Check mulch depth after every major rain. Erosion steals mulch faster on inclines. Top any thin areas back to 2, 4 inches before the next watering or forecasted storm. Mulch is cheap insurance against surface crusting and runoff spikes.
Walk the beds weekly during the growing season. Look for new rill channels, exposed roots, or dry patches uphill from wet zones. Small gullies formed in a single downpour are warning signs. Fill them immediately with extra mulch or soil, and reinforce terraces or berms at that spot if needed.
Adjust your cycle frequency by season. Spring rains may only require one or two light cycles per week. Midsummer droughts often demand daily cycle-and-soak sessions. Fall typically means backing off as temperatures drop and plant water needs decrease.
Watch the soil, not the calendar.
Invest in a permanent drip or soaker system if runoff persists. If you've followed the basic routine for a full season and water still escapes, a dedicated low-volume system eliminates the guesswork. A basic drip kit for a moderate slope bed costs $50 to $150 and runs quietly on a timer.
Reassess your slope and soil type annually. Organic matter buildup, root expansion, and compaction all shift absorption rates over time. What worked last spring might behave differently by late summer. Run a quick soak test each season and fine-tune your cycles based on what the ground actually accepts.
The goal is a garden where water sinks in the moment it touches the surface. That state is achievable with steady attention and small course corrections. Treat your slope irrigation like a living process, not a one-time fix, and your beds will hold together through every storm.
Frequently Asked Questions
Can I use a regular sprinkler on a slope?
Yes, but placement matters. Position oscillating sprinklers inside shallow contour trenches so water must travel laterally through soil before reaching the edge. Without that barrier, sprinklers throw water with enough force to compact the surface and create runoff.
How often should I water a sloped vegetable garden?
Water only when the top 2 inches of soil feel dry. On gentle slopes this might mean 2, 3 times per week in summer. On steeper inclines with clay soil, once a week using the cycle-and-soak method often suffices.
Always check moisture depth before adding water.
What's the cheapest way to stop an already eroding slope?
Mulch heavily and install simple rock barriers or logs placed along contour lines. These cheap materials slow water velocity and trap sediment. If erosion is severe, consider planting fast-spreading groundcover like creeping phlox or native grasses to anchor the soil.
Do I need a professional to build terraces on a moderate slope?
Not usually. Terraces with risers under 2 feet high can be built by homeowners using timber, stone, or railroad ties. For slopes over 30% grade or retaining walls taller than 3 feet, consult a landscape professional or your local extension office for safety and stability guidance.
Will mulch wash away during heavy rain?
Light mulch like straw can shift, but wood chips and bark nuggets stay in place much better. Secure loose mulch with a light netting or jute mesh until rainfall compacts it. Adding a thin layer of gravel or small stones over mulch in high-impact zones also helps lock everything down.

Similar Posts