Watering Raised Beds Far From Hose? Try These 5 Hacks
How do I water raised beds far from the hose spigot? You need a system that delivers water efficiently over distance without fighting your own backyard layout. Most gardeners hit the same wall: dragging a heavy hose, wrestling kinks, and watching water evaporate before it ever reaches the roots.
That frustration ends when you match the right delivery method to your actual distance and bed size.
Per USDA NRCS irrigation guidance, a standard 4×8 ft raised bed needs roughly one inch of water per week, which translates to about ten gallons per soaking cycle. The math changes fast once your spigot sits more than fifty feet away. Friction loss eats pressure.
Hose weight kills morale. Let's walk through what actually works.

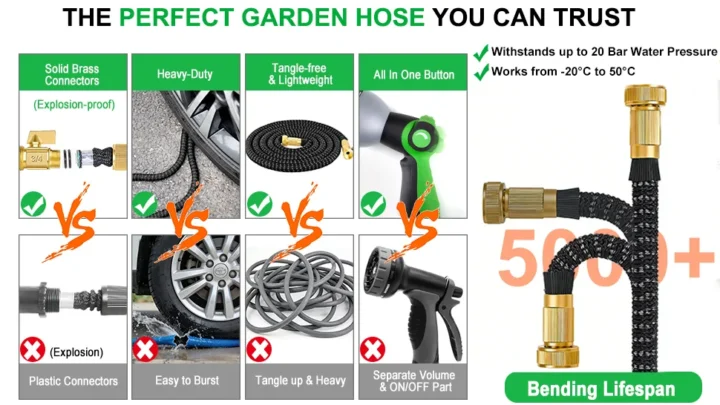
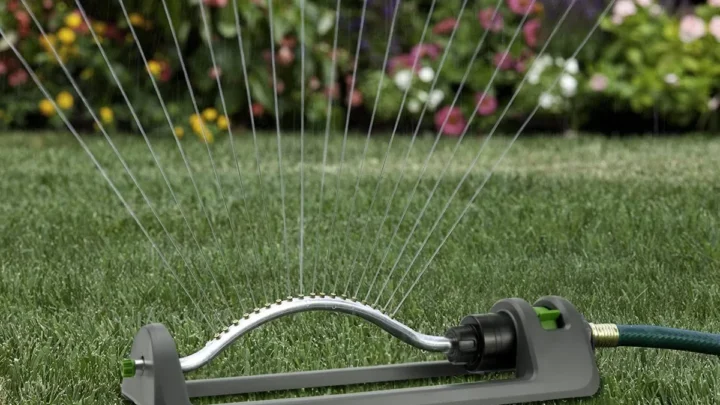
Image source: Web (Bing) / fity.club (Web image (fair-use with source credit))
Why This Is Actually a Hard Problem
You might think extending a garden hose solves the distance issue. It does not. A 100-foot run loses nearly half its pressure due to friction inside the tubing.
That means your soaker hose at the far end may only deliver half the water it would have sitting next to the spigot.
Hauling full watering cans back and forth causes shoulder and lower back strain over time. One standard two-gallon can weighs about seventeen pounds when full. Do that five times across the garden and your arms will remember it.
Overhead watering invites fungal disease in raised beds. Splashing water onto tomato leaves or pepper stems spreads blight and mildew quickly during warm summers. Soil-level delivery keeps foliage dry and cuts disease risk substantially.
Wrong choices cost real money. A cheap vinyl hose might crack in one season. An undersized drip line forces constant adjustments.
A heavy cart that tips on uneven ground becomes useless. Picking the right method upfront saves cash and crop loss down the line. See how to diagnose low flow through a garden hose if you suspect friction loss is already killing your pressure.
Soaker Hoses, Drip Lines, Carts, Barrels, and Ollas — How Each One Actually Works
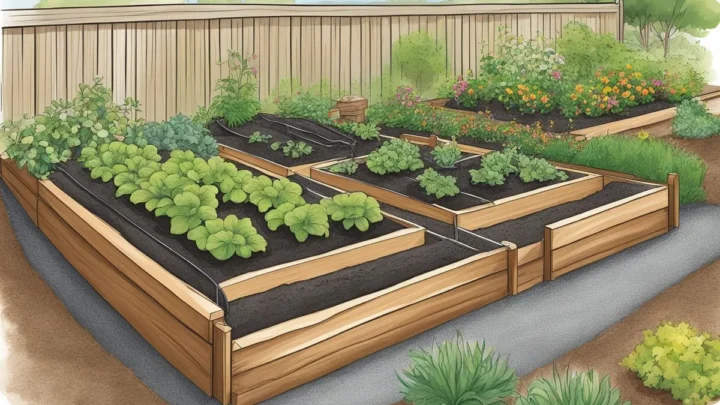
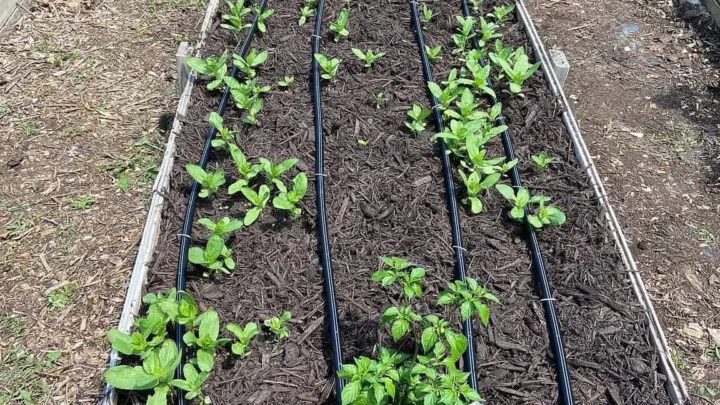
Soaker hoses are porous tubes that sweat moisture along their entire length. You lay them on top of the soil or tuck them under mulch. Water seeps slowly into the root zone instead of running off the surface.
They work best at low pressure, typically ten to twenty-five PSI, which is why a pressure regulator belongs on your spigot.
Drip lines use pressurized poly tubing with individual emitters placed at each plant. You choose emitter flow rates like zero point five, one, or two gallons per hour depending on your crop. Tomato plants usually need more water than herbs.
Inline emitters give precise placement while tray-style emitters suit wide beds.
Kiseki drip systems rely on a low-pressure grid connected with simple clay or plastic joints. The design uses gravity or very light pump pressure to move water through porous lines. Many deep-bed no-till gardeners prefer this approach because it matches the slow, steady moisture that mycorrhizal fungi thrive in.
Manual watering cans and wheeled carts carry water directly to the beds. A typical two-gallon can holds enough for one small bed per trip. Wheeled carts hold thirty to fifty gallons and roll across grass or gravel paths.
They require no installation but demand physical effort every watering day.
Rain barrels collect runoff from roofs and store it for later use. A fifty-five-gallon barrel gives you a free water source that sits near your beds when positioned on a stand. Gravity feeds drip lines or soaker hoses if the barrel sits at least three feet above the tubing level.
Olla pots are unglazed clay vessels buried neck-deep in the soil. You fill them once every few days and the porous walls release water only when the surrounding soil dries out. That self-regulating behavior prevents both underwatering and overwatering, which makes them ideal for hot climates.
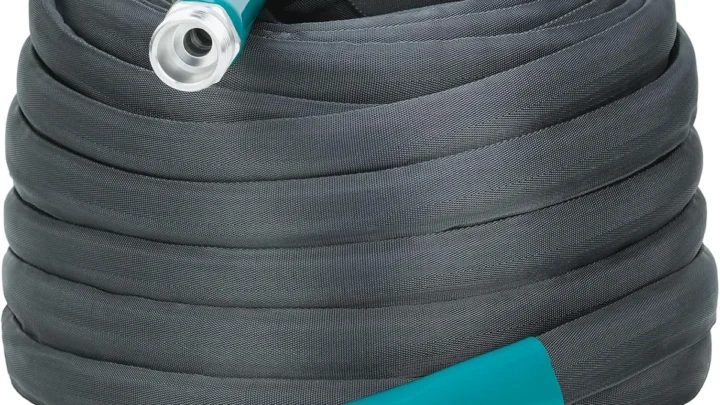
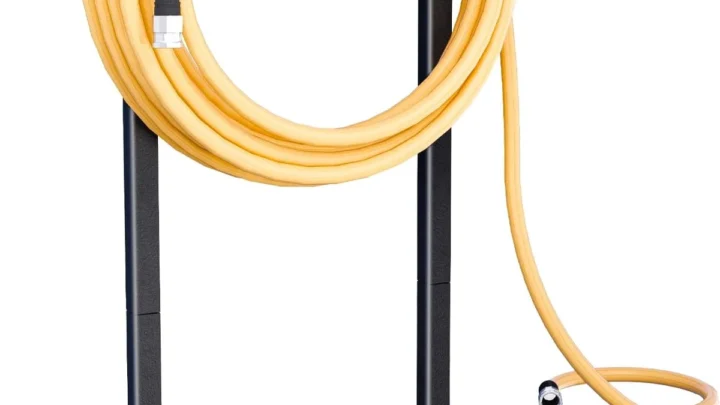
Hose extensions simply add length to your existing spigot run. You can buy fifty-foot or hundred-foot units in rubber or vinyl. Retractable reels keep the hose coiled and tangle-free.
A hose mule turns the reel into a rolling cart you can push beside the beds. Check how garden hoses are measured for diameter and length before buying extensions so the fittings match your current setup.
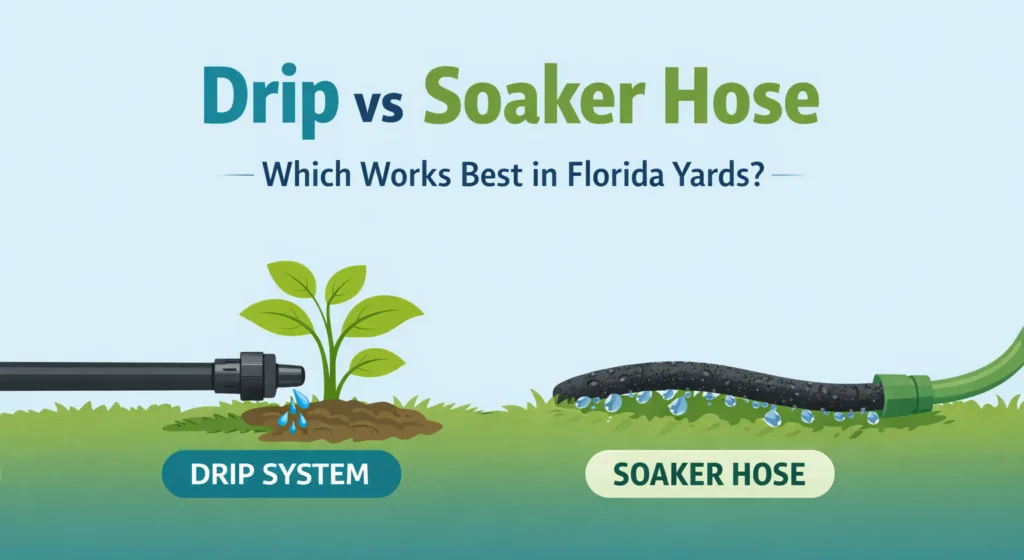
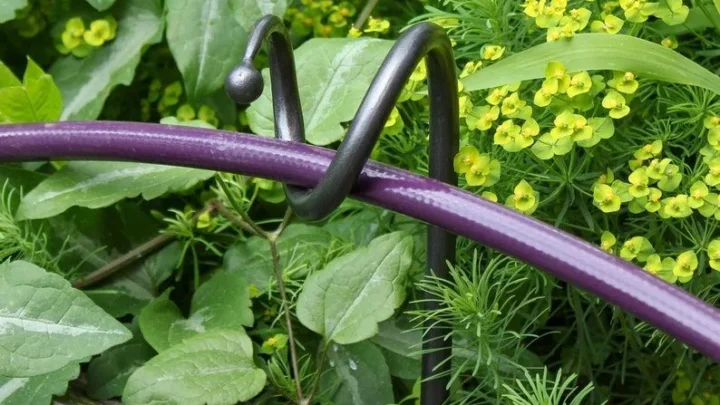
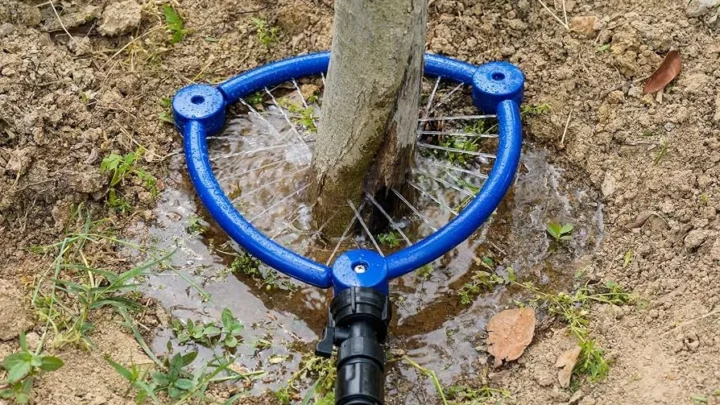
Image source: Bing (Web (fair-use with source credit))
Side-by-Side Comparison: Which Method Fits Your Situation
Each watering method carries distinct trade-offs. The right pick depends on your distance from the spigot, your budget, and how much labor you want to commit. Here is how the main options stack up against each other.
| Method | Cost Range | Setup Time | Lifespan | Water Efficiency | Labor Required | Best Distance Range |
|---|---|---|---|---|---|---|
| Soaker hose | $30–$80 | 15 minutes | 2–5 years | High | Low | 25–75 ft |
| Drip line kit | $40–$120 | 30–60 minutes | 3–7 years | Very high | Medium | 25–100 ft |
| Kiseki system | $60–$150 | 45–90 minutes | 3–5 years | Very high | Medium | 25–75 ft |
| Watering can | $10–$30 | None | Indefinite | Medium | High | Any (manual) |
| Wheeled cart | $100–$300 | None | 5+ years | Medium | Medium | Any (manual) |
| Rain barrel gravity feed | $80–$200 | 1–2 hours | 10+ years | High | Low after setup | Bed within 3 ft of barrel |
| Olla pot | $15–$40 each | 10 minutes each | 5+ years | Very high | Low | Within bed radius |
| Hose extension + reel | $50–$250 | 10 minutes | 3–5 years | Low to medium | Medium | 50–200 ft |
Soaker hoses win when you want a simple, low-cost solution that you can lay down in fifteen minutes. They work well for moderate distances up to seventy-five feet if your spigot pressure stays above ten PSI at the far end.
Drip line kits shine in large raised-bed gardens where precision matters. You place one emitter per plant and tie the tubing to a timer. Setup takes longer, but automation pays off during peak summer heat when daily watering becomes necessary.
Kiseki systems suit deep-bed and no-till gardeners who already run a low-pressure network. The clay connectors make repairs easy without wrenches or glue. However, they demand more layout planning than a basic soaker hose run.
Watering cans and carts make sense for small plots or rental properties where permanent installation feels pointless. Carts reduce trips compared to hand-carrying cans, but you still move the water manually each session.
Rain barrel gravity feed works beautifully if you can position the barrel close to your beds and elevate it three feet or more. You get free water and cut your municipal bill. The trade-off is capacity: a single barrel empties fast in midsummer heat.
Olla pots excel in dry climates where evaporation rates run high. They eliminate surface evaporation entirely and self-regulate based on soil moisture. The main limitation is refill frequency in extreme heat and the fragility of unglazed clay during hard freezes.
Hose extensions paired with reels solve the reach problem temporarily. They are the fastest fix but carry the lowest efficiency because most water hits foliage or runs off before soaking in. If you go this route, pair the extension with a soaker hose at the far end to reclaim some efficiency.
Learn how to extend and connect garden hoses properly so pressure losses stay minimal.
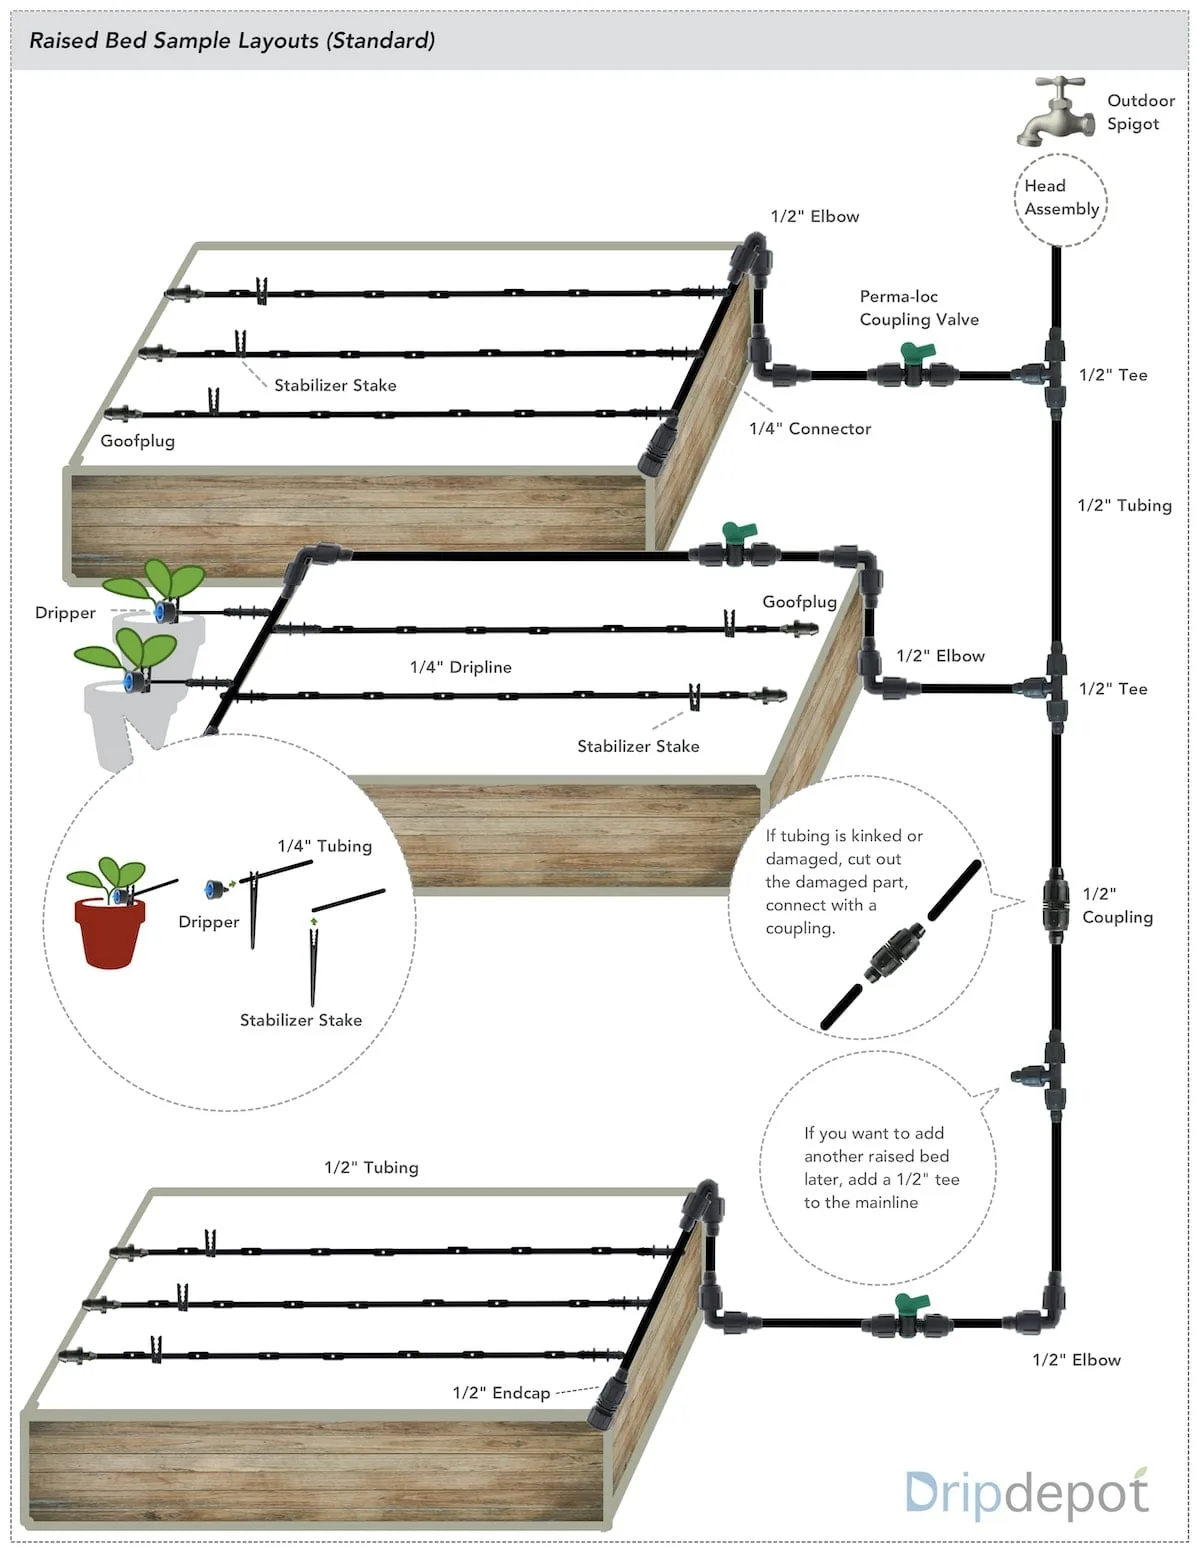
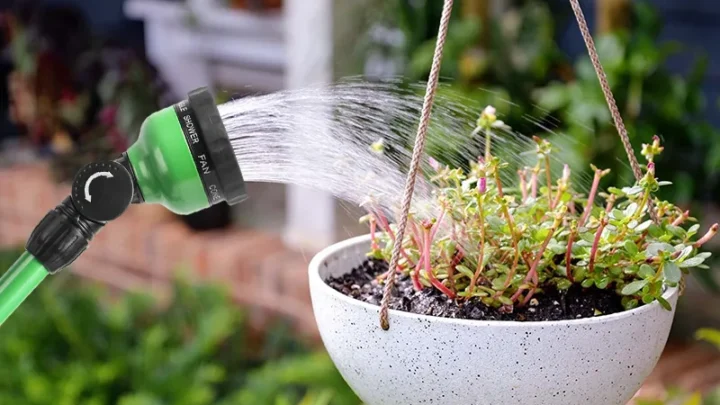
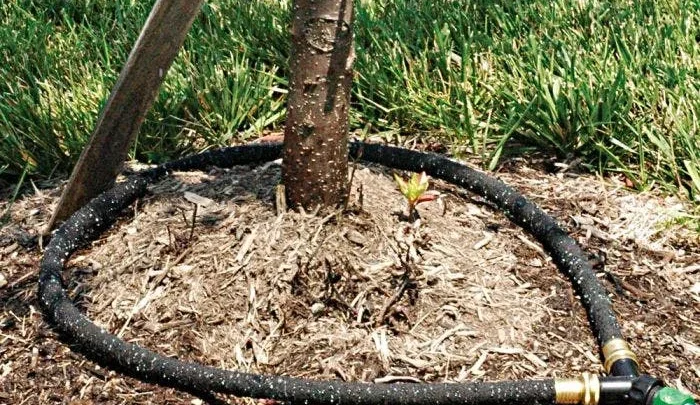
Image source: Web (Bing) / narodnatribuna.info (Web image (fair-use with source credit))
The Mistakes That Waste Money and Water
Running a soaker hose at full spigot pressure destroys the system and floods your beds. Soaker hoses need regulated pressure between ten and twenty-five PSI. Without a regulator, the hose blows seams and water escapes in sheets instead of a slow sweat.
Install a simple pressure regulator on the spigot before attaching any porous line.
Placing drip emitters too far from the root zone defeats the whole purpose. Emitter placement should sit within two inches of the stem for tomatoes and peppers. If you space them six inches away, the water wets empty soil while the root ball stays dry.
Recheck placement after plants grow into their final spacing.
Ignoring winterization guarantees cracked hoses and ruined emitters. Trapped water expands when it freezes and splits tubing at the weakest point. Drain every line before the first hard freeze, disconnect hoses, and store them indoors or coiled loosely in a garage.
See how to protect and extend the life of your garden hose before cold weather arrives.
Using a rain barrel without a diverter and mosquito screen creates two problems. First, you lose roof runoff that could fill the barrel. Second, standing water inside an open barrel becomes a mosquito breeding ground.
A simple diverter redirects downspout flow, and a fine mesh screen blocks larvae entry.
Assuming a hundred-foot hose delivers the same flow as a twenty-five-foot hose leads to under-watered beds. Friction loss cuts pressure dramatically over long runs. If you must use a long hose, keep the diameter at five-eighths inch or larger and shorten the run with a hose mule positioned closer to the beds.
Read why garden hoses collapse when connected to a pump if you ever try to boost flow with supplemental pumps.
Overhead sprinklers on raised beds invite fungal disease faster than almost any other mistake. Wet leaves plus warm humidity equals blight waiting to happen. Switch to soil-level delivery and watch leaf spot severity drop across the entire garden within one season.
Choosing the cheapest vinyl hose for a permanent setup wastes money long-term. Budget vinyl cracks after one summer of UV exposure. Rubber hoses cost more upfront but last three to five times longer.
Check whether rubber hoses are more eco-friendly than PVC options before committing to a material.
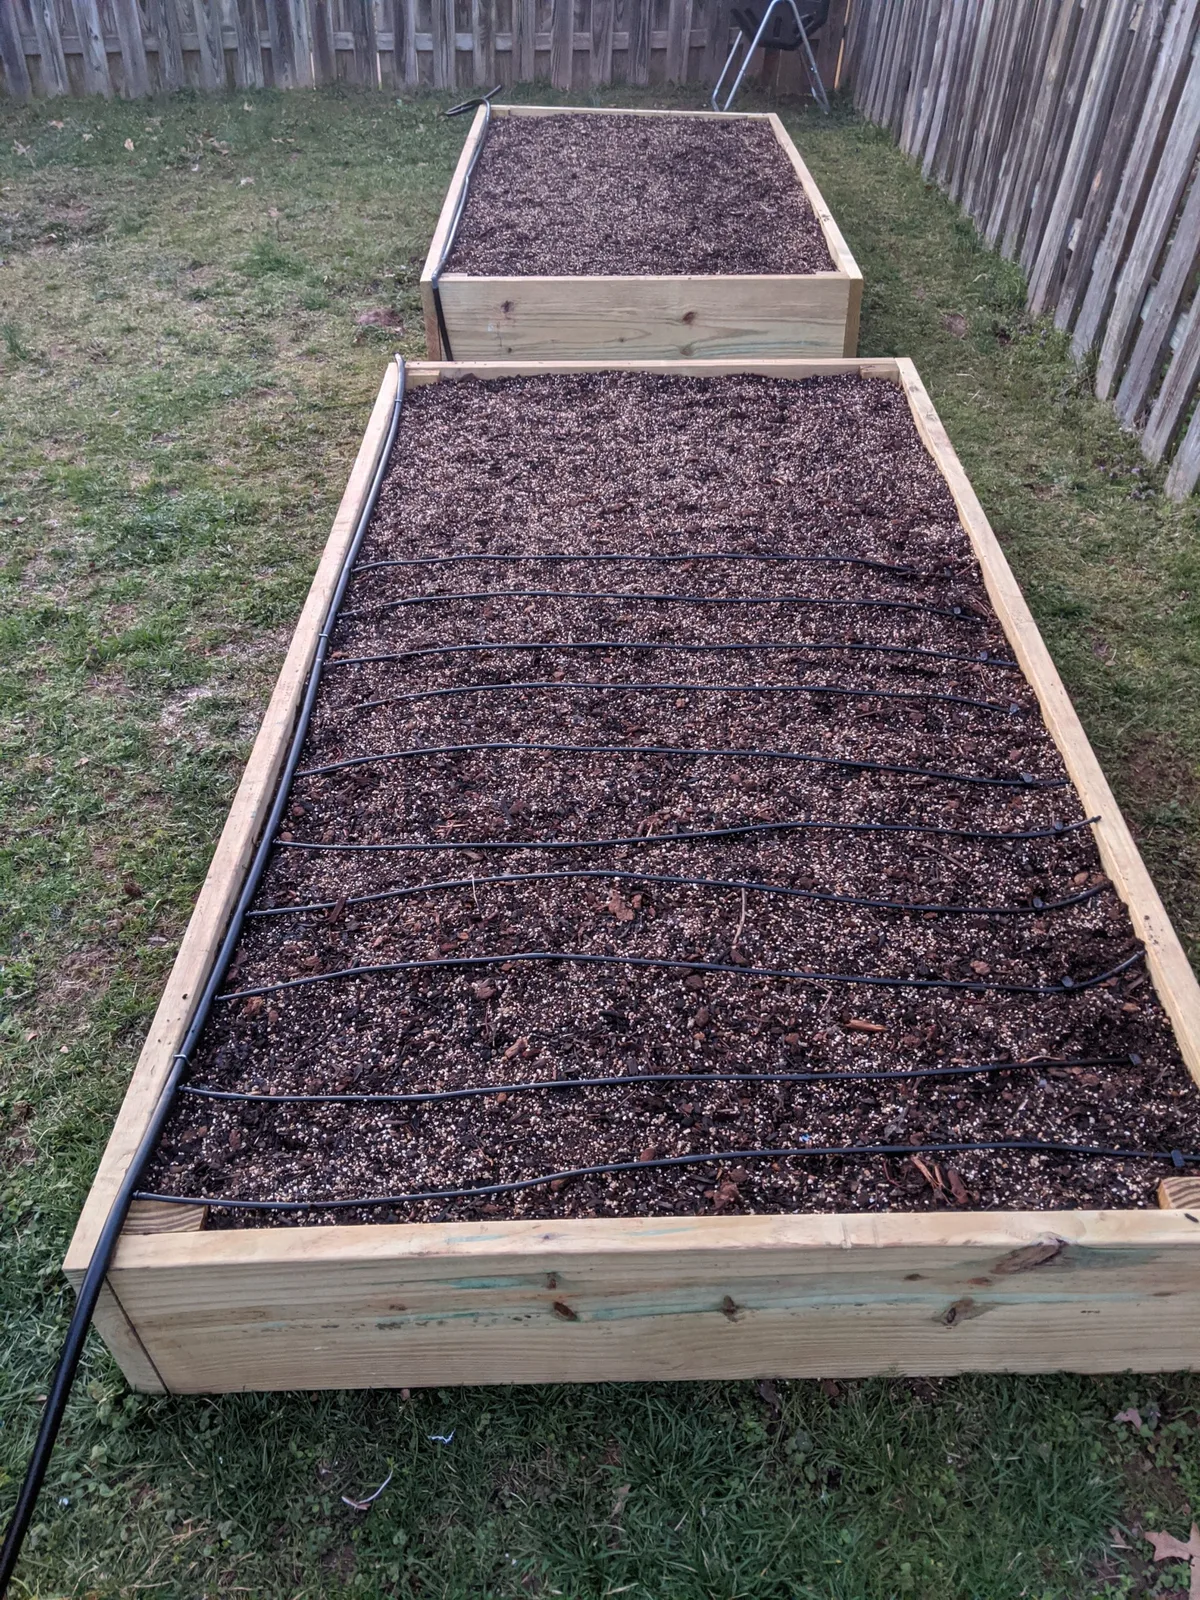
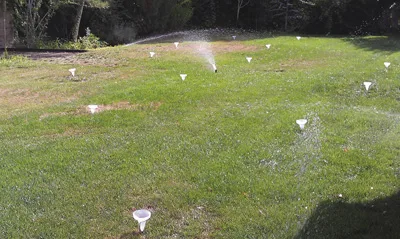
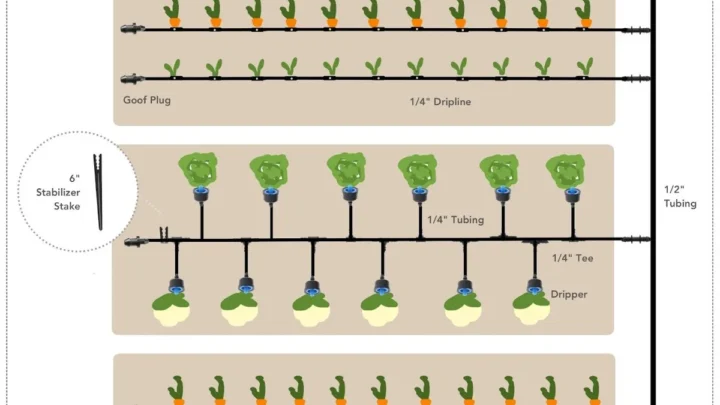
Image source: Web (Bing) / storage.googleapis.com (Web image (fair-use with source credit))
Sizing timers wrong either floods beds or leaves them bone dry. A timer set too long pushes water past the root zone and leaches nutrients. A timer set too short never saturates the full soil depth.
Start with ten-minute cycles and check soil moisture at six inches deep after each run. Adjust in two-minute increments until the profile is uniformly damp.
Real Scenarios: What Works in Different Gardens
A suburban yard with three 4×8 raised beds sits seventy-five feet from the spigot. The beds sit in a straight row along a fence line. A single fifty-foot soaker hose fed through a pressure regulator solves this neatly.
Add a basic digital timer and you automate the whole system for under one hundred dollars. No cart runs needed.
A community garden plot sits one hundred fifty feet from the nearest spigot. Shared water access means long lines and occasional disputes over who left the valve open. A wheeled water cart stationed at the plot edge lets multiple growers fill it once and irrigate all their beds for the week.
It avoids hose-sharing arguments and respects the plot boundaries.
A dry climate garden in zone eight faces strict summer watering restrictions. Drip lines tied to a smart controller that skips rain days become essential. You run one line per bed with two emitters per tomato plant and one per pepper.
The controller adjusts runtime automatically based on local weather data.
A small balcony garden with container-style raised beds has no permanent water line nearby. Two heavy-duty watering cans rotated through the week keep things simple. A collapsible thirty-gallon tank stored under the balcony rail provides backup volume during heat waves without cluttering the space year-round.
A cold climate garden in zone three has a short growing season and serious freeze risk. Soaker hoses stored indoors between seasons and reinstalled each spring keep costs down. A simple rain barrel on an insulated stand near the beds captures spring meltwater for early-season use before the spigot runs freely.
Frequently Asked Questions
How many gallons does a 4×8 raised bed need per week?
A standard 4×8 raised bed needs roughly ten gallons per week during peak summer heat. That equals about one inch of water distributed evenly across the soil surface. Adjust downward in cooler weather or during rain events.
Can I use a soaker hose with a rain barrel?
Yes, but the barrel must sit at least three feet above the hose level. That height provides enough gravity pressure for slow seepage. Higher placement increases flow but may overwhelm a thin soaker line.
What is the maximum useful hose length from a spigot?
Fifty to seventy-five feet is the practical maximum for most residential spigots. Beyond that, friction loss drops pressure so low that drip and soaker systems underperform. Use a hose mule to bring the water source closer instead.
Do smart timers work with soaker hoses?
Smart timers work with soaker hoses as long as the timer outputs standard 120 PSI and you install a pressure regulator between the timer and the hose. Without regulation, the high pressure damages the soaker material quickly.
How do I prevent soaker hoses from attracting gophers?
Buried soaker hoses under six inches of soil deter most burrowing pests. You can also wrap exposed runs in hardware cloth sleeves or switch to drip lines inside PVC conduit that gophers cannot chew through easily.
What is the cheapest way to water beds one hundred feet away?
A fifty-five-gallon rain barrel on a sturdy stand paired with a soaker hose gives the lowest upfront cost. You eliminate long hose runs entirely and collect free water. The barrel replaces the need for a cart or extended plumbing.
Maintenance / Long-Term Optimization
Soaker hoses last longer when you flush them before storing for winter. Run clean water through each line for five minutes while it is still warm, then disconnect and drain completely. Trapped moisture inside porous tubing freezes and cracks the material from the inside out.
Drip emitters clog when sediment builds up over a growing season. Flush each zone by opening the far end of the tubing and letting water run clear for two minutes. If flow stays sluggish after flushing, soak affected emitters in a vinegar solution to dissolve mineral deposits.
Check timer batteries twice a year, preferably in spring and fall. A dying battery during midsummer heat can shut off your system without warning and wipe out a week's growth in one afternoon. Digital displays dim before the unit fully dies, so replace them at the first sign of fading.
Inspect all connections monthly during peak watering months. Look for wet spots, drips, or softened soil around emitters and fittings. A slow leak wastes gallons per hour and pulls debris into your lines, which accelerates clogging downstream.
Rotate soaker hose positions between crop cycles to prevent salt buildup. Reusing the same lane year after year concentrates minerals from hard water and fertilizer runoff. Moving the tubing six inches per row spreads the wear and keeps soil chemistry balanced.
Store collapsible water tanks rolled rather than folded. Sharp creases weaken seams and create weak points that burst under pressure. Roll them loosely around a pipe or broom handle and keep them in a cool, shaded space until next season.
Safety / Legal / Compliance / Warnings
Local watering restrictions vary by municipality and change with drought conditions. Check your city or county water authority website before installing a permanent drip system. Some areas ban soaker hoses during extreme dry spells and only allow hand watering with a shut-off nozzle.
Backflow preventers are required on outdoor spigots in many jurisdictions. They stop contaminated garden water from siphoning back into your household supply. Most plumbers install an atmospheric vacuum breaker or double-check valve assembly that meets EPA WaterSense standards.
Electrical components near standing water need GFCI protection. Any timer plugged into an outdoor outlet must sit on a Ground Fault Circuit Interrupter circuit. A standard outlet without GFCI backing poses a shock hazard if moisture reaches the connections.
Pressurized drip systems can burst fittings if you exceed thirty PSI without a regulator. Never connect a drip mainline directly to an unregulated spigot. Install a pressure regulator rated for irrigation use between the spigot and your first fitting.
Rain barrels require mosquito screens on all openings. Standing water in an uncovered barrel becomes a breeding ground within three days during warm weather. A quarter-inch mesh screen fits over inlet holes and maintains airflow while blocking larvae.
Hose reels mounted on walls or carts need secure anchoring. A loose reel can topple when a full five-hundred-foot hose weighs over sixty pounds. Use lag screws into sturdy framing or a weighted base rated for the hose weight.
Expert Tips / Pro Advice
Start every new raised-bed irrigation project by mapping bed locations before buying supplies. A simple sketch showing spigot position, bed spots, and hose routes saves money and prevents costly reruns. Measure twice, buy once.
Use landscape staples instead of rocks or sticks to hold soaker hoses in place. The U-shaped wire staples lie flat, do not tear tubing, and hold firmly in loose raised-bed soil. You can reuse them season after season.
Place soaker hoses along the center of each row, not at the edge. Roots spread outward and downward from the stem, so center placement wets the entire root zone evenly. Edge placement wastes water on bare soil between beds.
Run drip lines under mulch instead of on top of the soil. A two-inch layer of straw or wood chips hides the tubing, reduces evaporation, and prevents UV degradation. Your beds look cleaner and your water savings climb.
Size your emitter spacing to mature plant spread, not current size. Tomatoes planted eighteen inches apart need emitters spaced no more than eighteen inches apart. Overlapping wet zones ensure every root ball gets moisture as the plant fills its space.
Add a pressure gauge after your regulator to monitor performance visually. If the needle drops below ten PSI while the system runs, you have either a leak or a kinked line. The gauge points you to the problem faster than guessing.
Invest in a simple soil moisture meter for each bed type. Drip lines and soaker hoses deliver water slowly, which makes visual cues unreliable. A probe stuck six inches deep tells you whether the root zone is dry, moist, or saturated before you adjust runtime.
Connect your rain barrel diverter to a downspout using a simple split diverter kit. The kit sends the first flush of dirty roof runoff away from the barrel and directs cleaner later rainfall inside. You get better water quality without modifying your gutter system.
Position your hose mule at the midpoint between spigot and beds rather than at the spigot. Half the hose length runs free instead of dragging across beds, which cuts friction loss and makes maneuvering easier. The cart stays mobile where you need it most.
Run a test cycle before planting anything. Fill each bed's zone with water and mark where the soil gets damp versus dry. Adjust emitter placement or soaker hose positioning while the beds are still empty and the pattern is visible.
Learn how to connect two garden hoses together properly so your long runs stay leak-free. A bad connector wastes pressure and creates a spray point that damages nearby foliage. Always use a double-hose coupling with rubber washers on both ends.

Similar Posts