can t remove garden hose from pressure washer
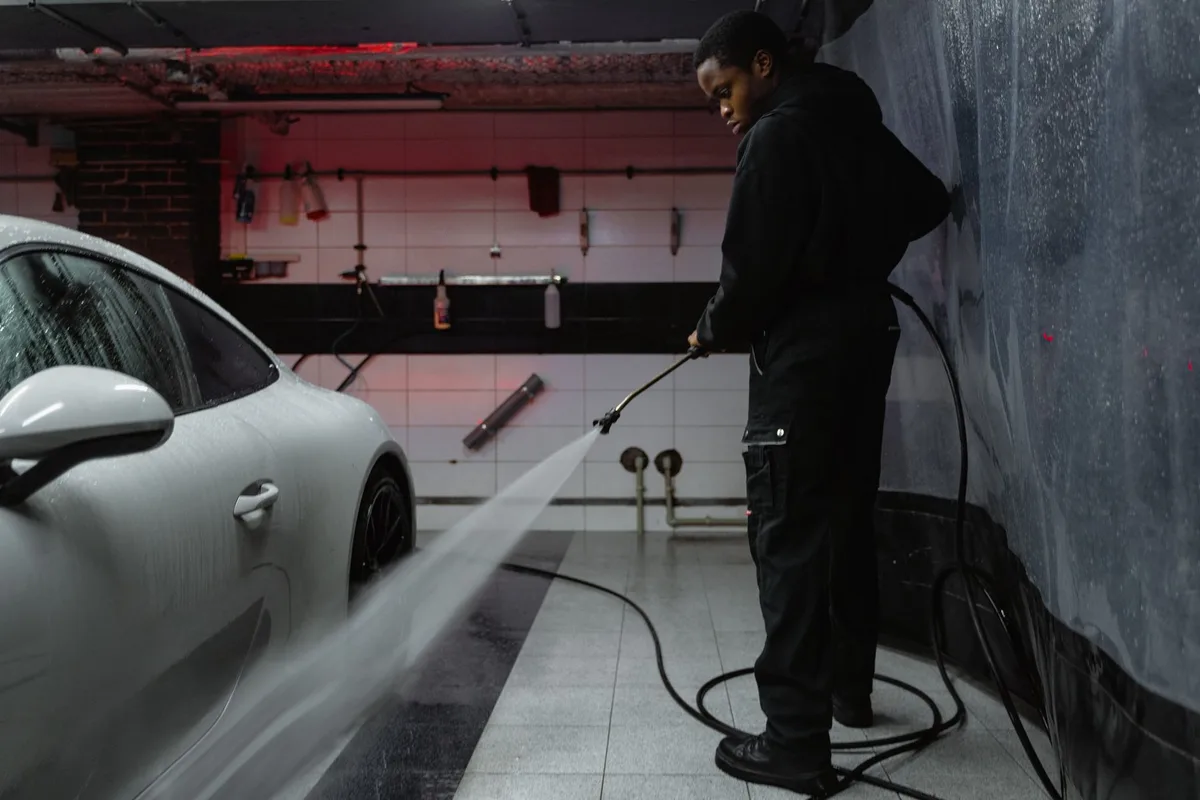
You've finished cleaning the deck, and now you can t remove garden hose from pressure washer no matter how hard you twist. The fitting won't budge, your hands keep slipping, and you're worried about snapping something. Good news: a stuck hose is almost always a quick fix once you know why it's jammed.
Forcing it is the one move that turns a five-minute job into a broken pump inlet.
Most stuck hoses come down to trapped water pressure, a cross-threaded fitting, or corrosion on a brass connector. The standard garden hose thread is 3/4"-11.5NH (often called GHT), and that plastic-or-brass joint is easy to strip if you rush it. Below, we'll walk through the exact reasons it's stuck and the safe order for getting it off.
Quick Answer
Turn off the water at the spigot first. Power off the pressure washer. Squeeze the spray trigger to release trapped pressure inside the unit.
Now the hose should unscrew by hand or with a strap wrench. If it's a quick-connect, pull the spring collar fully back while wiggling the hose free.
Why Your Garden Hose Won't Come Off the Pressure Washer
A garden hose sticks for one of a few clear reasons, and each one has a different fix. The trick is matching the cause to the cure instead of just cranking harder.
Here's what's usually going on:
- Trapped water pressure is still pushing against the seal inside the machine.
- The fitting was cross-threaded when you screwed it on.
- Corrosion or limescale has welded a brass connector in place.
- The rubber washer swelled up and fused to the threads.
- Someone tightened it "gorilla-tight" by hand last time.
- A quick-connect collar is stuck and won't retract.
If you've ever used a pressure washer to clean off a tired fence before giving it a fresh privacy makeover, you already know how much grit ends up in that inlet. That grit and mineral buildup is a big reason fittings seize over a season.
The most important thing to understand: the pump inlet on your washer is the weak point. It's often plastic. Twist too hard and you crack the housing, which usually means a new pump or a new machine.
The 30-Second Fix Most People Miss: Release the Trapped Pressure
Nine times out of ten, the hose is stuck because pressure is still trapped inside the unit. Your machine holds water under pressure even after you shut it down. That pressure pushes the seal tight and locks the fitting.
Here's the fix, in order:
- Turn off the water supply at the spigot or tap.
- Switch off the pressure washer. Unplug it, or kill the engine on a gas model.
- Point the wand somewhere safe.
- Squeeze the spray-gun trigger and hold it for a few seconds.
You'll hear a hiss or see a little water dribble out. That's the pressure bleeding off. Once it's gone, most hoses spin right off by hand.
If the hose still won't move after depressurizing, don't force it. The problem isn't pressure, it's the fitting itself. Move on to identifying the connection type below.
First, Figure Out What You're Dealing With
Before you grab a wrench, look at the connection. The removal method changes completely depending on the type. Getting this wrong is how people strip threads.
Threaded (Screw-On) Fitting vs. Quick-Connect Collar
Threaded fittings screw on like a jar lid. You unscrew them counterclockwise (lefty-loosey). If yours has visible threads and a swivel nut, this is what you've got.
Quick-connects use a spring-loaded collar. You pull the collar back and the hose pops off. No twisting needed.
If you see a sliding metal or plastic sleeve, don't try to unscrew it. You'll just fight yourself.
| Connection type | How to release | Common mistake |
|---|---|---|
| Threaded (GHT 3/4"-11.5NH) | Unscrew counterclockwise | Twisting the wrong way and tightening it |
| Quick-connect collar | Pull the collar back, pull hose off | Trying to unscrew instead of pulling |
| M22 pump fitting | Unscrew the swivel nut, not the barrel | Turning the barrel and kinking the line |
Brass, Plastic, or Aluminum: Why the Material Changes Your Move
Material tells you how much force is safe. Brass takes more torque and handles penetrating oil or heat well. It also corrodes and seizes, so brass-on-brass joints are the ones most likely to stick.
Plastic fittings strip easily. Never put a wrench on a plastic pump inlet with full force. Aluminum sits in the middle, but it can corrode against brass through galvanic reaction.
If you spot white or green crust at the joint, corrosion is your culprit, and the next section is for you.
The Real Reasons It's Stuck
Once pressure is released and you know the fitting type, match the exact symptom to its cause. Each one has a specific fix, so don't guess.
Cross-Threaded at an Angle
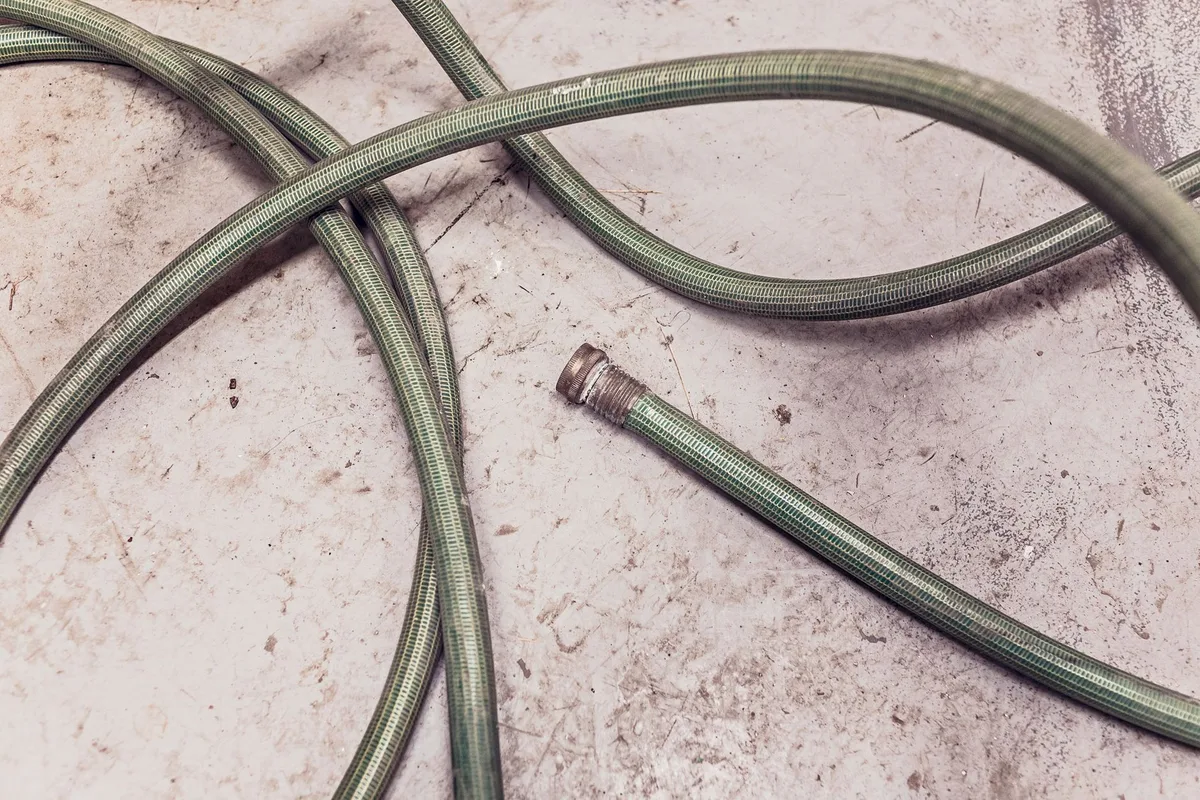
Cross-threading happens when the fitting goes on crooked. The threads bite against each other and jam. You'll notice it feels tight from the very first turn, not just at the end.
If it's cross-threaded, back it off gently counterclockwise. Rock it slightly as you turn. Never force it forward to "fix" the angle.
Corroded or Limescale-Seized Brass
Hard water leaves mineral scale that glues brass threads together. This is common in hard-water regions and after long storage. A soak breaks it loose.
Wrap the joint in a cloth soaked in white vinegar for 15 to 30 minutes. Vinegar dissolves limescale without harming brass. For heavier corrosion, a penetrating oil works well on metal-to-metal joints.
Keep oil away from plastic housings.
Swollen or Fused Rubber Washer
The little rubber washer inside the fitting can swell and grip the threads. Heat and age make it worse. After you get the hose off, that washer usually needs replacing anyway.
Overtightened by Hand
Garden hose fittings only need to be hand-snug. Over-tightening crushes the washer and locks the threads. A strap wrench gives you grip without crushing the fitting further.
Frozen or Expanded After Winter Storage
Water left in a fitting over winter expands as it freezes. That expansion can seize the joint or even crack it. This is the classic spring-startup headache.
As of 2026, freeze damage remains one of the top reasons a stored washer won't cooperate on its first use of the season.
Let the fitting warm up fully before applying force. Pour warm (not boiling) water over the joint to ease it loose.
The Step-by-Step Removal Workflow
Follow this order every time. It moves from gentlest to firmest, so you never crack anything. Manufacturer manuals from brands like Karcher and Simpson all start with depressurizing for the same reason.
- Shut off water at the spigot.
- Power down and unplug the machine (or stop the engine).
- Squeeze the trigger to bleed trapped pressure.
- Disconnect the hose at the spigot end first, so you're not fighting two ends at once.
- Identify the fitting: threaded or quick-connect.
- For threaded joints, grip the swivel nut with a cloth or strap wrench.
- Counter-hold the pump inlet so you're not twisting the whole machine.
- Turn counterclockwise with steady, even pressure.
- If it resists, stop. Apply vinegar or penetrating oil and wait 15 to 30 minutes.
- Try again, rocking gently back and forth.
If you're the type who keeps the yard sharp with tidy flower-bed borders, you'll appreciate that this slow approach saves both the hose and the pump. Patience beats brute force every single time.
The garden hose thread standard is set by ASME as 3/4"-11.5NH, which is why almost any hose fits almost any washer. That also means a fresh fitting is cheap and easy to replace if this one's too far gone.
Stuck Quick-Connect Collar? Do This Instead
A quick-connect that won't release usually has a jammed collar or grit under the O-ring. Never try to unscrew a quick-connect. Pull the spring collar straight back toward the hose while you wiggle the fitting off.
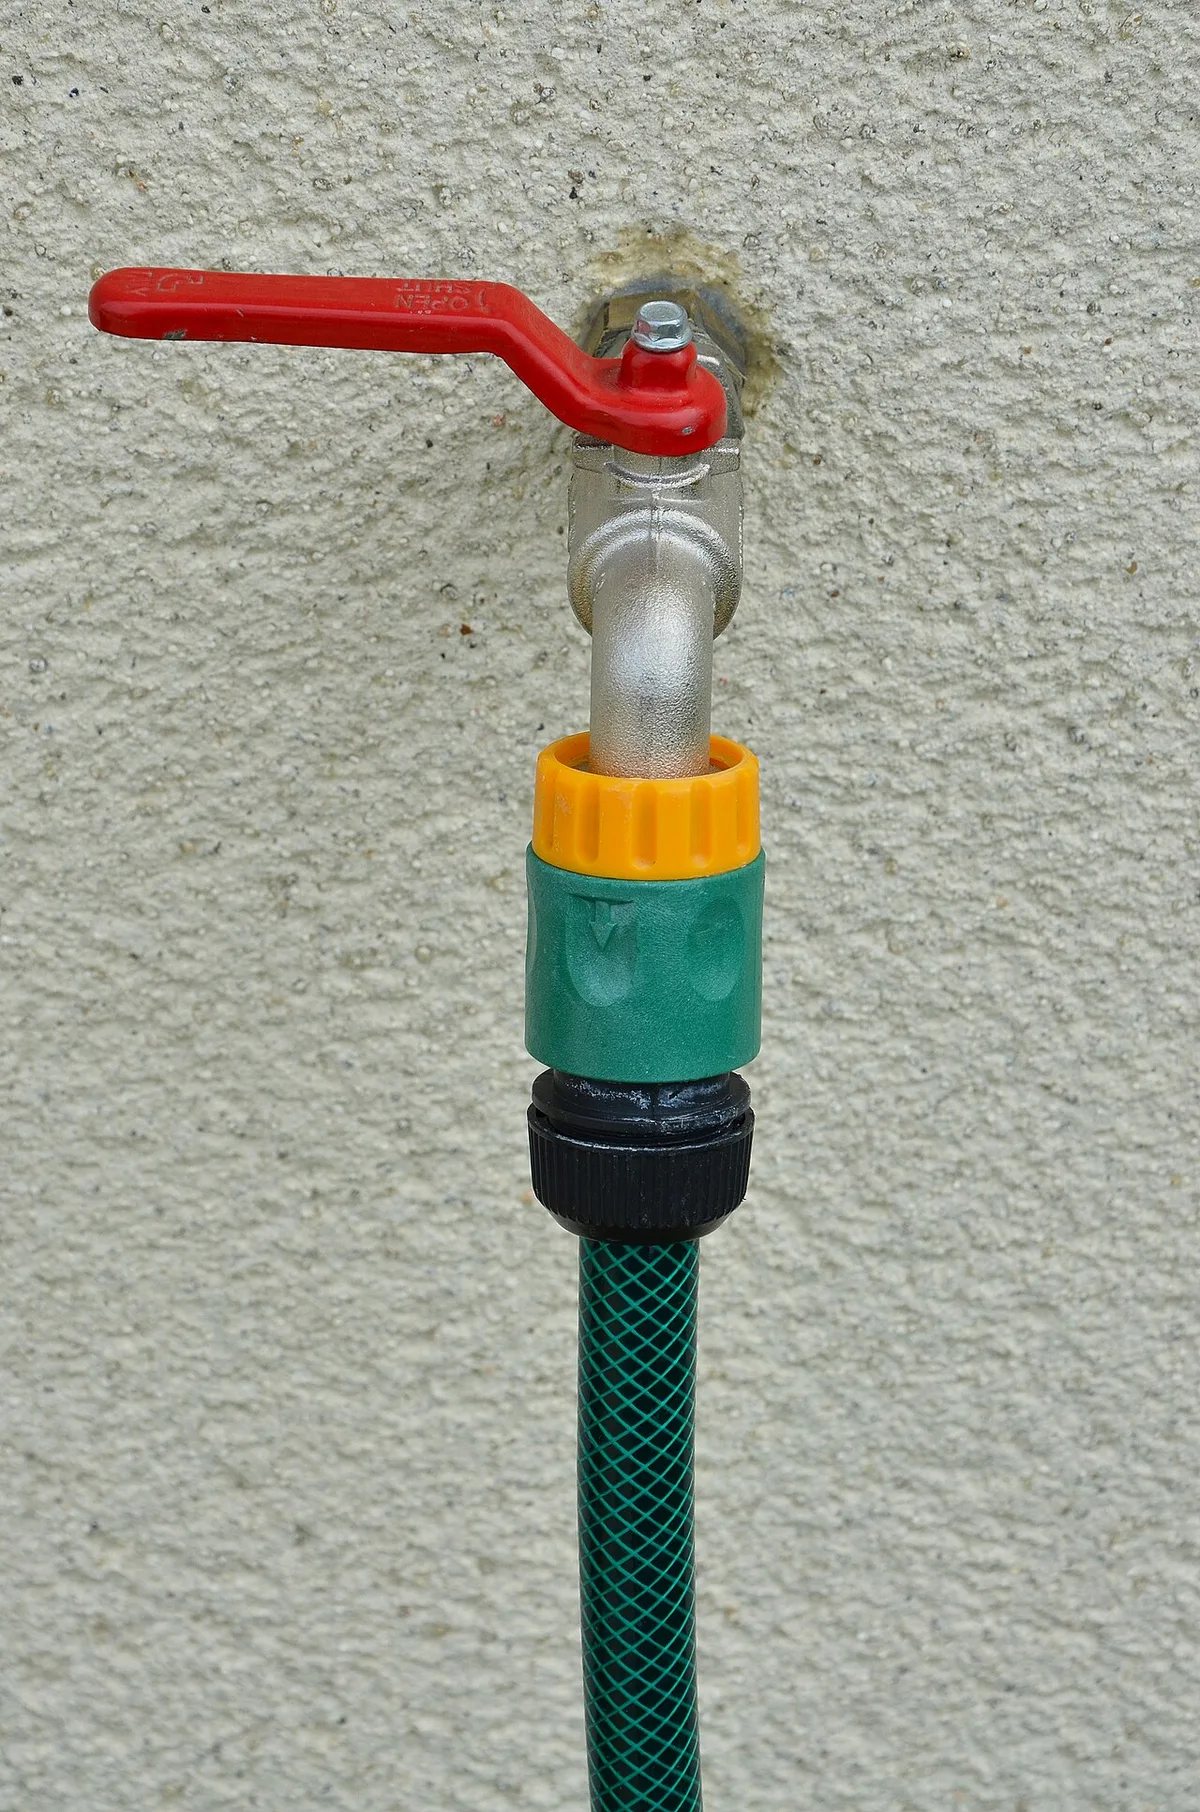
If the collar won't slide, dirt or scale is binding the spring. Rinse the joint under running water and work the collar back and forth. A drop of silicone lubricant on the collar frees a sticky spring fast.
If the O-ring inside has swollen, the fitting grips tighter than it should. Once it's off, check that O-ring. A cracked or puffy ring costs a couple of dollars and prevents the next jam.
Still stuck? Then it's likely corrosion where the metal collar meets the barrel. Soak it in warm vinegar for 20 minutes and try again with gloves on for grip.
Tools That Actually Help
The right tool gives you grip without crushing the fitting. Three items solve almost every stuck-hose problem. You don't need a toolbox full of gear.
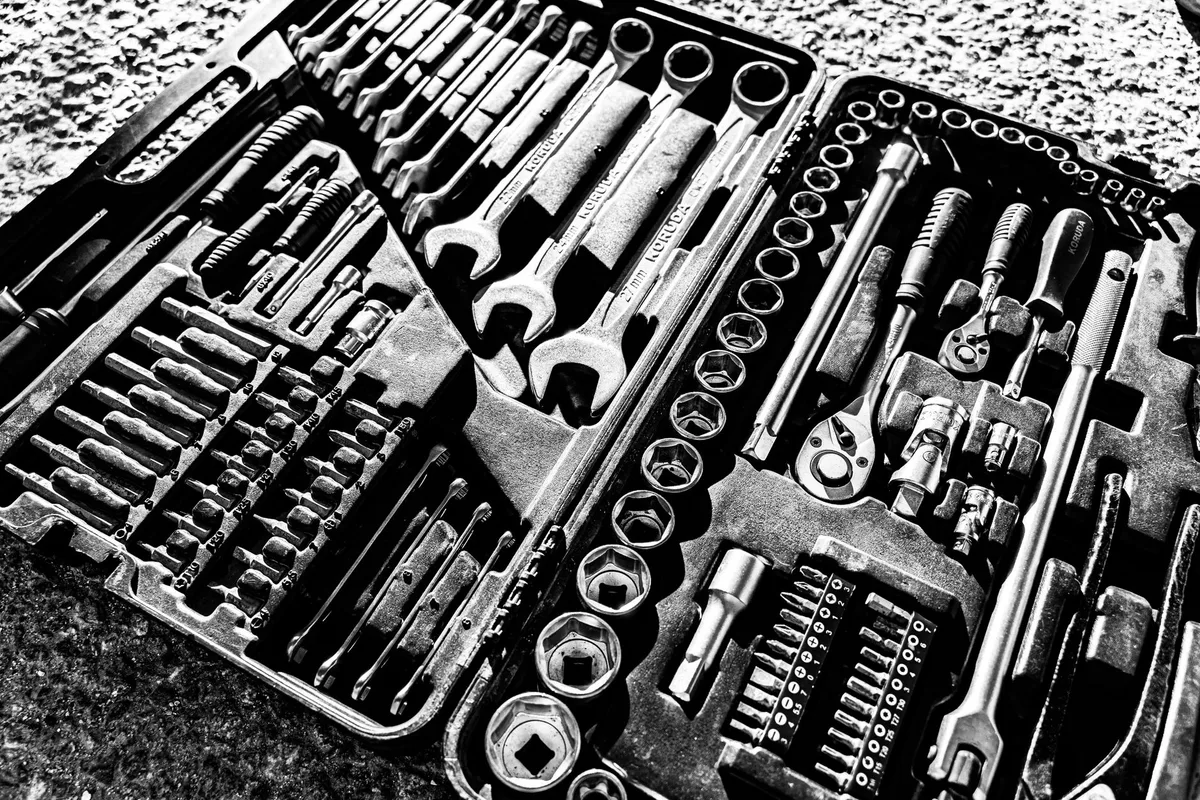
- Rubber strap wrench: grips round fittings evenly without denting them. Best for plastic and thin brass.
- Penetrating oil: creeps into seized metal threads. Best for brass-on-brass corrosion.
- White vinegar: dissolves limescale on hard-water fittings. Cheap and safe on brass.
A rubber jar-opener pad works in a pinch if you don't own a strap wrench. It adds friction so your hand stops slipping on wet metal.
Here's how the three compare:
| Tool | Best for | Avoid on |
|---|---|---|
| Strap wrench | Plastic and brass fittings | Nothing, gentle by design |
| Penetrating oil | Corroded metal threads | Plastic pump housings |
| Vinegar soak | Limescale buildup | Long soaks on aluminum |
Skip the slip-joint pliers unless it's a last resort. They crush plastic and round off the flats on a fitting.
Mistakes That Crack the Pump Inlet
The costliest error is twisting the whole machine instead of just the nut. Always counter-hold the inlet with one hand while you turn the hose with the other. That keeps torque off the plastic pump housing.
A few more moves to avoid:
- Cranking a wrench on a plastic inlet at full force.
- Using an open flame near a plastic housing or a gas tank.
- Turning the fitting the wrong way and tightening it further.
- Skipping the pressure-release step, then wondering why nothing moves.
Heat can help on brass-to-brass joints, but keep it well away from plastic and fuel. A hair dryer is safer than a torch for warming a seized brass fitting.
If you use your washer to prep surfaces before a project like a cozy country-style boundary, protect that inlet. A cracked pump often costs more than the whole washer is worth.
Depressurize First: Safety Steps Before You Twist Anything
Releasing pressure isn't just about freeing the hose. It stops a sudden spray of water when the fitting finally lets go. Skip it and you risk a face full of pressurized water.
Run through this quick safety check every time:
- Water off at the spigot.
- Machine powered down and unplugged, or engine stopped on gas units.
- Trigger squeezed until the hiss stops.
- Gloves on for grip and to guard against sharp fitting edges.
Gas models hold pressure the same way electric ones do. Manufacturer guidance is consistent here, so always crack open the manual before any repair. The guidance from the [U.S.
Consumer Product Safety Commission](https://www.cpsc.gov) on pressure equipment stresses relieving stored energy before servicing.
If the machine sat over winter, warm the fitting before you apply any force. Cold brass is brittle and cracks more easily.
When to Stop Forcing It and Cut the Hose Off
Stop forcing it the moment the fitting flexes, creaks, or the plastic starts to whiten. Those are warning signs the housing is about to crack. A cheap hose is not worth a broken pump.
If the hose end is truly welded on by corrosion, sacrifice the hose, not the machine. Cut the rubber hose a few inches back from the fitting. That relieves the twisting resistance the hose adds.
Then grip just the metal fitting with a strap wrench and back it off. Replace the hose end with a fresh brass repair coupling. These are inexpensive and standard.
If the fitting is fused to the pump inlet itself, that's a repair-shop call. When even penetrating oil and vinegar fail after a full soak, forcing it will only cost you more. Know when to walk away and let a pro handle it.
Reassembly Done Right: Washers, O-Rings, and PTFE Tape
Put it back together properly and you'll never fight this fitting again. Start by inspecting the rubber washer inside the female coupling. If it's cracked, flattened, or swollen, swap it for a fresh one.
For threaded metal-to-metal joints, a wrap or two of PTFE thread tape helps seal and prevents seizing. Wrap it clockwise so it doesn't unravel as you thread the fitting on. Never use thread tape on a fitting that seals with a rubber washer.
The washer does the sealing there.
Hand-tighten only. A garden hose connection needs to be snug, not cranked. Over-torquing is what crushed the washer and started this whole mess last time.
Check the quick-connect O-ring too. A cheap ring keeps the coupling sliding freely. A dab of silicone grease on the O-ring extends its life and keeps the collar smooth.
Keep It From Seizing Again: Storage and Maintenance Habits
Most stuck-hose problems trace back to storage, not bad luck. A few habits keep every fitting turning freely season after season.
- Drain the hose and the inlet fully before storing. Trapped water freezes and seizes joints.
- Disconnect the hose after each big job instead of leaving it screwed on for months.
- Wipe grit off the fitting before reconnecting.
- In hard-water areas, rinse brass fittings and dry them to slow limescale.
- Store the machine somewhere above freezing over winter.
A light smear of silicone lubricant on the threads once a season works wonders. It blocks corrosion and keeps brass from welding itself shut. Skip petroleum grease on rubber parts, since it degrades them.
If your washer earns its keep cleaning up around metal grid panel boundaries or patios, that grit exposure is constant. A quick rinse of the inlet after each use pays off. You'll find more upkeep guides over on the garden care hub.
Frequently Asked Questions
Why is my garden hose stuck on the pressure washer even after turning off the water?
Trapped pressure inside the machine is still clamping the seal. Power off the unit, then squeeze the spray trigger to bleed that pressure. You'll hear a hiss.
Once it stops, the hose usually unscrews by hand.
Can I use pliers to remove a stuck pressure washer hose?
Only as a last resort, and never on a plastic pump inlet. Pliers crush fittings and round off the flats. A rubber strap wrench grips evenly without damage and should always be your first tool.
How do I get a corroded brass fitting off?
Soak the joint in white vinegar for 15 to 30 minutes to dissolve limescale. For heavier corrosion, apply penetrating oil to the metal threads and wait. Then back it off gently with a strap wrench, rocking it as you turn.
What if the quick-connect collar won't slide back?
Grit or a swollen O-ring is jamming the spring. Rinse the collar under running water and work it back and forth. A drop of silicone lubricant frees a sticky spring quickly.
Replace the O-ring if it looks puffy or cracked.
Is it safe to use heat on a stuck fitting?
Heat helps on brass-to-brass joints, but keep it far from plastic housings and fuel. Use a hair dryer, not a torch. Warm the brass gently, then try unscrewing.
Never apply flame near a gas model's tank.
Your Quick Decision Guide by Fitting Type and Symptom
Match your symptom to the fix and you'll rarely need more than one try.
| Symptom | Likely cause | First move |
|---|---|---|
| Won't budge, no hiss yet | Trapped pressure | Squeeze trigger to depressurize |
| Tight from the first turn | Cross-threaded | Back off gently, rock as you turn |
| White or green crust | Corrosion or limescale | Vinegar soak, then strap wrench |
| Collar won't slide | Grit or swollen O-ring | Rinse, lubricate, replace ring |
| Seized after winter | Freeze expansion | Warm the joint, then unscrew |
If nothing works after a full soak and gentle force, cut the hose back and save the machine. The pump inlet is always worth more than the hose. Work gentle, work in order, and that fitting comes off clean every time.

Similar Posts