Fix a Garden Hose Spray Nozzle That Won’t Work
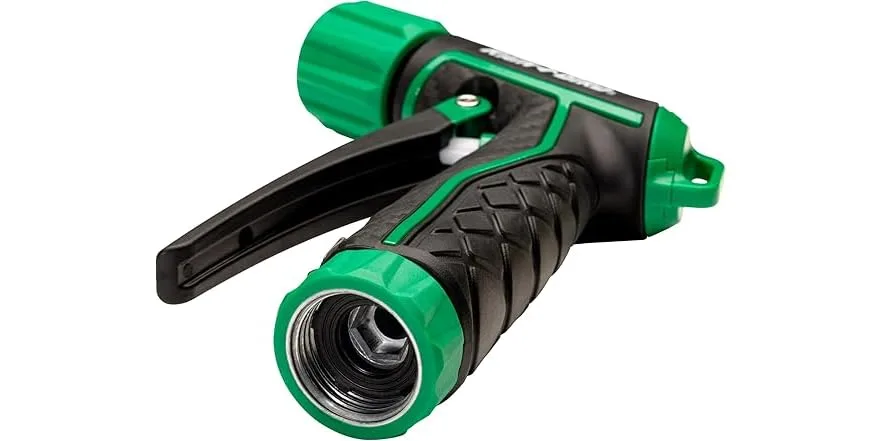
Most people asking how do I fix my garden hose spray nozzle are dealing with one of four things: a clogged head, a leaking connection, a stuck trigger, or a cracked housing. Each has a completely different fix. Getting the diagnosis right first is what saves you time, money, and a pointless trip to the hardware store.
All standard US garden hose nozzles use a ¾-inch GHT (Garden Hose Thread) fitting, which means replacement washers, O-rings, and parts are cheap and universally available. Most repairs take under 15 minutes once you know what you're dealing with. Here's how to work through it.
Quick Answer
To fix a garden hose spray nozzle, start by diagnosing the symptom. A clogged nozzle needs a 30-minute white vinegar soak. A leaking connection needs a new ¾-inch rubber washer.
A stuck trigger or seized collar needs silicone lubricant. A cracked housing is the only case that calls for full replacement.
Why Garden Hose Spray Nozzles Fail (The Four Most Common Causes)
Most nozzle failures trace back to one of four root causes. Knowing yours is the difference between a $1 fix and an unnecessary replacement.
| Failure | Symptom | Root Cause |
|---|---|---|
| Mineral clog | No flow or weak spray | Calcium and limescale blocking orifice holes |
| Worn inlet washer | Dripping at hose connection | Flat or cracked ¾-inch rubber washer |
| Seized trigger or collar | Stuck trigger, locked spray pattern | Corrosion, grit, or lack of lubrication |
| Cracked housing | Water escaping from the nozzle body | Freeze damage from water left inside |
The mineral clog is the most frequently reported failure mode. The U.S. Geological Survey (USGS) documents hard water as widespread across most of the United States, particularly in the Southwest, Midwest, and Great Plains.
Dissolved calcium and magnesium form scale deposits inside small orifice holes quickly, and the narrower the hole, the faster the blockage builds.
Freeze damage is the second most common cause of cracked or split housings. If you're in a region with hard winters, storing your hose equipment properly through the cold months makes the difference between a nozzle that lasts a decade and one that splits after the first hard frost.
Diagnose Your Nozzle Before You Touch a Tool
Don't start disassembling anything until you've matched your symptom to the right repair path. Misdiagnosis is the main reason a simple fix turns into a half-hour job.
No water or very weak flow
This is almost always a mineral clog. The orifice holes are small by design, and scale builds up fast in hard-water regions. Go straight to Fix #1.
If this only happens when running the hose through a pressure washer, the issue may be upstream pressure rather than the nozzle itself. Check the supply connection before disassembling.
Leaking at the hose connection
The inlet washer is almost always the culprit. It's a small ¾-inch rubber ring that sits at the connection point and flattens or cracks over time.
Even a slow drip adds up. The EPA's WaterSense program estimates that small household leaks collectively waste nearly 10,000 gallons per year. A new washer fixes it in two minutes.
Go to Fix #2.
Trigger stuck or won't release
Grit, old debris, or corrosion has seized the trigger pivot. A broken trigger spring is less common but possible. Go to Fix #3.
Spray pattern won't change
The adjustment collar has locked in place. This happens when it hasn't been turned regularly or when mineral deposits bind it over time. Go to Fix #4.
Water spraying sideways or unevenly
One or more orifice holes are partially blocked while others are clear. This is a partial clog, not a structural problem. The vinegar soak in Fix #1 handles it.
Visible crack in the housing
A cracked nozzle body can't be repaired reliably. Skip to the repair vs. replace section. A decent multi-pattern replacement runs $5 to $20.
The Parts of a Spray Nozzle You Actually Need to Know
You don't need to know every component. These five are the ones referenced throughout this guide.
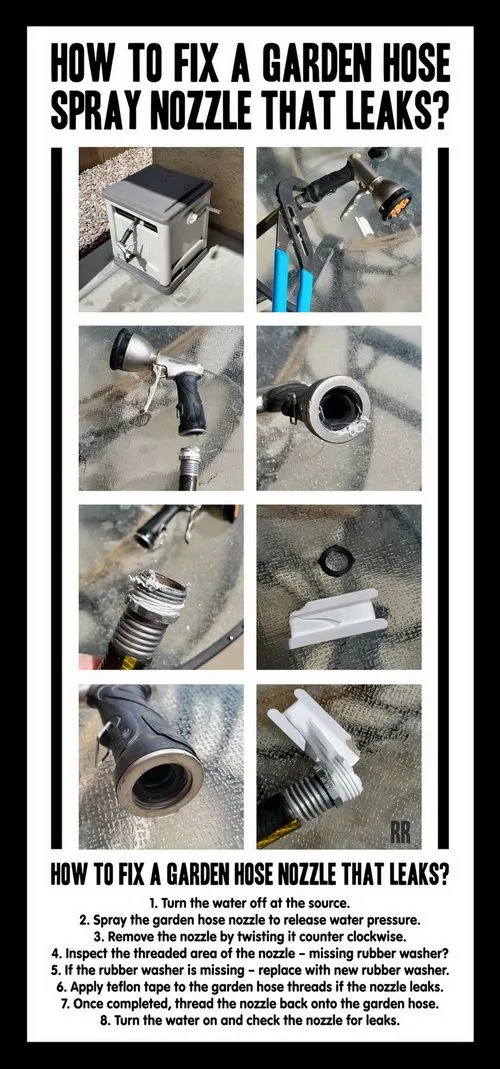
Inlet washer: The small rubber ring at the hose connection point. It creates a watertight seal when the nozzle is threaded onto the hose. This is the most replaced part on any nozzle.
O-ring seal: A rubber ring inside the handle joint. It stops water from leaking around the trigger area.
Trigger mechanism: The lever, pivot pin, and spring assembly that control water flow. On a pistol-grip nozzle, this is what you squeeze.
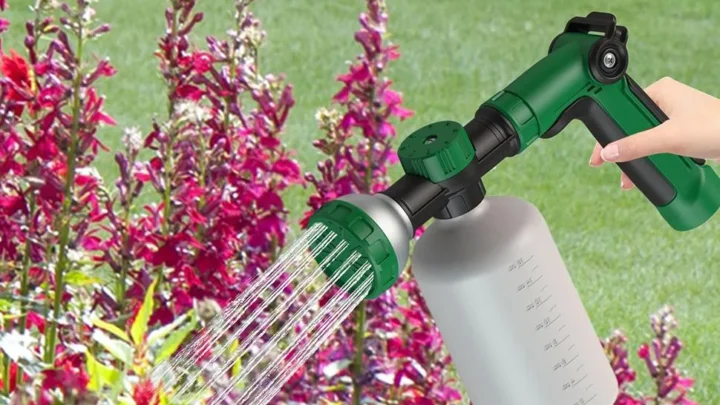
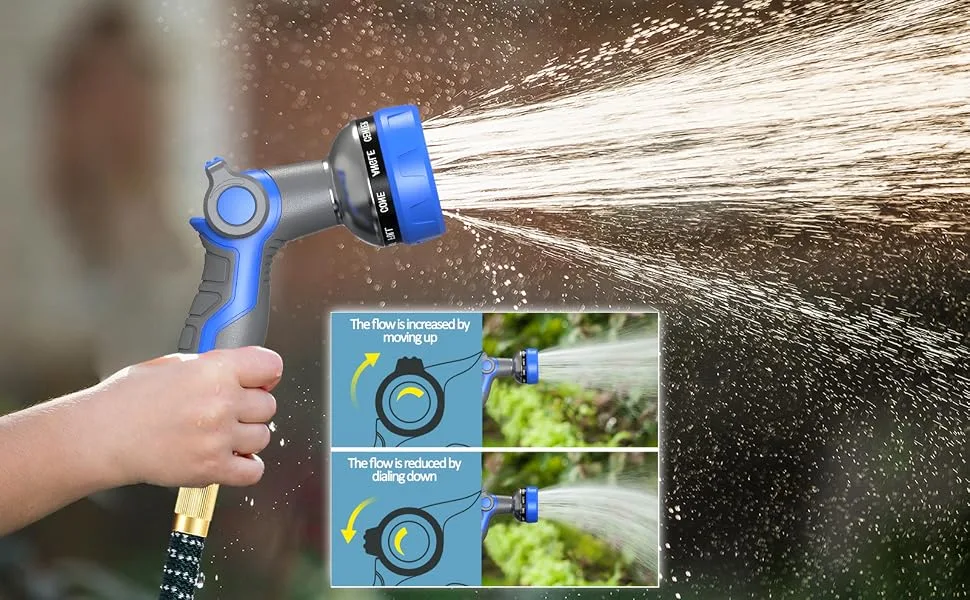
Adjustment collar: The rotating dial near the nozzle tip that selects the spray pattern (jet, mist, shower, fan, flat, cone).
Orifice holes: The small openings at the nozzle tip that water passes through. These are what mineral deposits block first.
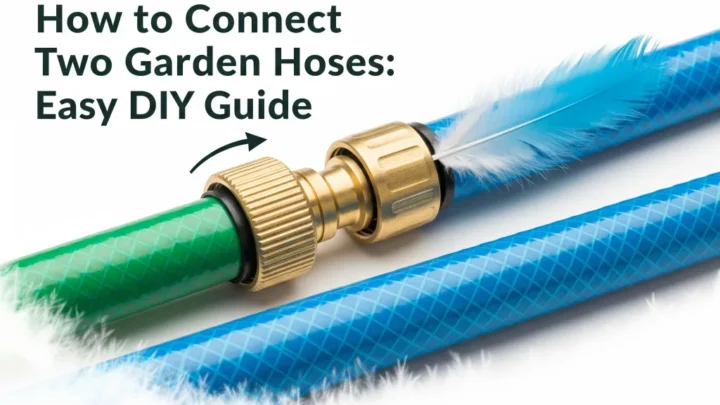
If the connection end of your nozzle is damaged rather than just the washer, it's worth checking whether the hose fitting itself can be swapped out before buying a whole new nozzle.
What You'll Need to Fix It (Everything Costs Under $10)
Most of what you need is already in the house.
| Item | What It's For | Approx. Cost |
|---|---|---|
| White vinegar (undiluted) | Dissolving mineral deposits | $1–$2 |
| ¾-inch rubber inlet washer | Replacing worn connection washer | Under $2 (pack of 10) |
| PTFE tape (plumber's tape) | Sealing the threaded connection | Under $2 |
| Toothpick or thin pin | Clearing individual orifice holes | Free |
| Old toothbrush | Scrubbing loosened scale | Free |
| Silicone grease or petroleum jelly | Lubricating O-rings and trigger pivot | $2–$4 |
| Flathead screwdriver | Disassembling trigger housing if needed | Free |
| Small bowl | Holding the vinegar soak | Free |
You won't need all of these for every fix. Match what you gather to your diagnosed symptom before you start pulling anything apart.
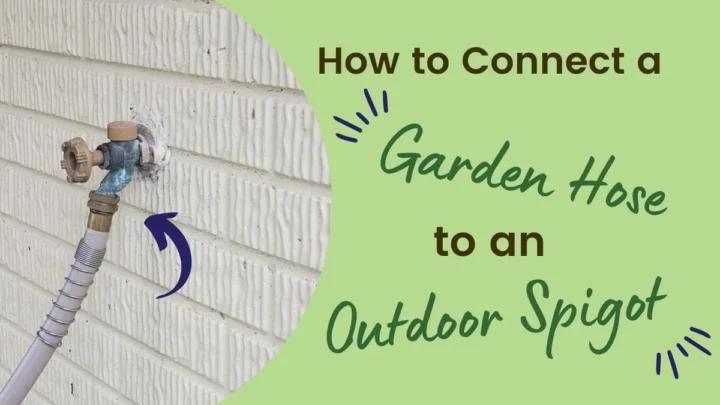
Before beginning any repair, turn off the water at the spigot and unscrew the nozzle from the hose by hand. If the hose won't budge at the tap, this guide on getting a stuck hose off the faucet walks through it safely without damaging the threads.
Fix #1: Clogged Nozzle — Clearing Mineral Deposits and Limescale
Use this fix when: the nozzle produces no water, weak water, or uneven spray, with no visible cracking in the housing.
White vinegar works because acetic acid dissolves calcium carbonate, the primary compound in hard water scale. No specialist products or tools are needed.
Step 1. Turn off the water at the spigot. Unscrew the nozzle from the hose by hand.
Step 2. Place the nozzle head-down in a small bowl. Pour in enough undiluted white vinegar to fully submerge the nozzle tip and orifice holes.
Step 3. Soak for 30 minutes for light buildup. For heavier deposits, extend to 2 hours.
Step 4. Remove the nozzle. Use a toothpick or thin pin to clear any remaining residue from individual orifice holes. Work gently.
These holes are small and don't need force.
Step 5. Scrub the nozzle tip with an old toothbrush to remove loosened scale from the surface.
Step 6. Flush under running tap water for 30 seconds. Reattach to the hose and test every spray pattern.
If flow is still weak after a full 2-hour soak, the deposits are too severe to shift with vinegar alone. Replacement is the right call at that point. A well-made multi-pattern nozzle runs $8 to $15 as of 2026, and using it for tasks like washing the car or watering the garden means it pays for itself quickly.
Fix #2: Leaking at the Hose Connection — Washer and PTFE Tape Repair
Use this fix when: water drips from where the nozzle meets the hose, even when it's firmly tightened.
The ¾-inch rubber inlet washer is almost always the cause. It sits in a small recessed seat at the base of the nozzle's threaded connection end. Over time it compresses, hardens, or cracks.
Replacement packs of 10 cost under $2 at any hardware store.
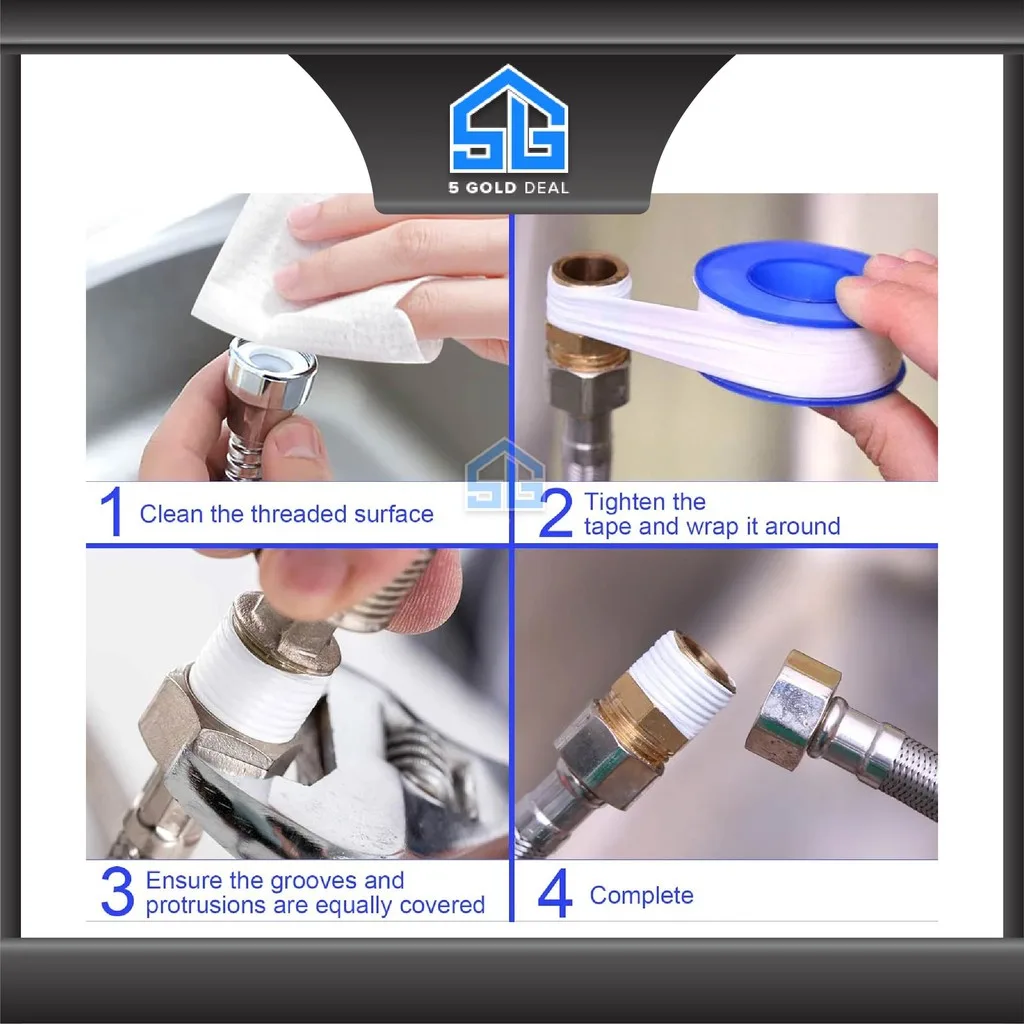
Step 1. Unscrew the nozzle from the hose. Look inside the connection end. The washer sits at the base of the threaded opening.
Step 2. Use a fingernail or small flathead screwdriver to pry out the old washer. Check the seat for debris and clean it out.
Step 3. Press a new ¾-inch washer firmly into the seat. It should sit flat with no gaps around the edge.
Step 4. If the leak continues, wrap the hose's male threads with 2 to 3 layers of PTFE tape. Wind in the direction of the thread so it doesn't unravel when you screw the nozzle back on.
Step 5. Reattach by hand. Hand-tight is enough. Overtightening with pliers or a wrench cracks plastic housings.
A properly sealed nozzle makes a noticeable difference for everyday tasks, whether you're watering plants or hosing down a patio. If dripping persists after both fixes, the threading on the hose end itself is likely damaged, which is a hose problem rather than a nozzle problem.
Fix #3: Stuck or Frozen Trigger — Lubrication and Disassembly
Use this fix when: the trigger won't pull, won't return after squeezing, or feels stiff and gritty.
Start with lubrication before you disassemble anything. Apply silicone grease or petroleum jelly to the trigger pivot point, the small pin where the trigger connects to the handle body. Work the trigger back and forth a dozen times.
This clears most stuck triggers without any tools at all.
If lubrication doesn't free it, remove the housing screws or trigger pin with a flathead screwdriver. Once the housing is open, check the pivot pin for visible corrosion and the spring for deformation or breakage. A slightly bent spring can sometimes be reshaped with needle-nose pliers.
A snapped spring means the nozzle needs either a rebuild kit or a full replacement.
Replacement springs for popular models from brands like Gilmour and Melnor are available directly from manufacturers, but they can be hard to source individually. A nozzle rebuild kit, where available, is usually the cleaner fix.
Fix #4: Seized Adjustment Collar — Freeing a Locked Spray Pattern
Use this fix when: the spray pattern dial won't rotate or moves only slightly before locking up.
Apply silicone grease around the collar joint and work it in with short back-and-forth twists. Don't force it with full hand strength on the first attempt. Mineral buildup in the collar groove is the usual cause, and the lubricant needs a moment to penetrate.
If the collar stays seized, soak the nozzle tip in white vinegar for 30 minutes, the same approach used in Fix #1, then re-lubricate and try again. Aggregate user feedback on multi-pattern nozzles suggests this combination frees most seized collars. If the collar spins freely without changing the spray pattern at all, the internal cam mechanism is broken and the nozzle needs replacing.
Fix #5: Leaking Around the Handle Joint — O-Ring Replacement
Use this fix when: water seeps from the join between the trigger handle and the nozzle body, not from the hose connection end.
This is a different leak point from the inlet washer. The O-ring is a rubber ring seated inside the handle joint itself, and it fails the same way: it hardens over time and loses its ability to seal under pressure. Don't confuse the two.
A washer fix won't stop a handle-joint leak, and vice versa.
Unscrew or unclip the handle body at the joint. Locate the O-ring in its groove, pry it out carefully, and press in a matching replacement. Coat the new O-ring lightly with petroleum jelly before fitting.
This helps it seat correctly and significantly slows future wear. O-ring assortment packs at most hardware stores cover the common sizes for under $3.
When the Nozzle Is Beyond Repair: Cracked Housing and Stripped Threads
Two failure modes have no reliable fix: a cracked housing and stripped internal threads.
A cracked body leaks under pressure no matter how it's sealed from the outside. Confirm the crack is the actual source by running the water and watching where it escapes first. If water is pushing through the body itself rather than from a joint or connection, replacement is the only practical call.
Stripped threads feel like the nozzle spinning on the hose without catching, or tightening halfway before going slack. PTFE tape can temporarily add enough grip for light use, but it won't hold reliably at standard residential water pressure of 40 to 80 PSI. A quality multi-pattern replacement runs $8 to $20.
Before discarding the old hose along with the nozzle, it's worth checking whether the rubber itself can be recycled rather than going straight to landfill.
Repair vs. Replace: How to Make the Call in Under a Minute
Repair when the fix needs only a washer, O-ring, lubricant, or a vinegar soak. These parts cost under $2 and the job takes minutes. Replace when the housing is cracked, threads are stripped, or the trigger spring is broken with no rebuild kit available.
| Repair | Replace |
|---|---|
| Mineral clog | Cracked housing |
| Worn inlet washer | Stripped internal threads |
| Stuck trigger (freed by lubrication) | Broken trigger spring, no kit available |
| Seized adjustment collar | Internal cam mechanism broken |
| Leaking O-ring | Two or more failures at once |
If a nozzle has two or more problems simultaneously, replacement is usually cheaper than sourcing parts separately. Basic multi-pattern nozzles start at $8. Brass models run $15 to $35 but outlast plastic by several years under regular use.
Mistakes That Turn a Simple Fix Into a Bigger Problem
Overtightening the connection. Hand-tight is all a garden hose nozzle needs. Using pliers or a wrench on a plastic housing cracks it. If you've used a wrench for years, check the housing for hairline cracks near the connection end.
Skipping the diagnosis. Replacing a washer when the problem is a clog wastes time and money. Each fix in this guide targets a specific symptom. Jumping straight to disassembly without identifying the cause first is the single most common reason a simple repair turns into a longer job.
Using boiling water to descale. Hot water warps plastic nozzle housings. Cold or room-temperature white vinegar dissolves calcium carbonate just as effectively without any risk to the material.
Leaving water inside before winter. Water expands as it freezes. A nozzle stored full is a nozzle with a cracked housing come spring. It's one of the most avoidable failures there is.
How to Store and Maintain Your Nozzle So This Doesn't Happen Again
Drain the nozzle completely after each use in freeze-prone climates. Detach it from the hose and bring it indoors before the first hard frost. If you're uncertain about leaving the whole hose setup outdoors through winter, the short answer is: don't.
Once a season, apply a small amount of silicone grease to both the adjustment collar and the trigger pivot. This keeps each moving freely and prevents the seizure problems in Fix #3 and Fix #4. It takes two minutes and eliminates a future repair.
Check the inlet washer each spring before first use. If it feels hard or shows visible cracking, swap it out then rather than waiting for a mid-season drip to appear.
Frequently Asked Questions
How long does a vinegar soak take to clear a clogged nozzle?
For light mineral buildup, 30 minutes is usually enough. For heavier scale in hard-water regions, soak for up to 2 hours. After soaking, use a toothpick to clear individual orifice holes and flush under running water before reattaching to the hose.
What size washer do I need for a garden hose nozzle?
Nearly all US standard garden hose nozzles use a ¾-inch GHT inlet washer. If you're unsure, bring the old washer to the hardware store to match it against the display. Replacement packs of 10 cost under $2 and cover most repairs for years.
Why is my nozzle leaking from the handle, not the connection?
A leak from the handle joint points to a worn O-ring inside the body, not the inlet washer. These are two different seals in two different locations. Replace the O-ring using the steps in Fix #5.
The part costs under $1.
How do I know when to replace instead of repair my nozzle?
Replace if the housing is visibly cracked, the threads are stripped, or the trigger spring is broken with no rebuild kit in stock. Two or more simultaneous failures also tip the balance toward replacement. A new nozzle at $8 to $20 is often cheaper than sourcing multiple individual parts.
Why does my nozzle drip after I turn the water off at the tap?
A brief drip after shutoff is usually residual pressure releasing from the hose, not a nozzle defect. If it continues for more than a few seconds, check the inlet washer first. A worn washer that can't seat fully against the hose fitting is the most common cause of persistent post-shutoff dripping.

Similar Posts