How to Connect a Garden Hose (Step-by-Step Guide)
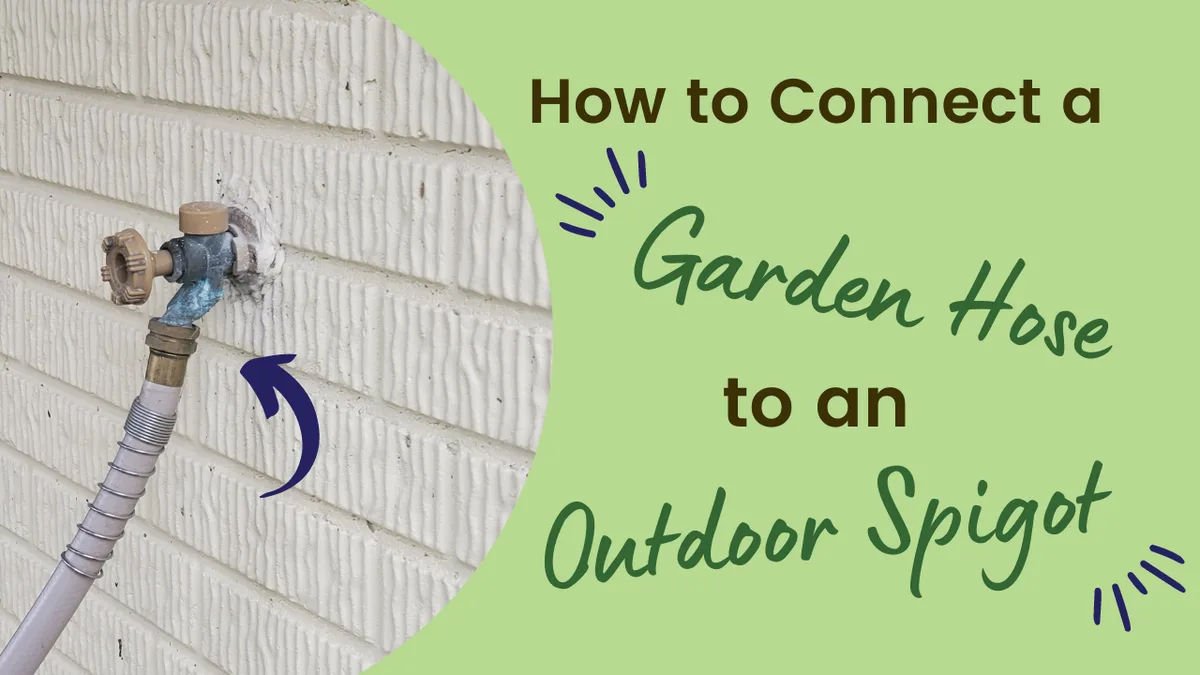
If you're wondering how do I connect a garden hose, it takes under two minutes and needs no tools. The process comes down to three things: a working rubber washer, aligned threads, and a hand-tight clockwise twist.
Almost every residential garden hose and outdoor faucet in the US shares the same thread standard, Garden Hose Thread (GHT), defined under ASME B1.20.7. That compatibility is built in from the factory. Knowing what each part does before you start makes the whole thing feel obvious.
Quick Answer
To connect a garden hose, check the rubber washer inside the female coupling first. Thread the female end onto the outdoor faucet clockwise. Hand-tighten until firm, then turn the water on slowly.
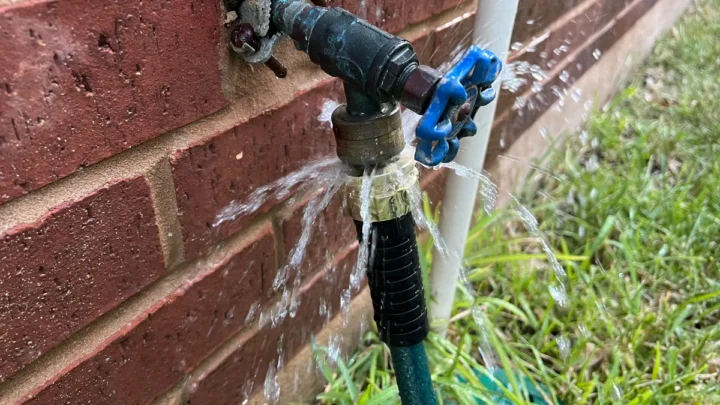
Check the joint for drips. A leaking connection almost always means the washer needs replacing.
What You Actually Need to Connect a Garden Hose (It's Less Than You Think)
For a standard outdoor connection, you need a garden hose, an outdoor faucet, and an intact rubber washer inside the hose's female coupling. That's all.
| Item | Details | Notes |
|---|---|---|
| Garden hose | Standard GHT fitting | 5/8 inch diameter is most common |
| Rubber hose washer | Pre-installed in most female couplings | Replace if cracked or missing |
| Outdoor hose bib | Residential spigot | GHT threads are standard in the US |
| Slip-joint pliers | Optional | Only if connection drips after hand-tight |
| Spare washer pack | Optional but recommended | $1 to $5 for a multi-pack |
You don't need pipe sealant or Teflon tape. The rubber washer creates the seal. The threads just hold things in position.
Whether you're watering your garden beds or connecting a spray nozzle for the car, the process is the same every time.
Know Your Parts: Male End, Female End, and the One Small Piece That Causes Most Leaks
Pick up your hose and look at both ends. One has external threads (the male end). The other has a wider opening with internal threads (the female end).
The female end threads onto the faucet. The male end accepts nozzles, sprinklers, and other attachments.
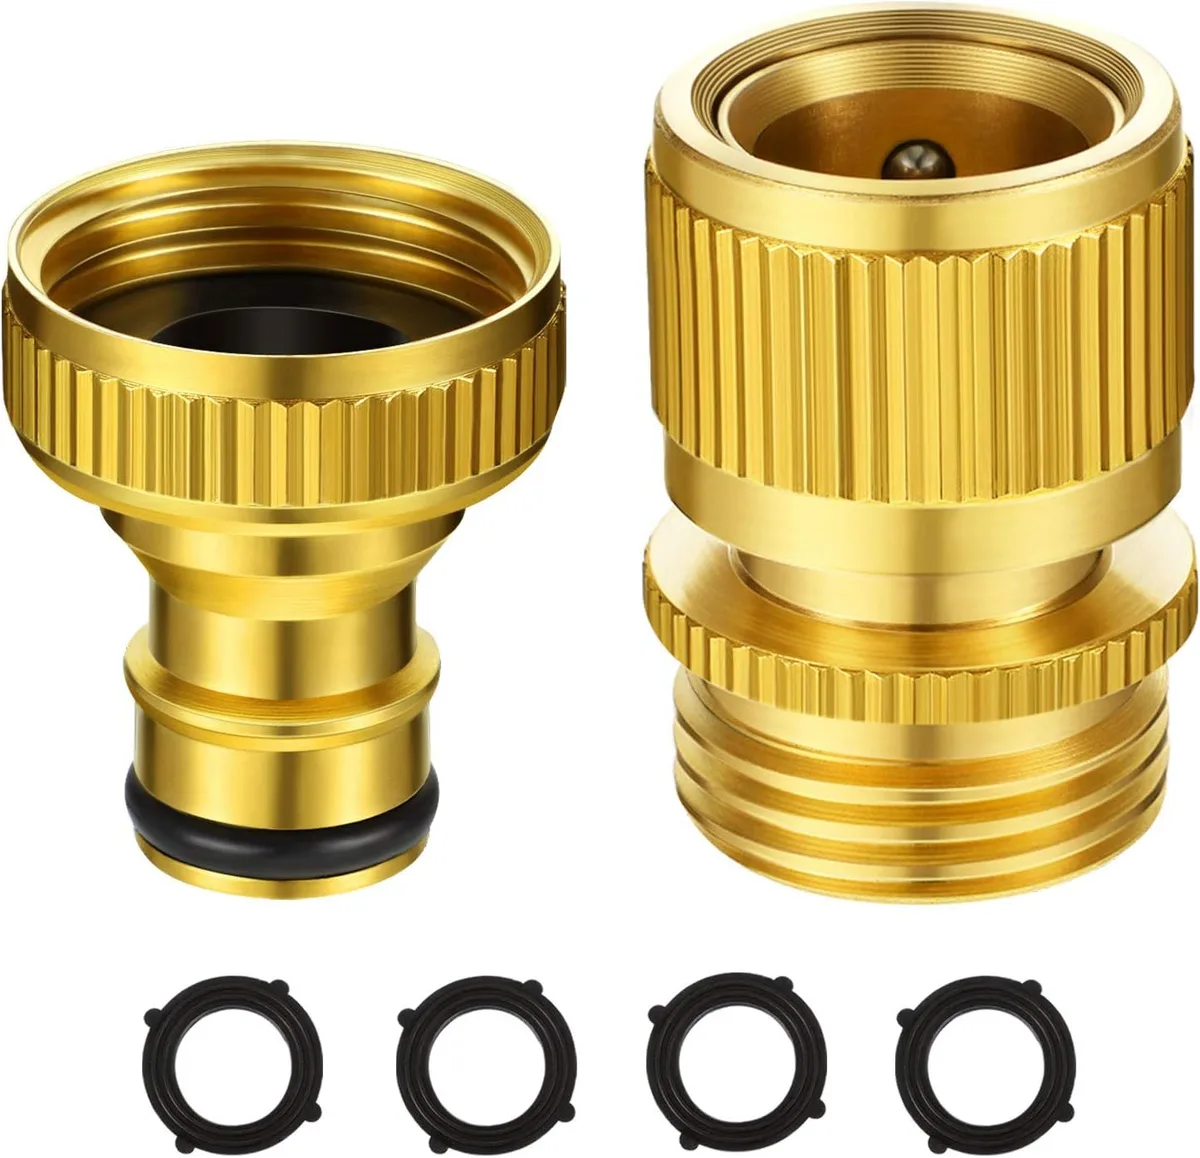
Reach inside the female coupling and you'll feel a small flat rubber disc. That's the hose washer. When you tighten the coupling onto the faucet, this disc compresses against the faucet tip and forms the seal.
The threads alone don't stop water.
| Part | Location | Function |
|---|---|---|
| Female coupling | Faucet end of hose | Threads onto outdoor hose bib |
| Male coupling | Attachment end of hose | Accepts nozzles, sprinklers, soaker hoses |
| Rubber washer | Inside female coupling | Creates the watertight seal |
| Hose bib | Outdoor faucet tip | Male-threaded to receive the female hose end |
If the coupling is cracked or the threads are stripped, replacing just the damaged end is much cheaper than buying a new hose and takes about five minutes.
Garden Hose Thread (GHT): Why Almost Every Hose and Faucet in the US Already Match
Garden Hose Thread is the national standard for outdoor hose connections in the US. Per ASME B1.20.7, GHT uses a 3/4-inch nominal diameter with 11.5 threads per inch. Every standard residential hose bib and garden hose manufactured for the US market is built to this spec.
As of 2026, this standard has been in consistent use for decades without meaningful change. A hose from years ago fits a new faucet without adapters. That's by design.
GHT and NPT (National Pipe Thread) are not the same and are not compatible. NPT is used on indoor plumbing pipes. The thread angle differs, so forcing the two together damages both fittings.
If you're adapting a hose to a kitchen tap or indoor utility sink, you need a dedicated GHT-to-NPT adapter.
UK and European faucets typically use BSP (British Standard Pipe) fittings, which also won't match a US GHT hose. GHT-to-BSP adapters are widely available, but confirm your faucet's thread type before buying.
For tips on water-efficient outdoor setups, the EPA's WaterSense program offers practical guidance backed by federal conservation standards.
How to Connect a Garden Hose to an Outdoor Faucet: Step by Step
Start with the faucet turned off completely. Connecting under active water pressure makes threading harder and causes unnecessary splash.
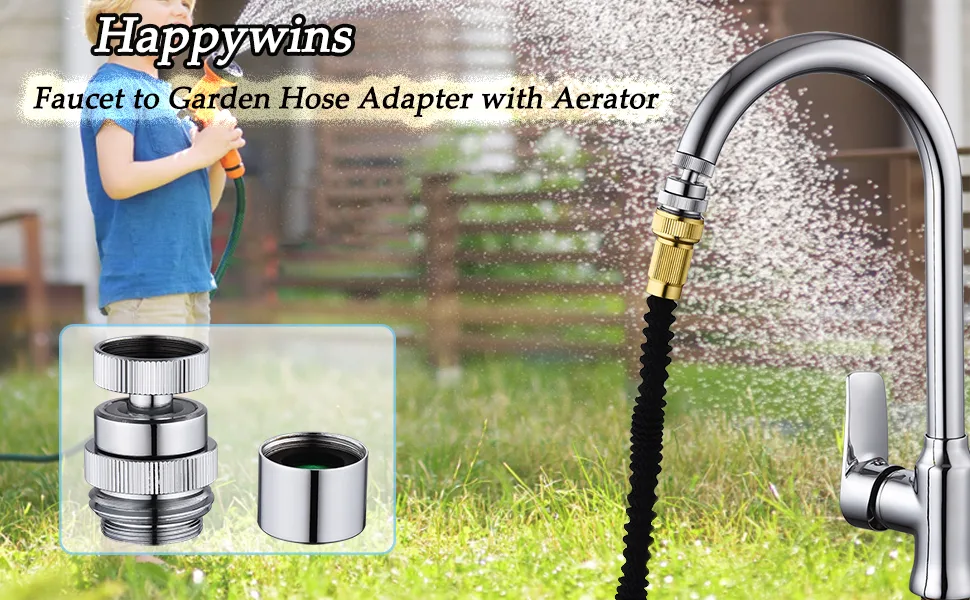
Step 1: Check the Rubber Washer Inside the Female Coupling
Look inside the female end. You should see a flat rubber ring sitting flush against the inner rim. Press it lightly with a fingernail.
It should feel firm but pliable. If it's hard, cracked, or missing, replace it before connecting. This single check prevents most leaks.
Step 2: Align the Threads Without Cross-Threading
Hold the female coupling against the hose bib and rotate counter-clockwise slowly until you feel a slight drop or click. That's the thread start seating correctly. Then rotate clockwise to engage.
Skipping this step is how cross-threading happens. Forcing the coupling clockwise from a random starting position grates the threads against each other at the wrong angle and strips both fittings.
Step 3: Hand-Tighten, Then Test
Turn the coupling clockwise until you feel firm resistance. For connections with an intact washer, hand-tight is usually enough.
Turn on the faucet slowly and watch the joint. If a drip forms, turn off the water and add a quarter-turn with slip-joint pliers. Never over-torque plastic couplings.
They crack under excessive force and need replacing entirely.
If dripping continues after snugging up, replace the washer and retest.
How to Connect the Other End: Nozzles, Sprinklers, and Hose Attachments
The male end of your hose connects to whatever attachment you're using. The process mirrors the faucet connection: check for a washer in the attachment's female inlet, align the threads, and hand-tighten clockwise.
Most standard attachments (spray nozzles, wands, and oscillating sprinklers) have female GHT inlets with their own washers built in. Check those at the start of each season. They degrade at the same rate as your hose-end washer.
Common attachment setups:
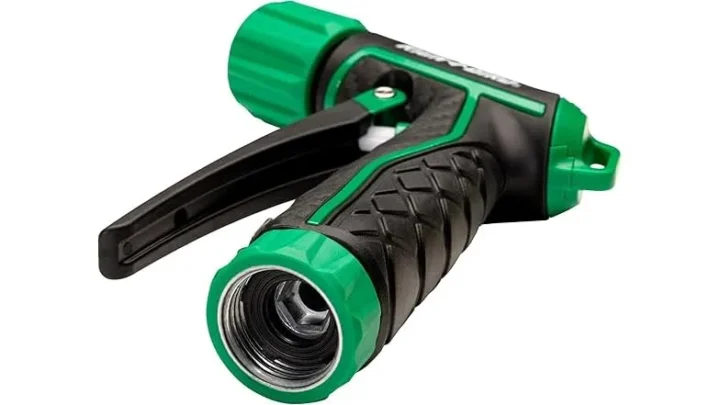
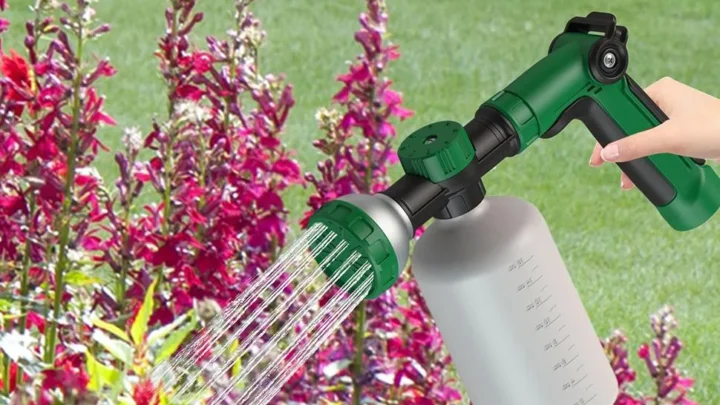
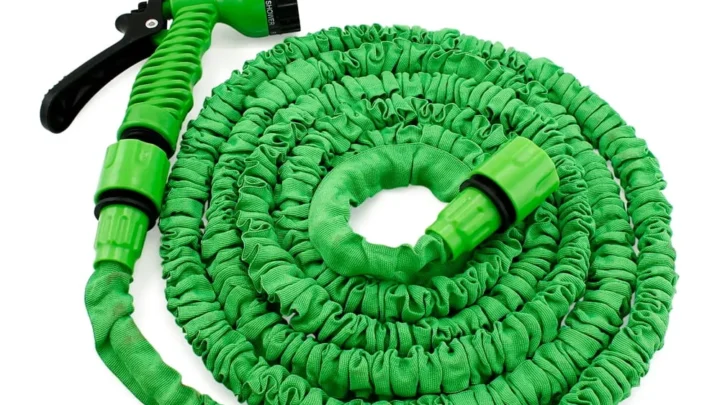
- Spray nozzle or pistol grip: Threads directly onto the male end. Good for washing your car or rinsing hard surfaces.
- Oscillating or rotary sprinkler: Same GHT thread-on connection. Good for even lawn coverage.
- Soaker hose: Connects via a hose-to-hose coupler. Both ends are GHT. Great for slow-watering garden rows without waste.
- Spray wand or extension lance: Threads onto the male end. Always check the inlet washer before connecting.
- Dog wash nozzle: A gentle low-pressure head works well for hosing down your dog outdoors in warmer months.
Pressure washer connections use different inlet fittings and need their own approach. That's covered in the section below.
Connecting Two Garden Hoses Together (and What Size to Watch For)
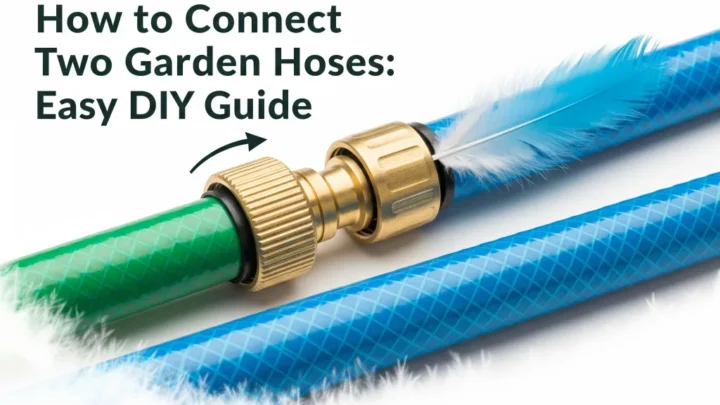
Two standard hoses connect directly to each other. The male end of one threads into the female end of the other, just as you'd connect to a faucet. No adapter is needed as long as both hoses use standard GHT fittings.
The thing to watch is diameter. Connecting a 1/2-inch hose to a 5/8-inch hose restricts flow at the narrower section for the entire run. You'll notice a pressure drop at the nozzle end.
Matching diameters throughout keeps flow consistent.
The internal diameter of your hose matters most when extending your reach. Runs beyond 50 feet drop pressure noticeably, especially with smaller-diameter hose. For longer combined lengths, a 3/4-inch hose holds pressure better than a 5/8-inch or 1/2-inch option.
If the male end of one hose is damaged, a female-to-female coupling (also called a hose joiner or mender) lets you connect two female ends directly. These run $3 to $8 at most hardware stores.
How Quick-Connect Fittings Work and When They're Worth the Upgrade
Quick-connect fittings replace threading with a push-and-click locking system. You install a male adapter on your faucet once, threaded on just like a standard hose. Every attachment with a matching female receiver then snaps on and off in under a second.
They're worth it if you regularly swap between a nozzle, a sprinkler, and a soaker hose. For a single fixed setup, they add cost with little practical benefit.
Most quick-connect systems are brand-specific. A Gardena receiver won't accept a Gilmour adapter. If you go this route, buy one brand throughout and stick with it.
Aggregate user feedback consistently flags mixed-brand incompatibility as the leading frustration with these systems.
Setup is the same as any other connection: check the washer in the adapter's female side, thread it clockwise onto the faucet, hand-tighten, and test for drips.
Connecting a Garden Hose to a Pressure Washer
Most residential pressure washers use either a standard 3/4-inch GHT inlet or an M22 fitting, depending on the brand and model. Check your pressure washer's inlet label or manual before connecting. Forcing a GHT coupling onto an M22 inlet strips both fittings.
For a GHT inlet, the connection mirrors any faucet. Thread the female hose end clockwise, hand-tighten, and check for drips. Standard garden hoses typically rate to 150 to 250 PSI burst pressure, which is adequate for the water supply side of most home pressure washers.
If a hose gets stuck at the inlet after use, releasing a locked pressure washer connection requires releasing residual pressure from the unit before you try to unthread anything. Pulling on a pressurized fitting damages both the hose end and the inlet.
The Rubber Washer: How to Inspect It, Replace It, and Pick the Right One
The washer is the one consumable in a garden hose connection. Everything else lasts for years. The washer doesn't.
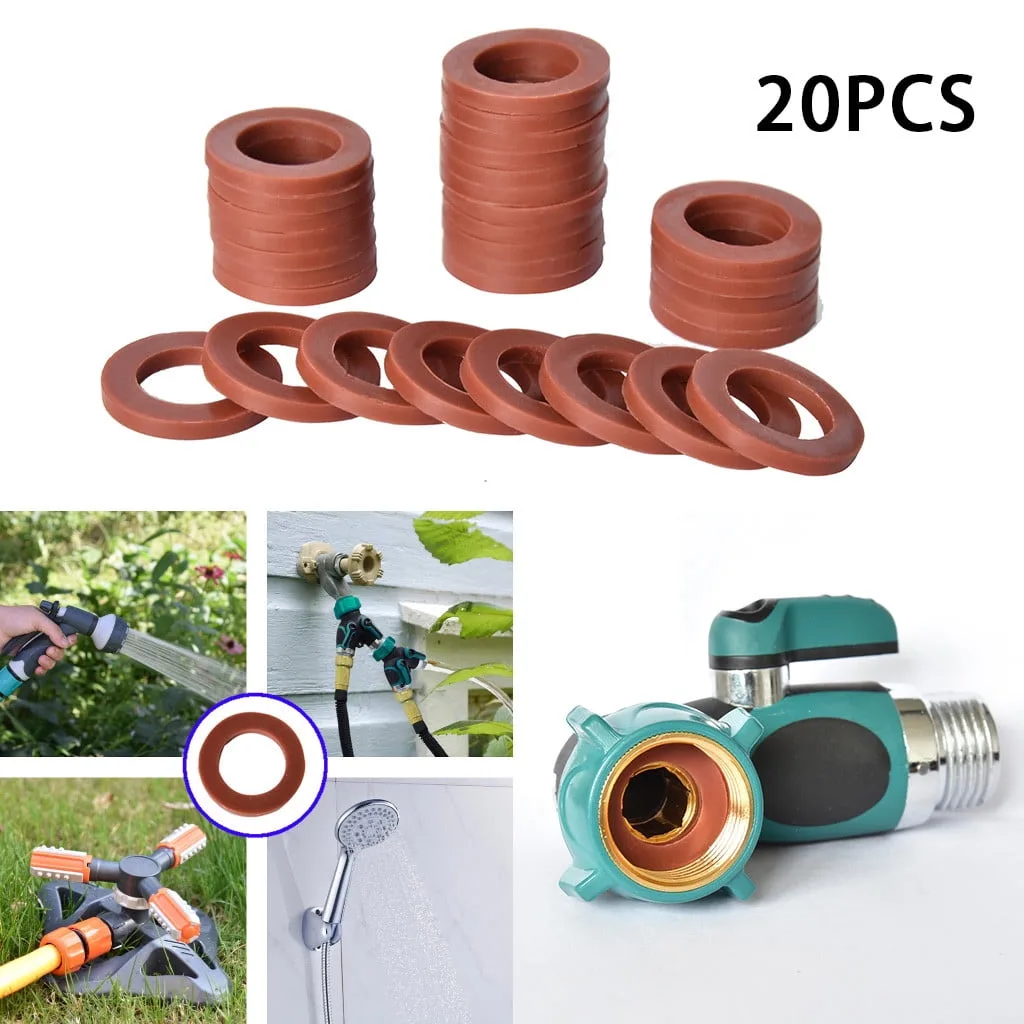
Inspecting it: Pull the washer out with a fingernail or small flathead screwdriver. A good washer feels firm but pliable and sits flat. A failing one is hard, cracked, compressed into a thin disc, or missing entirely.
If the edge crumbles under light pressure, it needs replacing.
Replacing it: Press the new washer flat against the inner rim of the female coupling until it sits flush and doesn't rock. Standard garden hose washers are 3/4-inch flat rubber rings and fit all GHT couplings. Multi-packs of 10 to 25 washers cost $2 to $5 and last for years.
Check washers at the start of each season, especially on any hose that stayed connected over winter. Cold temperatures harden rubber quickly, and a washer that looked fine in September may be brittle by spring.
What's Causing That Leak? How to Diagnose a Dripping Hose Connection
Leaks appear in distinct places, and each location points to a specific problem.
| Where the drip is | Most likely cause | Fix |
|---|---|---|
| At the faucet joint | Worn, cracked, or missing washer | Replace the washer |
| At the nozzle or attachment end | Attachment washer or stripped threads | Replace washer, inspect threads |
| Along the hose body | Puncture or split in the hose wall | Repair kit or cut-and-recouple |
| Coupling wobbles when hand-tight | Cross-threading damage | Replace the damaged coupling end |
| Spray from multiple spots | Pressure spike from a kink or blockage | Check for kinks before retesting |
Drips at the faucet joint account for the vast majority of connection problems. A fresh washer fixes most of them in under two minutes. If the drip continues after a new washer, the faucet's male threads are likely corroded or worn.
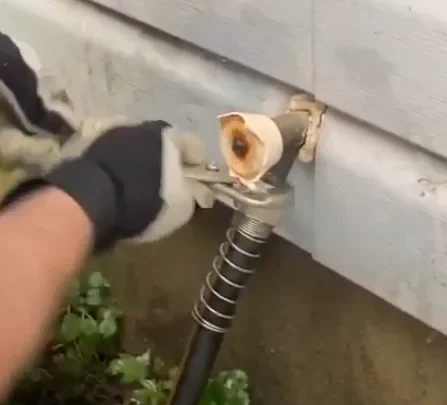
A coupling that leaks and wobbles when tightened is almost always cross-threading damage. Getting a stuck or damaged fitting off the faucet is often easier than it looks, but the fitting has to come off cleanly before a new coupling can seat properly.
Brass vs. Plastic Hose Couplings: Which One to Use
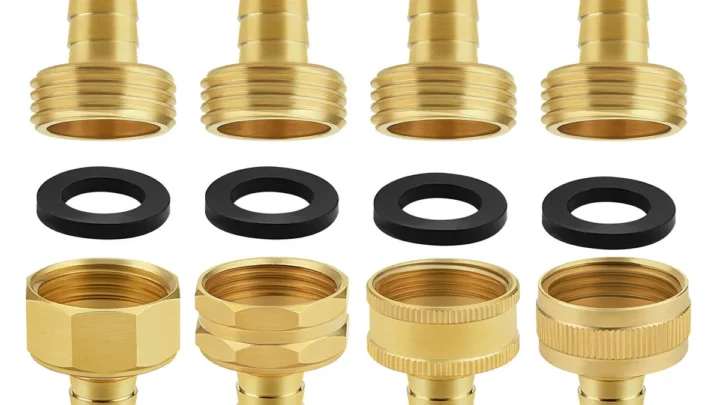
Brass lasts longer. Brass couplings resist UV degradation, handle temperature swings better, and thread onto fittings more cleanly than plastic. They're heavier, but they don't crack under over-tightening and won't warp sitting in hot sun.
Plastic couplings are lighter and cheaper, but aggregate user reviews consistently report cracking after one or two seasons, particularly in climates with wide temperature swings. They're acceptable for occasional light use, but not for a hose stored outside year-round.
Some mid-range hoses use aluminum couplings as a middle ground. Aluminum is lighter than brass and more durable than plastic, though more prone to corrosion if left in pooled water.
| Coupling material | Best for | Watch out for |
|---|---|---|
| Brass | Regular use, outdoor storage | Higher upfront cost |
| Aluminum | Light seasonal use | Corrosion if left wet |
| Plastic | Occasional or indoor use | Cracking, thread stripping |
Mistakes That Cause Leaks, Cracked Fittings, or a Hose That Won't Budge
Most connection problems trace back to a short list of avoidable errors.
- Using Teflon tape on GHT threads. Garden hose couplings seal via the rubber washer, not the threads. Tape adds thickness that prevents the washer from sitting flat, making dripping worse rather than better.
- Skipping the washer check. Connecting without inspecting the washer is the most common reason a brand-new connection drips immediately.
- Over-tightening plastic couplings. Hand-tight plus a quarter-turn is enough. Beyond that, plastic fittings crack, especially in warm weather.
- Forcing threads clockwise without finding the seat. Cross-threading ruins fittings fast and can't be fixed by tightening harder.
- Leaving the hose connected over winter. Water expands when it freezes. A hose left full and attached through a freezing night can crack the pipe behind the faucet.
Drinking Water and Garden Hoses: When NSF Certification Actually Matters
Standard garden hoses are not rated for drinking water. Most vinyl and rubber hoses can leach plasticizers into water that sits inside them. For general lawn watering, this isn't a concern.
For filling drinking vessels, cooking, or irrigating edible crops, it matters.
Hoses labeled NSF/ANSI 61 certified are tested and approved for contact with potable water. This certification, overseen by NSF International, confirms the hose materials won't contaminate water passing through them. Lead-free labeling is a related but separate claim worth checking alongside it.
If you use your hose near food gardens or let children drink from it, an NSF 61-certified hose is worth the extra cost. For everything else, a standard hose is fine.
How to Disconnect and Winterize Your Hose Before the First Frost
Disconnect the hose from the faucet at the end of the season. Leaving it attached traps water in the faucet neck, and when that water freezes, it can crack the pipe behind the wall.
Once disconnected, drain the hose completely before storage. Hold the female end higher than the male end and walk it out so gravity clears the remaining water. Leaving a garden hose outside through winter shortens its lifespan even when disconnected.
Indoor or sheltered storage is always the better option.
Frost-free hose bibs are designed to drain themselves after shutoff, but only when the hose is removed first. A hose left attached blocks that internal drainage and defeats the frost-free design entirely.
Frequently Asked Questions
Do I need Teflon tape to connect a garden hose?
No. Garden hose connections seal via the rubber washer, not the threads. Tape on GHT threads adds thickness that stops the washer from seating flat and can increase dripping.
Skip the tape entirely and focus on washer condition instead.
Why does my garden hose leak at the faucet?
A drip at the faucet joint almost always means the rubber washer is cracked, compressed flat, or missing. Remove the female coupling, inspect the washer, and replace it. A fresh 3/4-inch flat rubber washer costs under $1 and resolves the leak in most cases.
How tight should I tighten a garden hose connection?
Hand-tight is enough for most connections with a good washer in place. If it still drips, add no more than a quarter-turn with slip-joint pliers. Over-tightening doesn't improve the seal.
It cracks plastic couplings and strips threads.
Can I connect two hoses with different diameters?
Yes, GHT threads are the same size regardless of hose diameter, so they connect directly. The narrower hose restricts flow for the entire run, though. For consistent pressure at the nozzle end, keep diameters matched throughout.
How often should I replace the rubber washer?
Check washers at the start of each season. A good-quality rubber washer typically lasts two to four seasons under normal outdoor use. Replace it whenever it feels hard, shows visible cracking, or a connection starts dripping despite being properly tightened.

Similar Posts