Why Tomato Seedlings Die After Transplanting (And How to
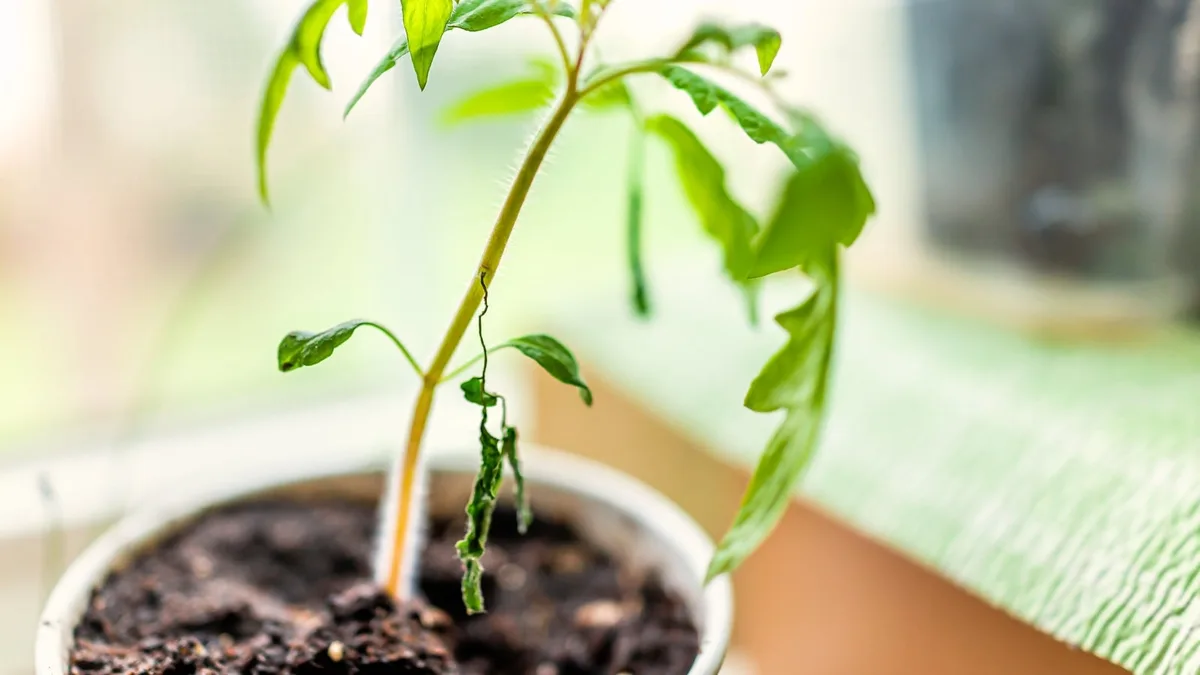
You babied those tomato seedlings for weeks under grow lights. Then two days after transplanting, they wilt, flop over, or blacken at the base. If you're asking why are tomato seedlings dying after transplanting, the answer almost always comes down to a handful of culprits: cold soil, transplant shock, damping off, cutworms, or a rushed hardening off.
The good news is that each cause leaves a different clue on the plant. Research from the University of Minnesota Extension and other land-grant programs confirms tomato roots essentially stop developing below 60°F soil temperature. That single fact kills more spring transplants than pests do.
This guide, updated as of 2026, walks you through fast diagnosis, on-the-spot rescue, and prevention for next season.
Why Tomato Seedlings Die After Transplanting (The Short Version)
Tomato seedlings usually die after transplanting from one of five causes. Damping off rots the stem right at the soil line. Transplant shock wilts leaves while roots recover.
Cutworms sever stems cleanly overnight. Cold soil below 60°F stalls roots and starves the plant. Poor hardening off leads to sunscald, wind damage, and collapse.
Diagnose Your Seedlings by Symptom
Grab a flashlight and look at the plants close up. The stem, the soil line, and the leaves each tell you something different. Aggregate reports from cooperative extension services show most gardeners misdiagnose the first time and treat the wrong problem.
Wilting With Green, Intact Stems
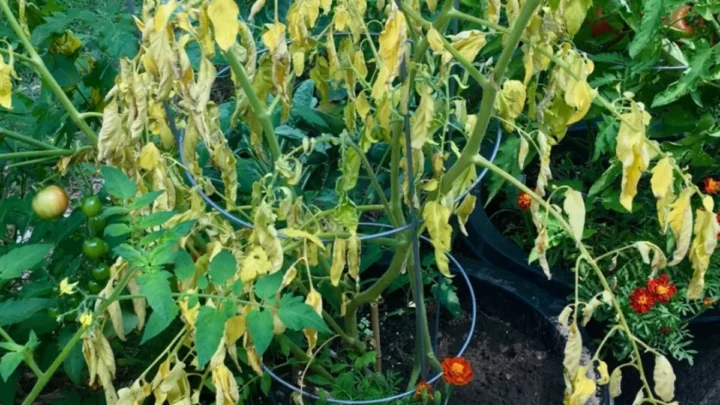
This is classic transplant shock. The roots were disturbed in the move, so the plant can't pull water fast enough to feed the leaves. Stems stay green and firm.
Leaves droop but don't die.
Recovery usually takes 5 to 10 days if you water gently and shade the plant for a couple of days.
Stems Pinched or Rotted at the Soil Line
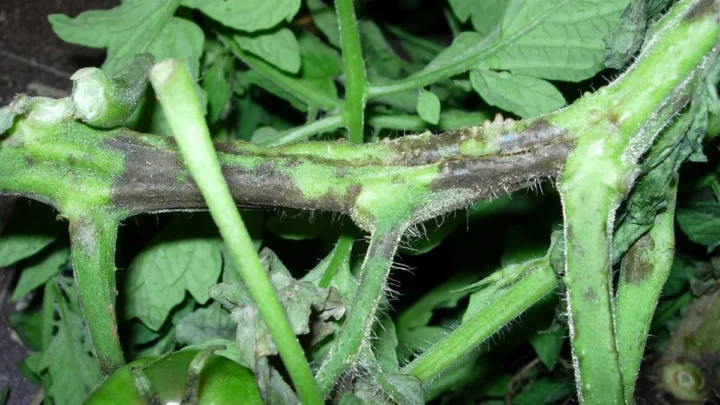
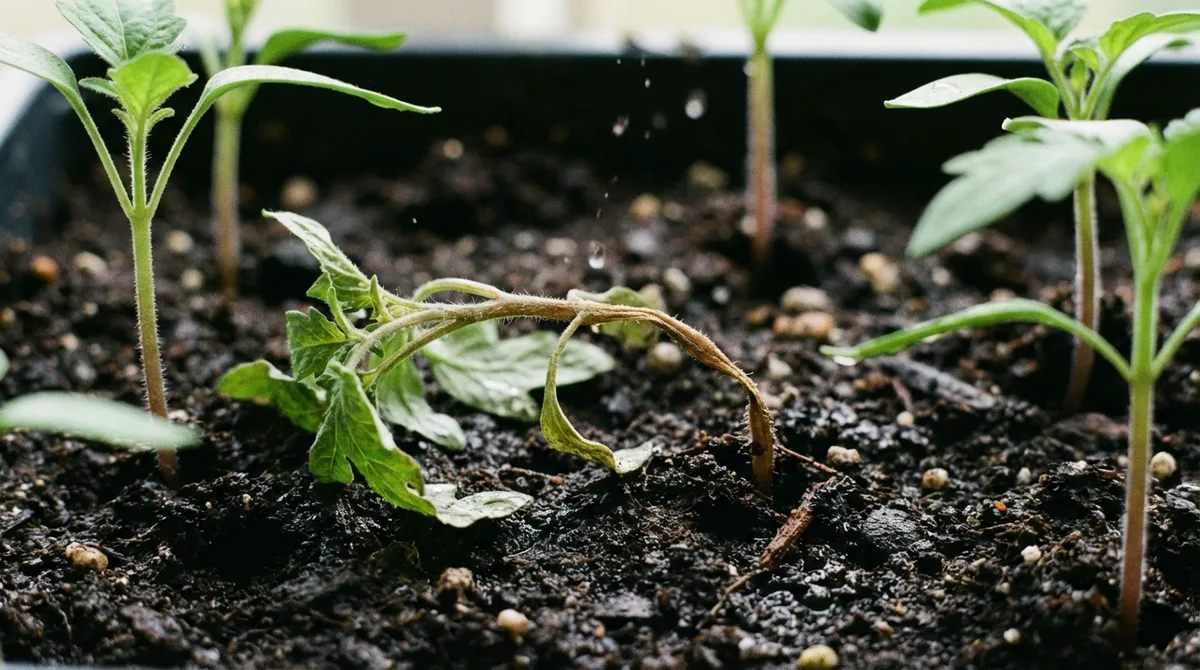
This is damping off, and it's almost always fatal for the individual plant. Fungal pathogens like Pythium, Rhizoctonia, and Fusarium attack the stem right where it meets the soil. You'll see a thin, dark, water-soaked pinch.
The top looks fine for a day, then flops over dead.
Stems Cleanly Severed Overnight
If you find your seedling toppled with a clean cut at soil level and the top still fresh, that's cutworms. These caterpillars hide in the top inch of soil during the day and feed at night. One larva can take out three or four seedlings in a single evening.
Yellow, Purple, or White-Patched Leaves
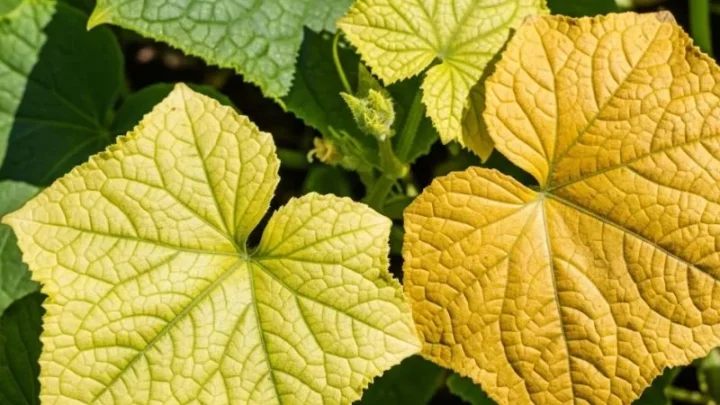
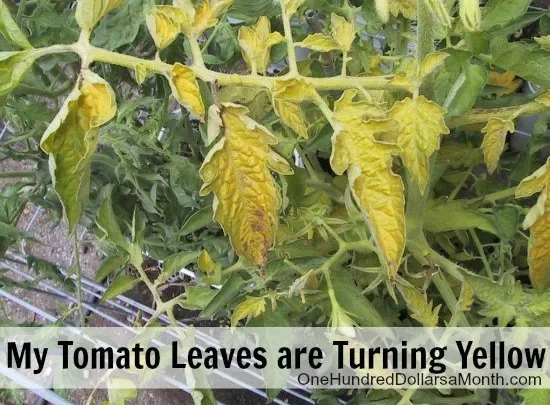
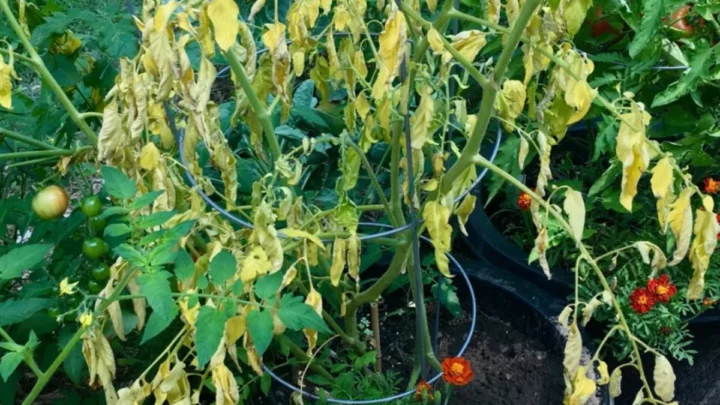
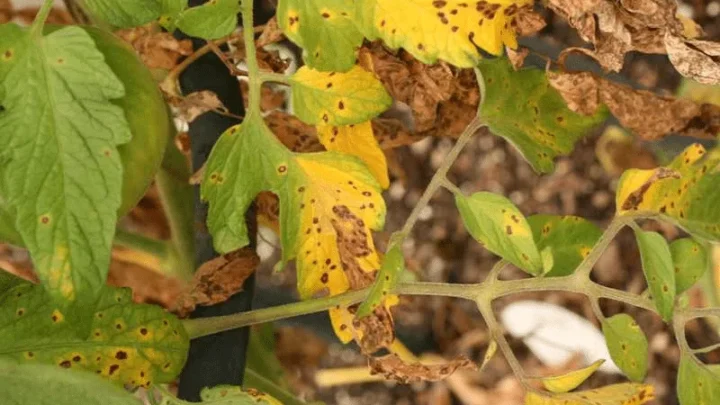
Purple undersides usually mean phosphorus lockout from cold soil. The nutrient is there, but roots can't absorb it below about 55°F. Yellow lower leaves often point to overwatering or nitrogen loss.
White or bleached patches on top leaves mean sunscald from skipping the hardening off step.
Blackened or Mushy Tissue
Blackened stems and mushy leaves after a cold night mean frost damage. Ice crystals ruptured the cell walls. If only the tips are hit, the plant may push new growth from the base.
If the main stem is soft and dark, that plant is done.
Condition Check: What Was Happening Around Transplant Day
Symptoms narrow the field. Conditions confirm the cause. Walk back through the 72 hours before and after transplant and check each factor below.
Soil Temperature at Planting
Soil below 60°F is the single biggest killer of spring transplants. Push a soil thermometer 4 inches deep at 8 a.m. for three days in a row. If any reading dips below 60°F, the soil is too cold.
Tomatoes prefer 65°F to 70°F soil for strong root growth.
Air Temperature and Overnight Lows
Nighttime lows below 50°F cause chilling injury even without a frost. Growth stops. Leaves may turn purple or bronze.
Anything at or below 32°F causes frost damage on exposed tissue.
Check your local last-frost date and add a 7 to 10 day buffer before you plant.
Sun Exposure and Wind
Full midday sun on an unhardened seedling burns leaves within hours. Coastal or open-field wind snaps thin stems and dehydrates the plant. A shade cloth or light row cover for the first 2 to 3 days prevents both problems.
Watering History
Waterlogged soil suffocates roots and feeds damping off pathogens. Bone-dry soil desiccates a stressed root ball inside a day. The sweet spot is soil that feels like a wrung-out sponge.
Water deeply at transplant, then let the top inch dry before the next round.
Soil, Compost, and Fertilizer Used
Fresh manure burns roots on contact. Store-bought compost has, in some cases, tested positive for persistent pyridine herbicides like aminopyralid and clopyralid. Those residues cause curled, twisted new growth and stunted plants.
Starter fertilizer above label rate causes salt burn at the root tips.
The Top Killers, Ranked by How Often They Strike
Across surveys from university extension programs, five causes account for the vast majority of post-transplant deaths. Here's how they stack up.
| Rank | Cause | Frequency | Recovery Odds |
|---|---|---|---|
| 1 | Transplant shock | Very common | High with proper watering |
| 2 | Cold soil below 60°F | Very common | Moderate |
| 3 | Poor hardening off | Common | High if caught early |
| 4 | Damping off | Common | Very low |
| 5 | Cutworms | Common | Zero for that plant |
Frost, herbicide-contaminated compost, and fertilizer burn round out the list. They hit fewer gardens, but when they do, losses are usually total.
Damping Off vs Transplant Shock vs Cutworms
These three cover most of the "healthy yesterday, dead today" cases. They look similar at a glance but need very different responses.
| Signal | Damping Off | Transplant Shock | Cutworms |
|---|---|---|---|
| Stem at soil line | Pinched, dark, water-soaked | Firm, green | Clean cut through |
| Top of plant | Wilts, then collapses | Wilted but turgid | Lying on soil, fresh |
| Time of onset | 2 to 5 days after planting | Within hours of transplant | Overnight |
| Roots | Brown, mushy | White, intact | White, intact |
| Fix for plant | None, remove and destroy | Water, shade, wait | Replant with a collar |
| Prevention | Warm soil, airflow, sterile mix | Harden off, gentle handling | Cardboard or foil collars |
If the stem is pinched and dark, pull the plant, bag it, and protect the neighbors. If the stem is firm and green, sit tight. Recovery is likely.
If the stem is severed clean, cutworms are still in your soil, so a collar goes on every remaining transplant tonight.
What to Do Right Now to Save the Survivors
If some plants are down but others still look shaky, act fast on the ones you can still save. The first 48 hours after damage is when your intervention matters most.
First 24 Hours
Pull and bag any plant with a pinched, blackened stem. Damping off spreads through soil water, so leave nothing rotting in the bed. Water the survivors deeply at the root zone, not overhead.
Add a temporary shade cover if the day is hot and bright.
For frost-hit plants, prune off blackened tissue with clean snips. Don't yank the whole plant if the base is still green and firm. New growth often pushes from the lowest node within a week.
Days 2 to 7
Keep the soil evenly moist but never soggy. Check the top inch with your finger before every watering. If overnight lows are still dipping below 55°F, throw a row cover on at sunset and pull it off by 9 a.m.
Skip the fertilizer for now. A stressed root system can't process nutrients, and salts make burn worse. Let the roots rebuild first.
Recovery Signs to Watch For
Look for a slightly perkier posture by day 3 and new leaf growth from the center by day 7. If you see fresh green pushing at the tips, the plant will make it. If the stem shrivels or new leaves emerge yellow and warped, herbicide contamination or root rot is still active.
Hardening Off the Right Way
Skipping hardening off is the easiest way to kill perfectly good seedlings. Indoor-grown plants have thin cuticles and weak stems that can't handle direct sun or wind. They need to be toughened up over a week or two.
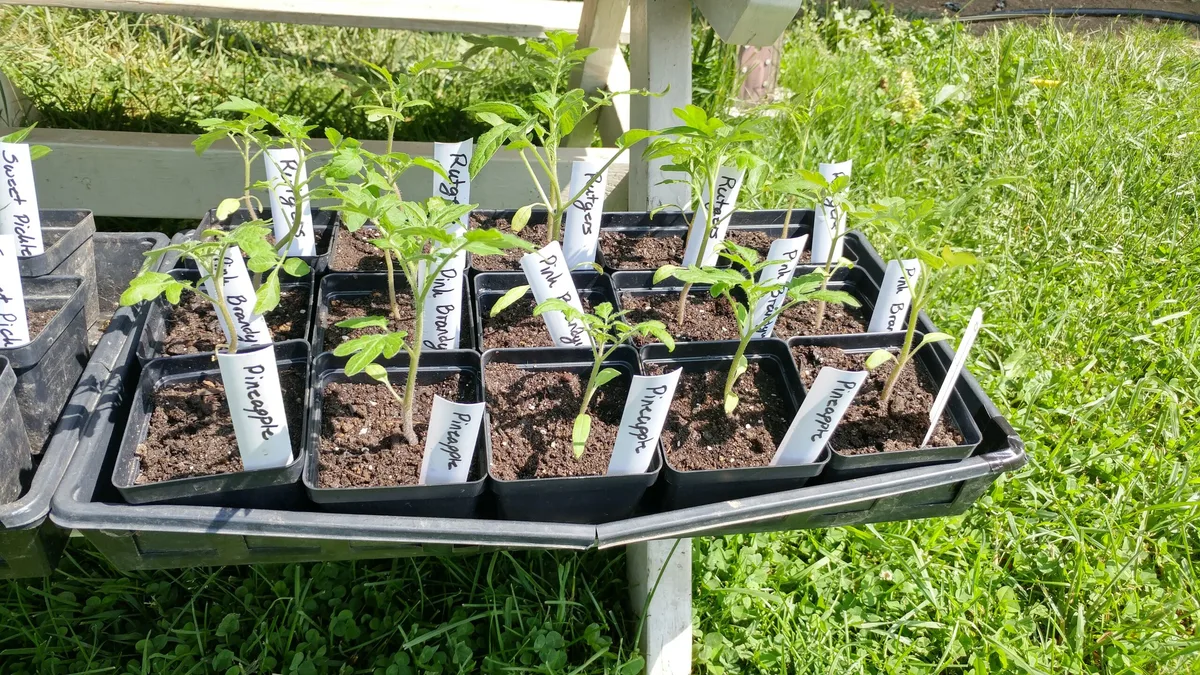
Aggregate extension guidance points to a 7 to 14 day schedule for the smoothest transition. Start with an hour of dappled shade on day one. Add an hour or two of morning sun each day after that.
Bring plants back inside or into a garage overnight if lows drop below 50°F. By the end of week two, seedlings should handle full sun, breeze, and cool nights without wilting.
Skip the process, and you'll see white sunscald patches on top leaves within one afternoon. Aggressive wind can snap the stem clean off at soil level before the plant even sees noon.
Planting Depth, Spacing, and Watering-In
Tomatoes are one of the few crops that thrive when planted deep. Every buried stem section grows new roots along its length, so a deeply planted seedling builds a much bigger root system.
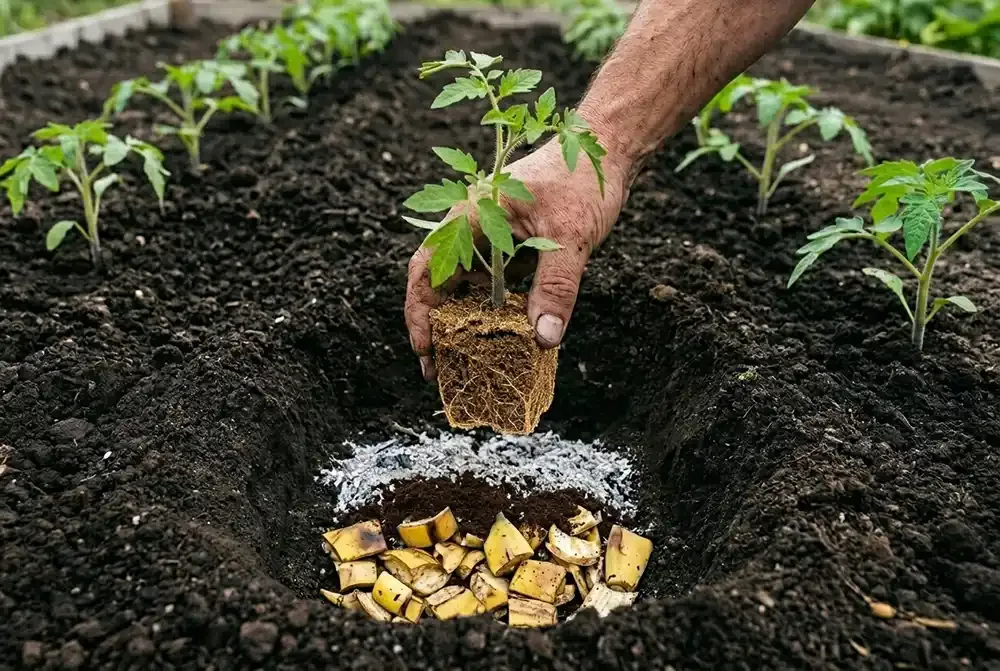
Bury the stem up to the first set of true leaves. For very leggy seedlings, trench-plant instead. Lay the stem sideways in a shallow trench and gently curve the top upward.
Pinch off any leaves that will be below soil level.
Space plants 24 to 36 inches apart to keep airflow moving between them. Tight spacing traps humidity, which invites damping off, early blight, and septoria leaf spot. Wider spacing also means less competition for water and nutrients.
Water each transplant in with about a quart of room-temperature water at the base. Cold hose water shocks warm roots. A weak fish emulsion at half label strength gives a gentle boost without burning the root tips.
Cold Soil, Late Frost, and Weather Traps
Weather kills more tomato seedlings than any pathogen. Cold soil, cold nights, and late frosts each attack the plant a different way. Gardeners routinely rush the calendar every spring.
Soil temperature lags air temperature by 2 to 3 weeks. Even after warm afternoons return, the ground stays cold underneath. Verified data from state extension offices shows a 60°F soil minimum is the practical floor for tomatoes.
Late frost is the classic gotcha. A single clear night with light winds can pull ground temperatures 5 to 10 degrees below the forecast low. Watch the dew point, not just the low, in the week after transplant.
Wall-o-water tubes, cloches, and floating row covers all buy you 4 to 8 degrees of protection. A simple 5-gallon bucket over each plant at sunset works in a pinch. Just remember to pull it off by mid-morning so heat doesn't build.
If a hard freeze hits an already-transplanted crop, water the soil deeply before sunset. Wet soil holds and radiates heat overnight. That can be the difference between minor tip burn and total loss.
Herbicide-Contaminated Compost and Manure
This one blindsides a lot of gardeners because the plant looks stressed for no clear reason. Persistent herbicides like aminopyralid, clopyralid, and picloram are used on pastures and hay fields. They survive composting, digestion by livestock, and even years of storage.
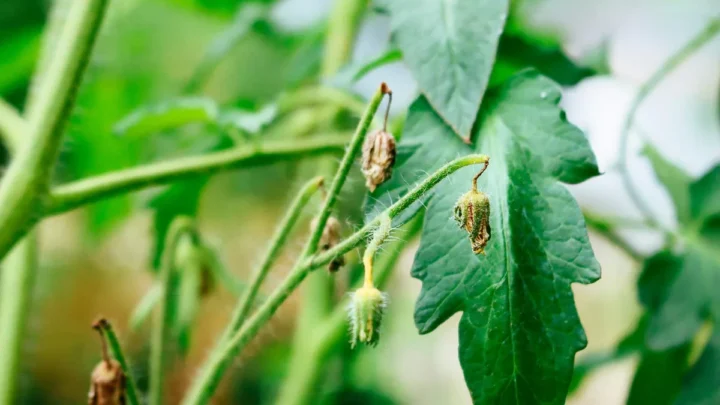
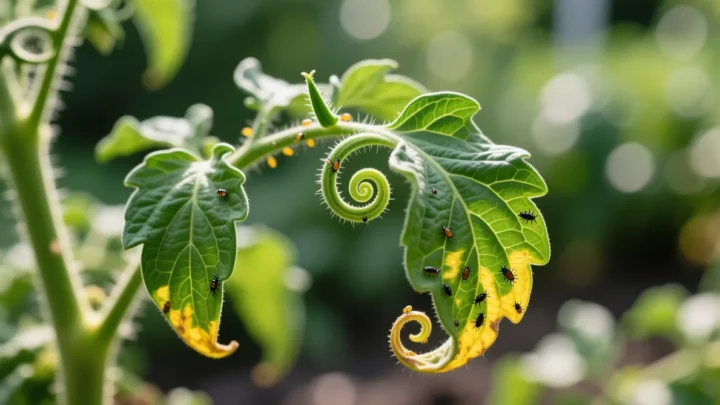
The symptoms are distinctive. New growth curls, twists, and cups downward, often with fern-like or strap-like leaves. Older leaves may look fine.
Growth stalls and the plant never recovers on that soil.
If you suspect contaminated compost or manure, run a quick bioassay. Plant a few bean seeds in a pot of the suspect material and a control pot of clean mix. Compare the seedlings after 2 to 3 weeks.
Warped, twisted growth confirms herbicide residue.
There's no home fix once it's in your soil. You can dig out the contaminated compost, dilute it with clean soil, and wait 12 to 24 months for microbial breakdown. Ask suppliers directly whether they test finished compost for pyridine herbicides before buying next season.
Mistakes That Keep Killing Tomato Seedlings Every Season
The same missteps show up year after year. Fixing them once protects every future crop.
- Planting on the calendar instead of the soil thermometer.
- Skipping hardening off to save a week.
- Using unwashed cell trays from last season, which harbor damping off spores.
- Watering the leaves instead of the base.
- Burying the stem in cold soil, which rots instead of rooting.
- Applying full-strength starter fertilizer on transplant day.
- Trusting bagged compost without asking about herbicide testing.
- Setting plants out during a warm week without checking the 10-day forecast.
Each of these is a one-day fix. None of them cost money. All of them prevent losses you'd otherwise blame on bad luck.
Pro Tips From Growers Who Rarely Lose a Plant
Experienced growers share a few habits that separate their success rate from a beginner's.
They pre-warm the soil for 7 to 14 days with black plastic or landscape fabric before transplanting. Soil temperature climbs 5 to 10 degrees faster under cover. Roots hit the ground running instead of stalling.
They water with room-temperature rainwater, not chlorinated hose water. Chlorine and cold shock both stress the microbes and roots the plant needs. A filled rain barrel warmed by afternoon sun costs nothing.
They cage or stake on transplant day, not two weeks later. Driving a stake near an established root ball tears roots and invites disease. Setting the support first also gives the plant a windbreak from day one.
They plant late afternoon, never at high noon. Evening transplanting gives roots 12 cool, humid hours to settle before the sun hits full strength.
When to Replant vs Nurse Them Back
The decision usually comes down to two questions. Is the stem still viable, and do you have time in the season for a replant to fruit?
If the stem is firm, green at the base, and pushing any new leaf, nurse it. Even a badly wilted plant with a healthy root ball will bounce back inside two weeks.
If the stem is pinched, mushy, black, or cleanly severed, pull it and replant. A struggling plant will underperform all summer and tie up bed space.
Check your average first frost date before you decide. Determinate varieties need roughly 60 to 70 days from transplant to harvest. Indeterminates need 70 to 90.
If your season won't cover that, pick a shorter-day variety like Early Girl or Stupice for the replant.
Frequently Asked Questions
How long does transplant shock last in tomatoes?
Transplant shock usually lasts 5 to 10 days in healthy tomato seedlings. Plants droop within hours of transplant but perk up in cooler evening temperatures. You'll see new leaf growth from the center within a week if roots are recovering.
Persistent wilt past 10 days points to root rot, cutworms, or damping off instead.
Can I save a tomato seedling that's already wilted flat?
Yes, if the stem is still green and firm at the base. Move the plant into afternoon shade, water deeply at the roots, and cover with a light cloche overnight. Most wilted plants with intact roots recover within 48 hours.
If the stem is soft or dark at the soil line, the plant won't come back.
What temperature is too cold for tomato transplants?
Soil below 60°F and nighttime air below 50°F are both too cold. Roots stop absorbing phosphorus and water. Leaves turn purple, growth stalls, and the plant becomes vulnerable to damping off.
Wait for a sustained warm stretch or use black plastic mulch and row covers to protect early plantings.
Should I fertilize tomato seedlings right after transplanting?
Skip full-strength fertilizer for the first 7 to 10 days. Stressed roots can't process salts and burn easily. A very dilute fish emulsion or kelp solution at transplant is fine.
Wait until you see new growth before applying regular feed at label rate.
How deep should I plant tomato seedlings?
Bury the stem up to the first set of true leaves. Tomatoes grow adventitious roots along any buried stem section, which doubles or triples the root system. For very leggy plants, trench them sideways with just the top curved upward.
Pinch off any leaves that will end up underground.
Why do my tomato leaves curl and twist after transplanting?
Curled, twisted new growth almost always points to herbicide residue in your compost or manure. Aminopyralid and clopyralid survive composting and cause fern-like or strap-like leaves. Run a bean seed bioassay to confirm.
There's no home fix once the residue is in the soil, so avoid the same source next season.
Your Quick Decision Guide for Next Season
Run this checklist every spring before a single plant goes in the ground.
- Wait for 60°F soil at 4 inches for three mornings running.
- Harden off 7 to 14 days, with the last three days in full sun.
- Set out row covers or wall-o-waters if lows dip below 55°F.
- Bury the stem to the first true leaves in a warm, weed-free bed.
- Water in with a quart of tepid water at the base of each plant.
- Slip a cardboard collar around each stem to block cutworms.
- Skip strong fertilizer for the first week, then feed at label rate.
- Source compost from suppliers who test for pyridine herbicides.
Nail these eight steps and post-transplant losses drop to almost zero. The plants that make it through week one are the plants that carry the harvest.

Similar Posts