Can I Use a Garden Hose for Drip Irrigation?
Yes, you can use a garden hose for drip irrigation, but the answer to "can I use garden hose for drip irrigation" depends on how you plan to use it. There's a big difference between using the hose as a supply line and expecting the hose itself to drip water. One works great.
The other usually ends in blown fittings and dry plants.
Most household spigots run at roughly 40 to 60 PSI, while drip emitters want around 10 to 30 PSI. That gap is the whole story. As of 2026, adding one cheap pressure regulator is what separates a setup that waters evenly from one that pops emitters off the line.
Let's start with the short version, then work through what your situation calls for.
Quick Answer
Yes, a garden hose works for drip irrigation. Use it as the supply line that carries water to your drip tubing. Add a pressure regulator, a filter, and a backflow preventer first.
A plain hose won't drip on its own. For that, you need a soaker hose or tubing with emitters.
Can You Actually Use a Garden Hose for Drip Irrigation? The Short Answer
The honest answer is "it depends on the job you're asking the hose to do." A standard garden hose is a solid water carrier. It's not a watering device by itself.
Here's the simple logic:
- If you want the hose to feed a drip kit, then yes. Connect it to ½-inch drip tubing and let the emitters do the watering.
- If you want the hose to release water slowly along its length, then no. A regular hose has solid walls. It won't weep.
- If you want slow seeping without a full kit, then use a soaker hose instead.
So the question really splits into two paths. One is easy and reliable. The other needs the right hose type.
We'll map both, plus the pressure fix that makes either one behave.
Supply Line vs. Drip Line: The Distinction That Changes Everything
This is the part generic advice skips, and it causes most of the confusion. A supply line moves water from the tap to your garden. A drip line is what actually releases water at the plant roots.
Your garden hose is built to be a supply line. That's its whole design: carry pressurized water from point A to point B without leaking. When people ask if a hose "can do drip," they often picture the hose oozing water into the soil.
A standard hose can't, and it isn't supposed to.
Think of it like this:
| Role | What it does | Can a standard garden hose do it? |
|---|---|---|
| Supply line | Carries water to the system | Yes, that's its job |
| Drip line | Releases water slowly at roots | No, needs emitters or a porous wall |
Once you separate these two jobs, the setup gets simple. Use the hose to reach your garden beds. Then let purpose-built parts handle the dripping.
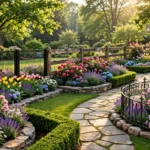
If you're dressing up a bed and want the watering hidden, this split also makes it easy to tuck tubing behind flower bed edging out of sight.
The Pressure Problem: Why 40-60 PSI Breaks Most Drip Setups
Pressure is the number one reason DIY hose-to-drip setups fail. Your spigot pushes water hard. Drip parts are delicate by design.
Most homes deliver water at 40 to 60 PSI, and some run even higher. Drip emitters and ¼-inch micro-tubing are rated for far less, usually 10 to 30 PSI. Feed full pressure into that fragile tubing and things go wrong fast.
Here's what too much pressure actually does:
- Blows emitters right off the tubing
- Splits fittings and connectors
- Creates misting instead of dripping, which wastes water
- Causes leaks at every threaded joint
The fix is cheap and non-negotiable: a pressure regulator. Most drip systems use a 25 PSI regulator that screws onto the hose end. It steps the pressure down to a range your tubing can handle.
The U.S. EPA's WaterSense program points to drip and micro-irrigation as some of the most efficient ways to water, but that efficiency only holds when the pressure is dialed in. Skip the regulator and you don't get drip irrigation.
You get a slow leak festival.
If then: If your tap runs above 30 PSI (nearly all do), then install a pressure regulator before any drip tubing. No exceptions.
What Decides If Your Hose Will Work
Four things decide whether your garden hose setup succeeds. Check each one before you buy a single part. Get these right and the rest is easy.
Your Spigot's Water Pressure and Flow Rate
Start here, because everything downstream depends on it. Pressure is measured in PSI. Flow rate is measured in gallons per hour (GPH) or gallons per minute (GPM).
You want to know two things. First, is your pressure high enough to need a regulator? Almost always, yes.
Second, do you have enough flow to run all your emitters at once? Add up the GPH of every emitter, then compare it to your tap's output. If demand outruns supply, split the garden into zones and water them one at a time.
Hose Type: Standard, Soaker, or Porous
The hose you own decides what's even possible. Not all hoses behave the same way.
- Standard garden hose: solid walls, best used as a supply line.
- Soaker hose: porous rubber that weeps along its whole length, made to drip.
- Flat or perforated hose: has pre-punched holes, sprays or dribbles in set spots.
A standard hose feeds a drip kit. A soaker hose is the drip line itself. Don't try to force a solid hose to do a soaker's job by drilling random holes.
The pressure won't distribute evenly, and the far end stays dry.
Run Length and Where the Water Runs Out
Long runs lose pressure. This is called pressure drop, and it's why the last plant on a long line often gets nothing.
The longer and thinner your line, the more pressure fades before it reaches the end. Keep total runs reasonable, usually under 100 to 200 feet for ½-inch tubing, depending on your pressure. For big or oddly shaped gardens, loop the line or split into shorter branches.
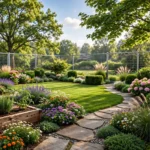
Pressure-compensating emitters help too, since they deliver the same flow near the tap or at the far corner. This matters most on long garden borders, like the ones framing a cottage-style garden layout.
Whether Your Hose Is Drinking-Water Safe
This one matters most for edible gardens. Many cheap vinyl hoses aren't rated for potable water. They can leach chemicals into the water sitting inside them.
Look for a hose labeled lead-free or drinking-water safe, often certified to NSF/ANSI standards. If you're watering vegetables or herbs, use a potable-rated hose. For flowers and shrubs, it matters less, but a safe hose never hurts.
Let a sun-baked hose flush for a few seconds before it hits edible plants, since warm water pulls more from the hose walls.
Your Three Paths: Which Garden Hose Setup Fits You
Now put it all together. Based on your hose and your goal, you fall into one of three paths. Find yours and skip the rest.
Path 1: Hose as Supply Line to a Real Drip Kit
This is the best all-round choice, and the one we'd point most gardeners toward. You keep the garden hose as the water carrier and let a proper drip kit handle the watering.
You connect the hose to a backflow preventer, a filter, and a pressure regulator, then run ½-inch drip tubing into your beds. Punch in emitters where you want water. It's flexible, even, and easy to expand later.
Best for: raised beds, vegetable gardens, mixed borders, and anyone who wants reliable watering with room to grow.
Path 2: Turning a Hose Into a Soaker Line
If you already own a soaker hose, this is the fastest setup going. A soaker hose is porous, so it weeps water along its full length with no emitters needed.
Lay it along a row, snake it around plants, and connect it to your spigot through a pressure regulator and timer. Keep runs short, since soaker hoses lose steam over distance. Bury them under mulch to cut evaporation and slow UV breakdown.
Best for: straight rows, hedges, densely planted beds, and low-effort watering where you don't need pinpoint control.
Path 3: When to Skip the Hose and Buy Drip Tubing
Sometimes the hose just isn't the right tool. If you need precise water at specific plants, dedicated drip tubing beats a hose every time.
Skip the hose-as-drip-line idea when you're watering containers, spaced-out shrubs, or a large garden with uneven demand. Use ½-inch mainline tubing with ¼-inch micro-tubing branching off to each pot or plant. You still feed the whole thing with a garden hose as the supply line, so the hose isn't wasted.
It just moves back to the job it does best.
Best for: patio containers, tree rings, scattered plantings, and gardens where different areas need different amounts of water.
The Parts You'll Need (and the Right Order to Connect Them)
The order of parts matters as much as the parts themselves. Connect them wrong and you risk clogs, low pressure, or contaminated tap water. Here's the correct sequence from the spigot outward.
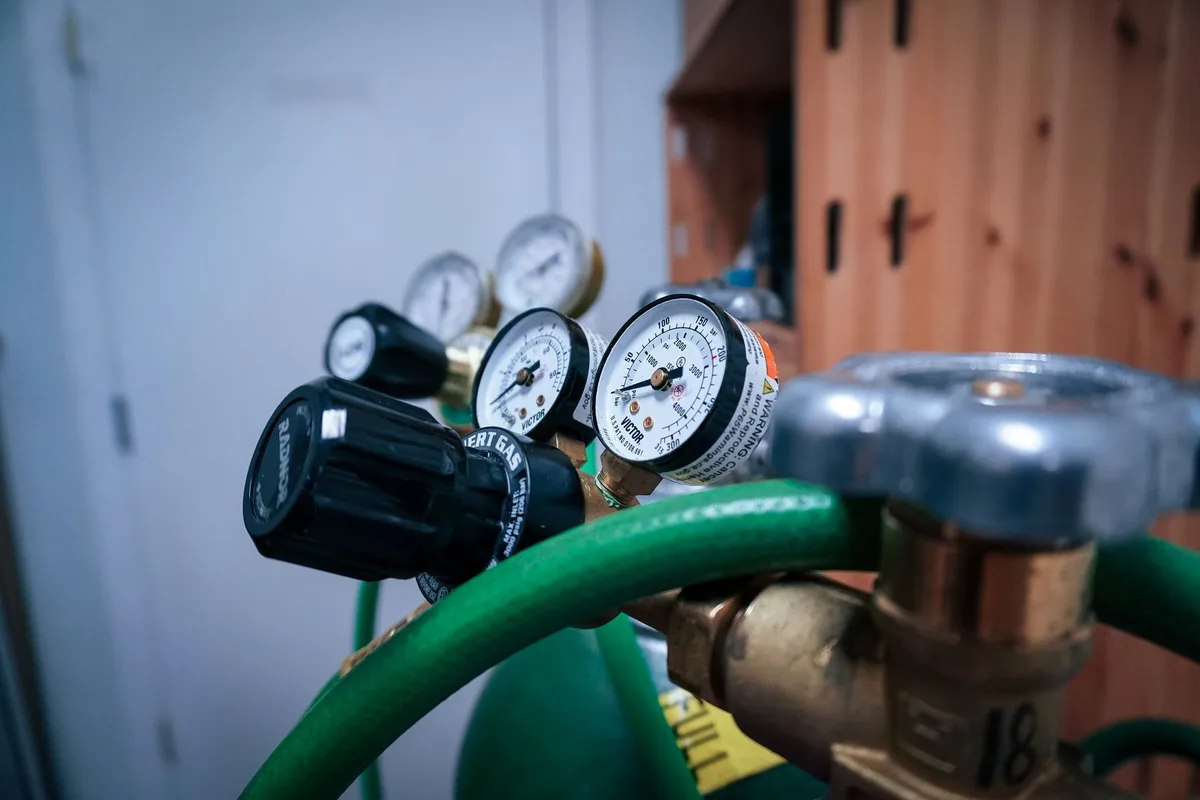
Assemble it in this exact order:
- Spigot (your outdoor faucet)
- Timer (optional, but great for consistency)
- Backflow preventer (protects drinking water)
- Filter (screen or Y-filter, catches sediment)
- Pressure regulator (drops PSI to a safe range)
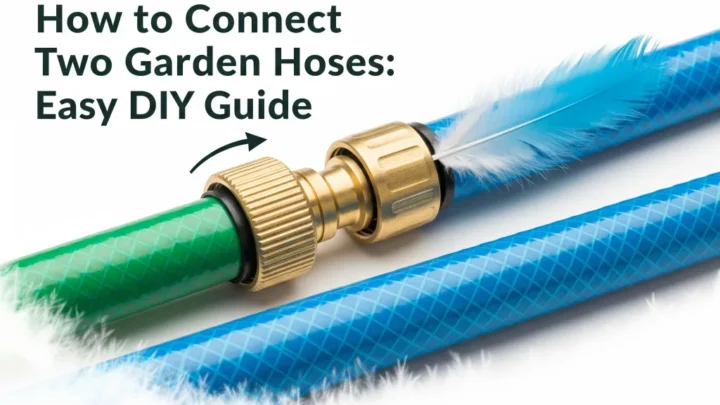
- Hose-to-tubing adapter (¾-inch GHT to ½-inch tubing)
- Drip tubing with emitters
| Part | Job | Typical spec |
|---|---|---|
| Backflow preventer | Stops dirty water back-siphoning | Fits ¾-inch hose thread |
| Filter | Blocks grit that clogs emitters | 150 to 200 mesh |
| Pressure regulator | Lowers pressure | 25 PSI is standard |
| Adapter | Links hose to tubing | GHT to ½-inch swivel |
Put the filter before the regulator, not after. Grit that reaches the regulator can jam it. And never skip the backflow preventer, since it keeps garden water out of your home supply.
Step-by-Step: Converting a Garden Hose Into a Drip Setup
Here's the full process from bare spigot to running system. Give yourself an afternoon for a first setup.
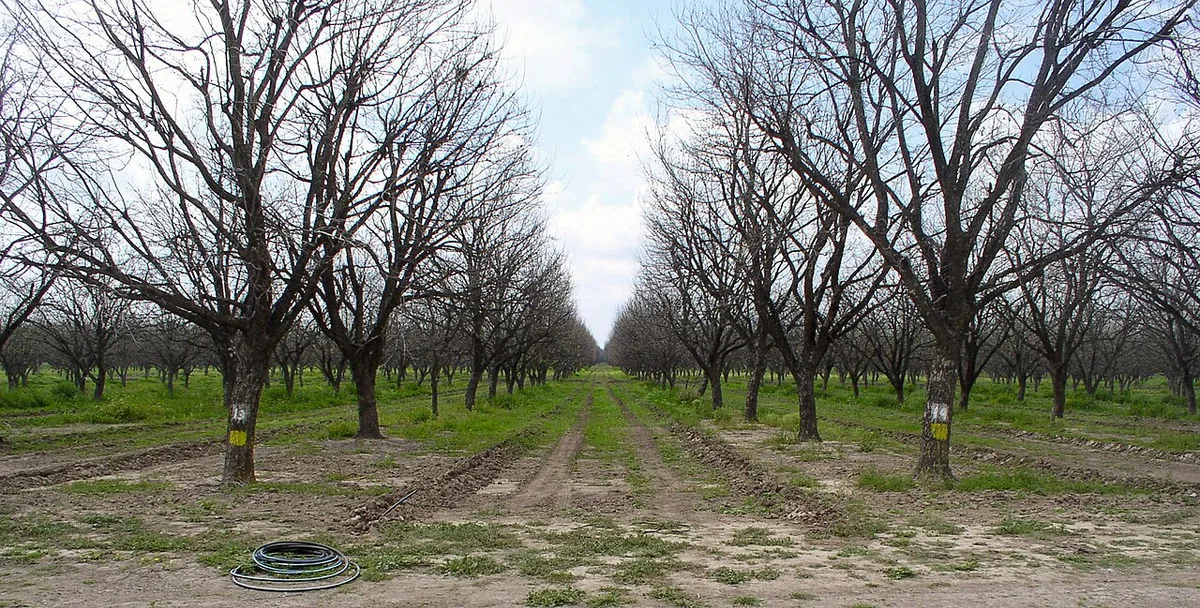
- Check your pressure. Confirm you're above 30 PSI, which nearly everyone is.
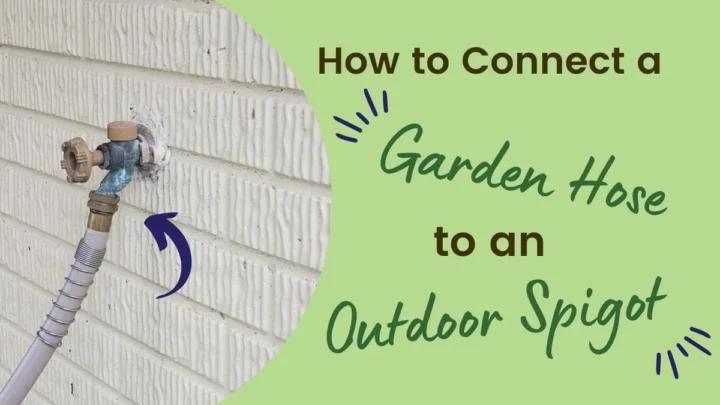
- Screw on the parts in order: timer, backflow preventer, filter, regulator, adapter.
- Run the garden hose to your garden bed as the supply line.
- Connect ½-inch drip tubing to the adapter at the bed.
- Lay the tubing along your plants and stake it down.
- Punch holes and insert emitters at each plant. Use 1 GPH for small plants, 2 GPH for shrubs.
- Flush the line. Run water for a minute before capping to clear debris.
- Cap the tubing ends with a figure-8 closure or end cap.
- Turn it on and walk the line. Watch for leaks and dry spots.
If an emitter mists instead of drips, your pressure is still too high. Recheck the regulator. If the far end runs dry, your line is too long or your flow is too low.
Shorten the run or split into zones.
Where a Garden Hose Drip Setup Actually Shines
A hose-fed drip system pays off most in tight, thirsty gardens. It targets roots directly, so you waste less and water less often. That's a real win in hot, dry regions with watering-day rules.
Raised Beds, Rows, and Container Gardens
Raised beds are the sweet spot. The soil drains fast, so slow, steady drip keeps roots evenly moist without runoff. Run one ½-inch line down each bed with emitters spaced every 12 inches.
Row crops love soaker-style setups, since the water follows the whole row. Containers do best with ¼-inch micro-tubing running to each pot. One emitter per small pot, two for larger planters.
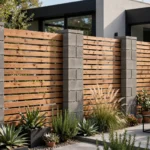
The same drip approach works for potted greenery indoors when you're away, though you'll want a smaller, low-flow kit. For outdoor beds tucked against a boundary, drip lines hide neatly behind garden screening so nothing shows.
Mistakes That Wreck a DIY Hose Drip System
Most failures trace back to a handful of avoidable errors. Dodge these and your system runs for years.
- Skipping the pressure regulator. This is the top killer. Full pressure blows emitters and splits tubing.
- Leaving out the filter. Sediment clogs emitters one by one until half the garden goes dry.
- Making runs too long. Pressure drop starves the far end. Keep ½-inch runs reasonable and zone big gardens.
- Using a non-potable hose on food crops. Cheap vinyl can leach into edibles.
- Cross-threading fittings. Forcing a crooked connection strips threads and causes leaks. Hand-tighten straight.
- Forgetting to flush before capping. Trapped grit heads straight for your emitters.
- Leaving it pressurized over winter. Frozen water cracks fittings in cold climates.
One more subtle mistake: mismatched emitter flow. Mixing 0.5 GPH and 2 GPH emitters on one line gives some plants far more water than others. Keep flow rates consistent per zone.
Garden Hose vs. Soaker Hose vs. Drip Tubing: Side-by-Side
Each option suits a different gardener. Here's how they stack up so you can pick fast.
| Feature | Garden hose (as supply) | Soaker hose | Drip tubing + emitters |
|---|---|---|---|
| Waters on its own | No | Yes | Yes |
| Water precision | N/A | Low | High |
| Best run length | Long (supply only) | Short | Medium to long |
| Setup effort | Low | Very low | Moderate |
| Control per plant | None | None | Full |
| Lifespan | Long | Shorter (UV wear) | Long |
Choose the garden hose as your supply line in almost every case, since it carries water better than anything. Pick a soaker hose for quick, low-effort watering of straight rows and dense beds. Go with drip tubing and emitters when you need precise water at specific plants.
In plain terms: the garden hose gets water to the garden, and either a soaker hose or emitter tubing decides how that water reaches each plant. They're teammates, not rivals.
What It Costs to Set Up Each Option
A basic hose-fed drip setup is cheap, and you likely own the hose already. As of 2026, the add-on parts are what you'll actually pay for. Here's a rough range for a small garden.
| Setup | Typical cost | What you're buying |
|---|---|---|
| Hose + drip tubing kit | $30 to $70 | Regulator, filter, tubing, emitters |
| Soaker hose only | $15 to $40 | The hose plus a regulator |
| Full drip tubing system | $60 to $150 | Mainline, micro-tubing, many emitters |
The regulator, filter, and backflow preventer run about $10 to $25 combined. Buy those once. They outlast the tubing and move to your next season easily.
Backflow, Lead-Free Hoses, and Watering Rules You Can't Ignore
Backflow prevention isn't optional. A backflow preventer stops garden water from siphoning back into your drinking supply if pressure drops. Many local codes require one on any hose connection.
For edibles, use a lead-free, drinking-water-safe hose certified to NSF/ANSI standards. Standard vinyl hoses can leach into water that sits warm inside them.
Check your local watering restrictions too. Many drought-prone areas limit spray irrigation but allow drip, since it wastes so little. The USDA and local extension offices publish region-specific guidance worth a quick look before you install.
Keeping It Running: Flushing, Clogs, and Winterizing
A drip system needs light upkeep to stay reliable. Flush the lines every few weeks by uncapping the ends and running water to clear sediment. Clean the filter screen at the same time.
If an emitter stops flowing, pull and rinse it, or swap in a new one. Hard-water buildup is the usual culprit.
Before the first freeze, drain everything. Disconnect the hose, empty the tubing, and store the regulator and timer indoors. Frozen water cracks fittings fast in cold climates.
Garden Hose Drip Irrigation FAQs
Do I really need a pressure regulator?
Yes, in almost every case. Home spigots run at 40 to 60 PSI, while drip emitters want 10 to 30 PSI. Without a 25 PSI regulator, the pressure blows emitters off the tubing and splits fittings.
It's a $10 part that saves the whole system.
Can I drill holes in a regular garden hose to make it drip?
Not effectively. A standard hose won't distribute water evenly through drilled holes, so the near end floods and the far end stays dry. Use a purpose-built soaker hose or emitter tubing instead.
Those are designed to release water evenly.
How long can my drip line run from the hose?
Keep ½-inch tubing runs reasonable, generally under 100 to 200 feet depending on pressure. Longer runs lose pressure toward the end, starving the last plants. For big gardens, split into zones or use pressure-compensating emitters.
Is a garden hose safe for watering vegetables?
Only if it's labeled lead-free or drinking-water safe. Cheap vinyl hoses can leach chemicals into warm standing water. For food crops, choose a potable-rated hose and flush it briefly before watering.
Your Quick Decision Guide: Hose, Soaker, or Full Drip
Here's the fast call based on your garden. Match your situation and go.
- If you want even, precise watering with room to grow, then use the hose as a supply line to a drip tubing kit.
- If you have straight rows or dense beds and want zero fuss, then run a soaker hose.
- If you're watering scattered pots or shrubs, then feed ¼-inch micro-tubing from a hose supply line.
Whatever you pick, add the regulator, filter, and backflow preventer first. Those three parts make the difference between a system that just works and one that fails in a week. Want more setup ideas for your space?
Our gardening guides cover plenty of related projects.

Similar Posts