How to Save a Waterlogged Potted Plant: Rescue Guide
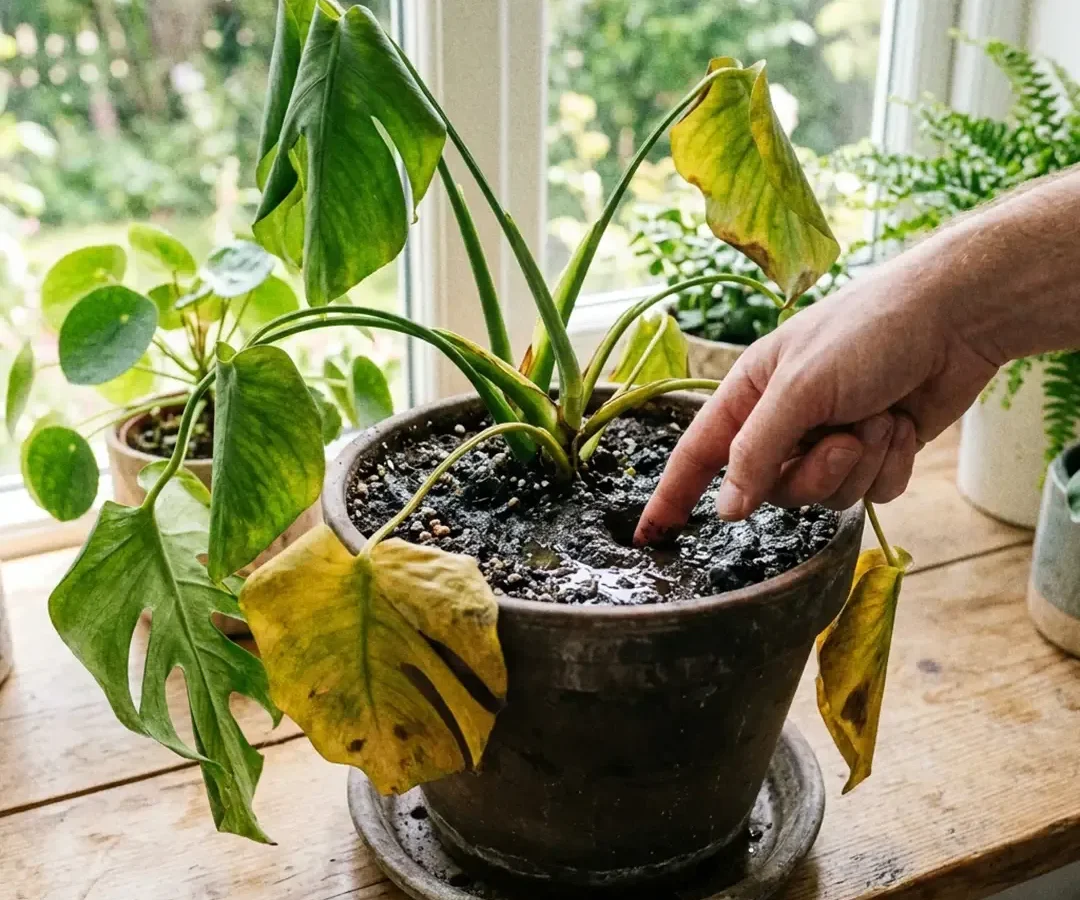
Your plant looks tragic, the soil feels like a wet sponge, and you're wondering: how do I save a waterlogged potted plant before it's too late? The good news, most waterlogged plants can bounce back if you act fast and read the roots correctly. The bad news, doing the "obvious" thing (repotting into fresh damp soil) is often what finishes them off.
This guide walks you through a research backed rescue flow used by university extension horticulturists and greenhouse growers. Per the American Phytopathological Society, oomycete pathogens like Pythium and Phytophthora can colonize suffocated roots within 24 to 72 hours of waterlogging. Speed matters.
Here's exactly what to check first, as of 2026.
Quick Answer
Stop watering immediately. Slip the plant out of the pot within 24 hours. Rinse the soil off and inspect the roots.
Trim any brown, mushy, or foul smelling roots with sterilized shears. Repot into a fast draining mix in a pot with drainage holes. Keep it in bright, indirect light and do not water again for 3 to 7 days.
First, Figure Out If Your Plant Is Actually Waterlogged (Not Just Thirsty)
Wet soil and wilting leaves look almost identical to dry soil and wilting leaves. That's why so many people water a dying plant, which kills it faster. Before you do anything, check three things.
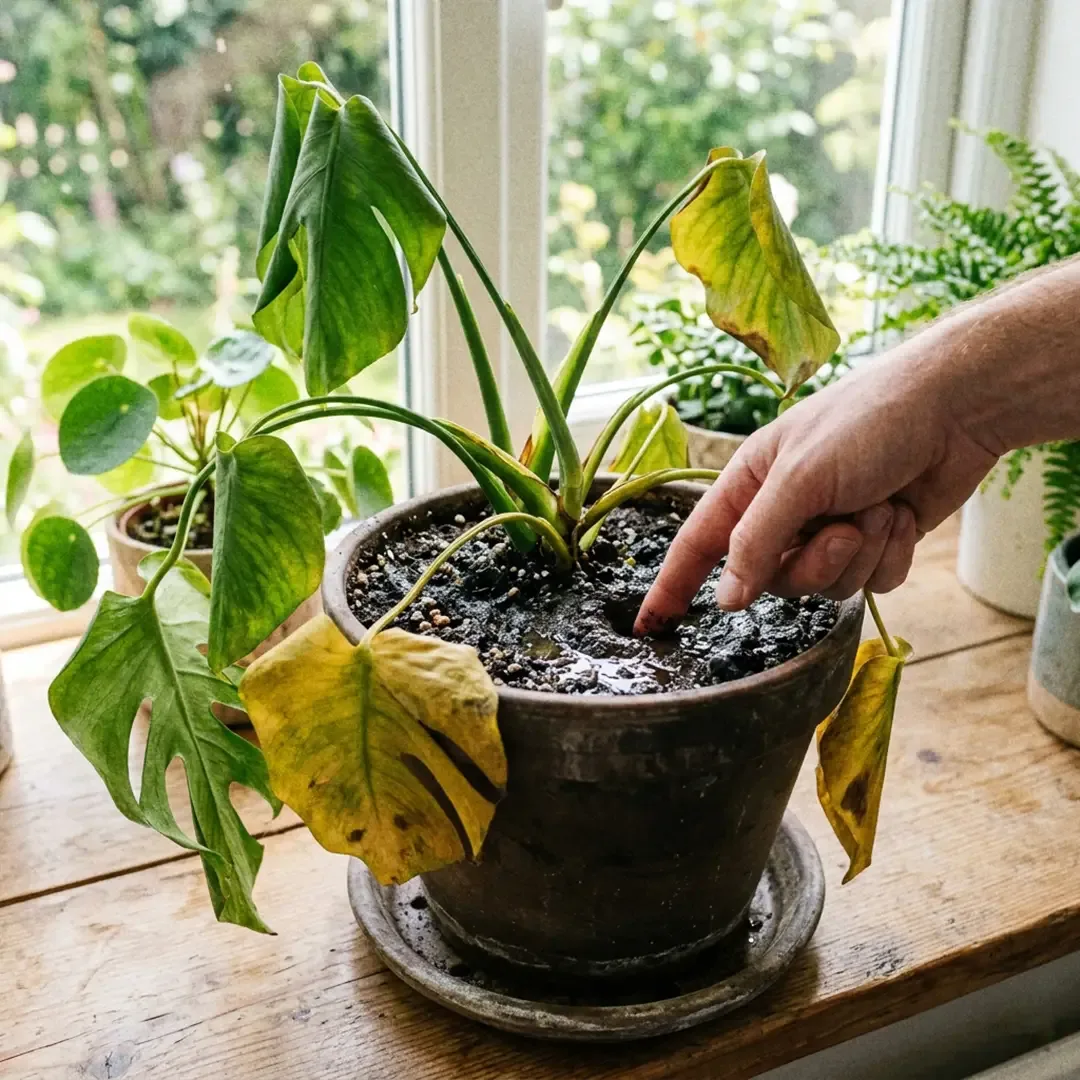
The finger test. Push a finger 2 inches into the soil. If it feels cold, heavy, and clings to your skin, the plant is waterlogged. If it feels dry and crumbly, it's thirsty.
The pot weight. Lift the pot. A saturated pot feels noticeably heavier than a well drained one of the same size. Compare it against a healthy plant nearby if you can.
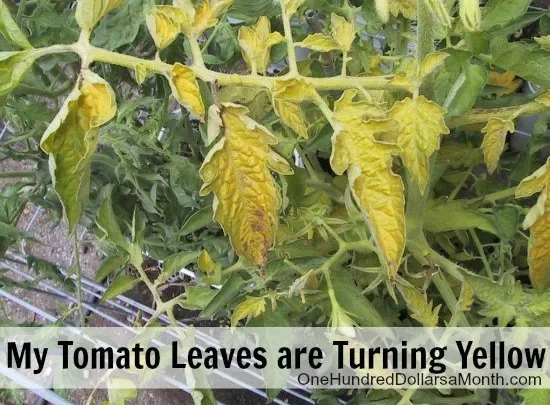
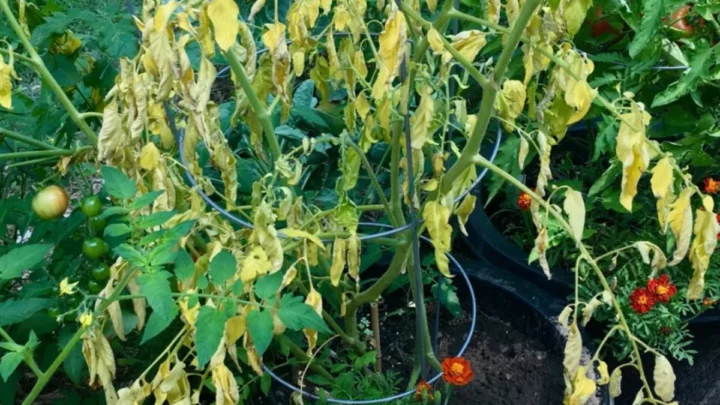
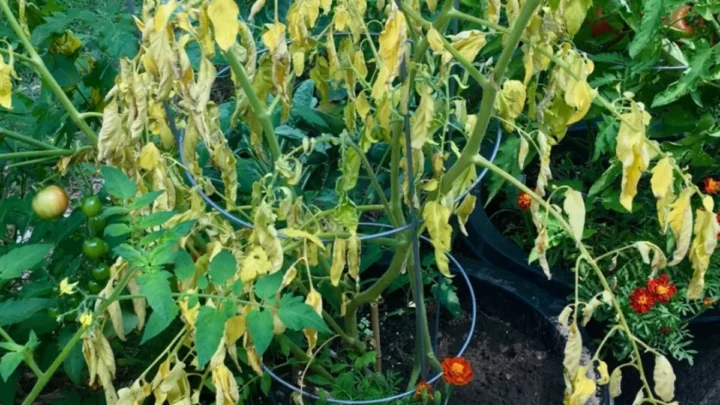
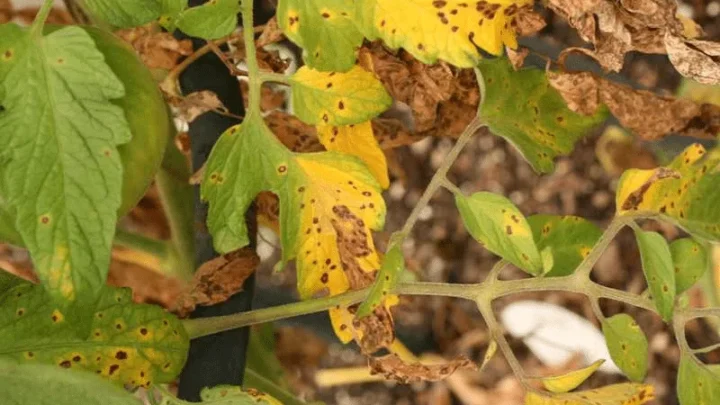
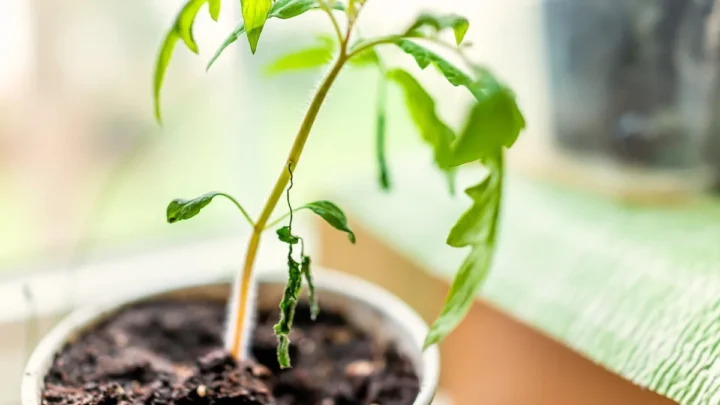
The leaves. Waterlogged plants show yellowing lower leaves first, sometimes with brown edges and soft, limp stems. Underwatered plants show crispy leaf tips, curling edges, and light, papery texture.
Here's a quick way to tell them apart at a glance:
| Symptom | Waterlogged | Underwatered |
|---|---|---|
| Soil feel | Heavy, cold, sticky | Light, dusty, pulls from pot edge |
| Leaves | Yellow, soft, droopy | Crispy, curled, brittle |
| Stems | Mushy or dark at base | Firm but limp |
| Smell | Sour or sulfurous | None |
| Pot weight | Very heavy | Very light |
If it's waterlogged, do not water. Move to the next section.
The 72-Hour Rescue Window: Why Speed Matters
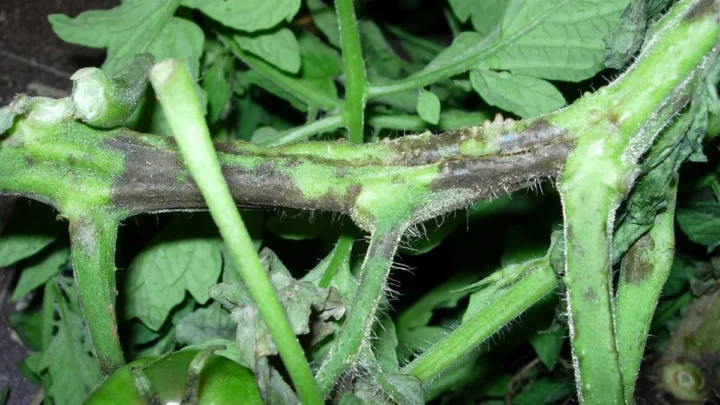
Root rot moves fast. Once soil stays saturated, oxygen drops within hours, and beneficial roots start suffocating. Anaerobic conditions then invite pathogens like Pythium, Phytophthora, and Fusarium, which can spread through the root ball in 1 to 3 days.
That's your rescue window. Catch it in the first 24 hours and most plants recover fully. Wait a week and you're often left propagating cuttings from whatever is still green above the soil.
Two things make the difference:
- Air at the roots. Every hour the roots stay wet, more of them die.
- Cutting infected tissue away. Rot spreads root to root, so leaving even a small mushy section can restart the problem.
The research from Missouri Botanical Garden and multiple university extensions confirms the same pattern. Early intervention preserves far more root mass than any fungicide can rescue later.
Slip It Out of the Pot: What the Root Ball Tells You
This is the single most important step. You can't diagnose root rot from above the soil. Grip the base of the stem, tip the pot sideways, and slide the whole root ball out.
If it's stuck, squeeze the pot walls or tap the rim.
Once it's out, gently break away the outer soil so you can see the roots clearly. Do not rip or yank. If the roots are dense, work over a newspaper or tray to catch the mess.
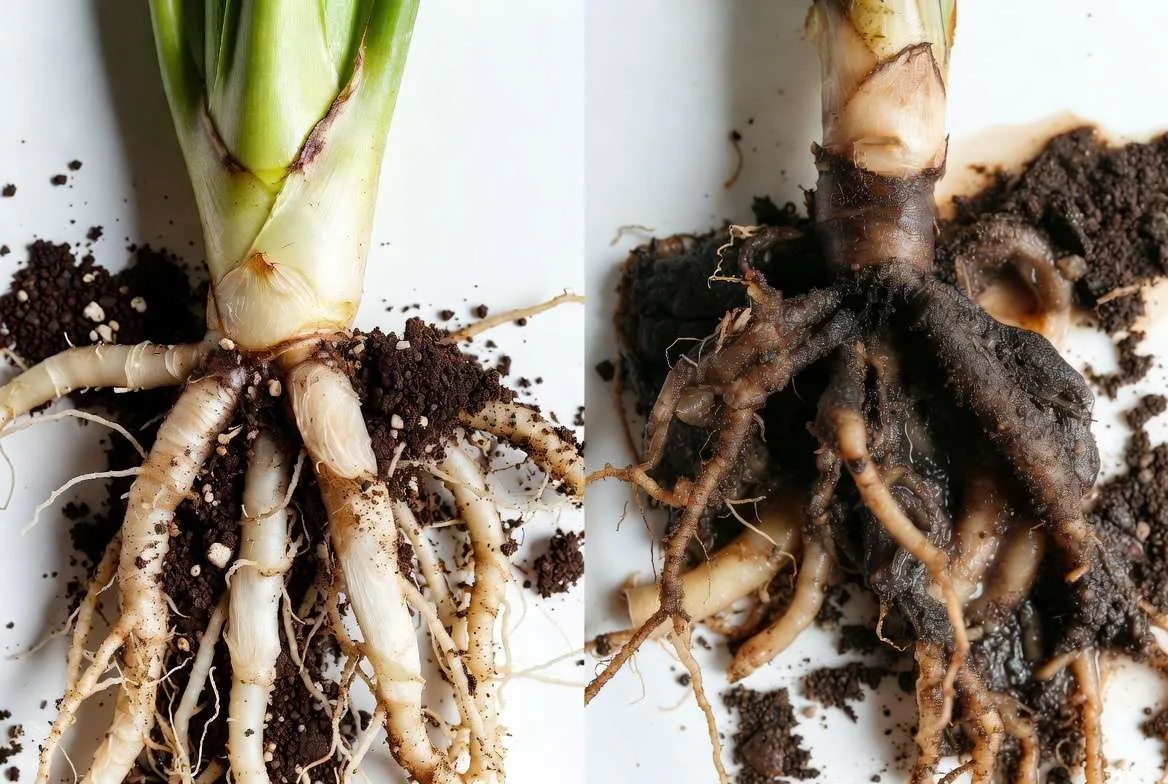
Healthy Roots vs. Rotting Roots at a Glance
| Feature | Healthy | Rotting |
|---|---|---|
| Color | White, cream, or tan | Brown, black, grey |
| Texture | Firm, springy | Mushy, slimy, hollow |
| Outer skin | Intact | Slips off when pinched |
| Density | Full, branching | Sparse, disintegrating |
If most roots are still white and firm, you're in great shape. If more than half are mushy, the rescue gets harder but is still worth attempting.
The Smell Test That Never Lies
Healthy roots and soil smell earthy, like a forest floor. Rotting roots smell sour, sulfurous, or like a stagnant pond. If your nose wrinkles, you have active rot and need to cut it out before repotting.
The Decision Tree: Which Rescue Path Fits Your Plant
Not every waterlogged plant needs the same treatment. Match what you see to one of the four paths below.
Path A. Mildly Soggy, Roots Still Firm
The soil is wet but roots look mostly white. No smell, no mush. Skip the repot.
Set the plant somewhere warm with airflow, tip out any water in the saucer, and let the soil dry before watering again. Recovery time: 5 to 10 days.
Path B. Partial Root Rot, Some Mush
Up to about a third of the roots are brown and soft, but the crown and main stem are firm. This is the classic bare root rescue. Rinse, trim the dead roots, dust cut ends with cinnamon, and repot into fresh, fast draining mix.
Recovery time: 2 to 4 weeks.
Path C. Severe Rot, Stem Softening
More than half the roots are gone and the base of the stem feels squishy. Aggressive triage only. Cut back to firm tissue, dust everything with cinnamon or sulfur, and pot into nearly pure perlite or pumice.
Success rate drops sharply here.
Path D. Past Saving: Time to Propagate
The stem is mush all the way up, or the plant falls apart when you handle it. Stop the rescue. Take the healthiest top cuttings you can find and propagate them in water, sphagnum moss, or perlite.
You'll lose the original but keep the plant genetically alive.
Bare-Root Recovery: The Step-by-Step Rescue
This is the workflow for Paths B and C. Do it in one sitting on a clean surface.
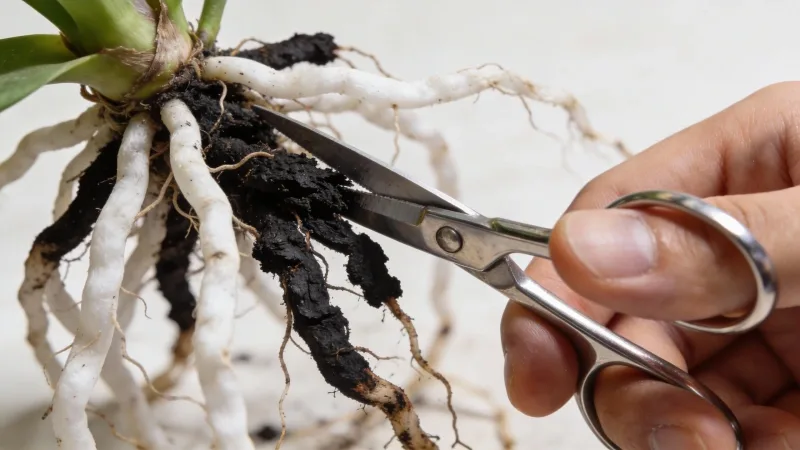
- Rinse the roots. Hold the root ball under lukewarm tap water and let the old soil wash away completely. Cold water shocks tropicals.
- Sterilize your tools. Wipe pruning shears with 70% isopropyl alcohol. Do this again between every plant to avoid spreading pathogens.
- Trim the dead. Cut off every brown, mushy, or hollow root. Remove no more than about a third of the total root mass in one session if possible.
- Dust the cuts. Sprinkle ground cinnamon or powdered sulfur on the trimmed ends. Both act as mild antifungals and seal the wound.
- Air dry the roots. Rest the plant on newspaper for 30 to 60 minutes so cut ends callus over. Succulents and cacti need 24 to 48 hours.
- Repot into a smaller pot. Match the pot to the reduced root size, no more than 1 to 2 inches wider than the trimmed root ball. Oversized pots hold too much moisture.
- Use fresh, dry mix. Never reuse the old soggy soil. Use a fast draining blend appropriate to the species.
- Wait to water. Hold off watering for 3 to 7 days so cut roots seal fully. When you do water, do it lightly.
Place the plant somewhere with bright, indirect light and steady warmth between 65 and 75°F. Do not fertilize for at least a month. Stressed roots cannot process nutrients, and feeding them now just burns what's left.
Choosing the Right Pot and Mix for a Recovering Plant
The wrong pot undoes everything you just did. Recovering roots need oxygen more than they need water storage, so pick a pot that helps the soil dry evenly.
Pot material matters. Terracotta wicks moisture through its walls and dries the soil faster, which is ideal for a rescued plant. Plastic and glazed ceramic hold moisture longer, so only use them if you trust your watering discipline. Every pot needs drainage holes, no exceptions.
Size down, not up. Match the pot to the trimmed root ball. A general rule from horticultural extension guides is no more than 1 to 2 inches wider than the roots. An oversized pot leaves wet soil the roots cannot reach, which just restarts the rot.
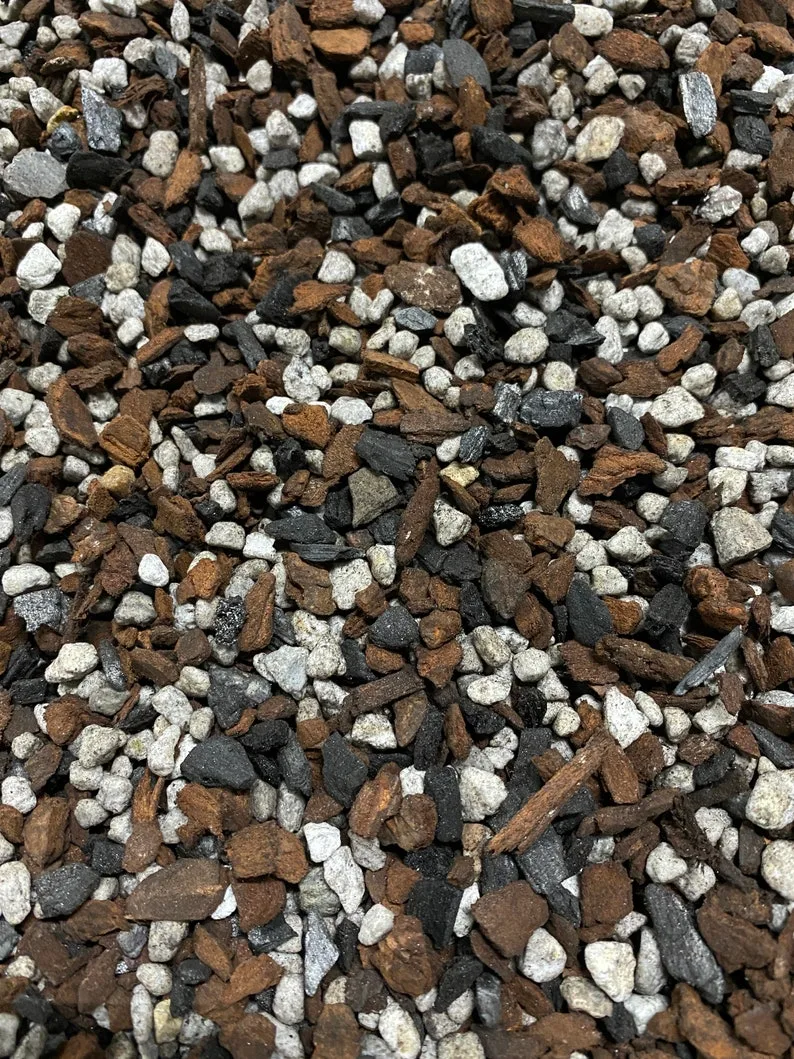
Mix by species. Fast draining is the goal.
| Plant type | Suggested mix |
|---|---|
| Aroids (Monstera, Philodendron) | 40% bark, 30% perlite, 20% coco coir, 10% charcoal |
| Succulents and cacti | 50% pumice or perlite, 50% cactus soil |
| Ferns and Calathea | 50% peat or coco, 30% perlite, 20% bark |
| Peace lily, Pothos | 60% standard potting mix, 40% perlite |
Never reuse the original saturated soil. Pathogens survive in it for months.
Cinnamon, Hydrogen Peroxide, or Fungicide: What Actually Works
All three have a role, but they solve different problems. Pick based on how far the rot has spread.
Cinnamon (ground, from your spice rack) is a mild antifungal and wound sealant. Dust it directly on trimmed root ends and any cuts on the stem. Best for Path B rescues with clean cut surfaces.
3% hydrogen peroxide breaks down into water and oxygen on contact with soil, which briefly aerates and disinfects. Aggregate horticultural guidance suggests a dilution of 1 part 3% H₂O₂ to 3 parts water, applied as a soil drench once. It's not a long term fix, and repeated use kills beneficial microbes.
Systemic fungicides (mefenoxam, phosphorous acid) target Pythium and Phytophthora at the root level. Reserve these for stubborn cases or valuable plants. Follow the EPA registered label exactly, and never use non food safe fungicides on edibles like herbs or tomatoes.
Skip charcoal chunks as a rot cure. They improve drainage inside a mix but don't stop active infection.
Species-Specific Notes: Succulents, Aroids, Ferns, and Peace Lilies
Rescue tactics change with the species. What saves an aroid can kill a succulent.
Succulents and cacti. They store water in their tissue, so a waterlogged succulent is already halfway lost. Unpot immediately, cut off any black or translucent tissue, and let the whole plant callus for 2 to 5 days in the open air before repotting into nearly pure pumice or gritty mix.
Aroids (Monstera, Philodendron, Alocasia). They recover well from bare root treatment if the growth point (crown) is firm. Alocasia can look dead and regrow from the corm alone, so keep the corm even when the leaves are gone.
Ferns and Calathea. Sensitive to root disturbance. If damage is mild, dry the plant out in place rather than repotting. If rot is severe, trim gently and cover the pot with a clear bag for a week to hold humidity while roots regrow.
Peace lily. One of the easiest to rescue. It wilts dramatically but often bounces back within 48 hours of proper drainage and a bare root trim.
Mistakes That Kill a Plant You Almost Saved
Most rescue attempts fail not from the rot itself but from what people do next. Watch for these.
- Repotting into wet soil. Fresh soil straight from the bag is often damp. Let it dry out before it touches trimmed roots.
- Watering "just a little" to help it settle. The whole point is dry rest. Wait the full 3 to 7 days.
- Upsizing the pot. A bigger pot equals more wet soil the roots cannot use. Downsize to match the reduced root mass.
- Fertilizing to "boost recovery." Damaged roots can't absorb nutrients, and salts burn what's left. Wait a month minimum.
- Covering with plastic, then adding water. Humidity domes work only if the soil is barely moist, otherwise you build a rot chamber.
- Skipping the tool sterilization. Pruning shears carry pathogens between plants. Wipe with 70% isopropyl alcohol every time.
- Leaving the plant in a cachepot. Water pools invisibly at the bottom. Always empty saucers within 15 minutes of watering.
Aftercare: Light, Warmth, and the "No Water" Rule
The first two weeks after a rescue decide everything. Keep conditions boring and stable.
Light. Bright, indirect. Roughly 200 to 800 foot-candles, which is 2 to 3 feet from an east or north facing window. Direct sun stresses a plant with reduced roots because it cannot pull up enough water to cool the leaves.
Temperature. Steady 65 to 75°F (18 to 24°C). Keep the pot away from cold windowsills, AC vents, and radiators. Cold soil slows root regrowth dramatically.
Air movement. A little airflow helps the topsoil dry evenly and discourages fungus gnats. A quiet fan on low, aimed away from the plant, works well.
Water. None for 3 to 7 days after repotting. Then check by weight, not calendar. Lift the pot.
Only water when it feels distinctly light.
How to Water Correctly Once Your Plant Recovers
Once new growth appears (usually 2 to 4 weeks in), you can restart normal watering. Do it in a way the roots can actually handle.
Water deeply, then wait. Soak the soil until water runs from the drainage holes, then empty the saucer. Shallow sips leave the lower roots dry and encourage weak surface roots.
Check moisture before every watering. Push a wooden skewer 2 inches into the soil. If it comes out clean and dry, water. If it's dark or has soil clinging to it, wait.
A moisture meter works too, though calibration drifts on cheap models.
Bottom watering helps stressed plants. Set the pot in a tray of water for 15 to 20 minutes so the roots pull moisture up through the drainage holes. It keeps the crown dry and reduces fungal pressure.
Adjust for the season. Most houseplants need roughly half as much water in winter as in summer because light and temperature drop.
Preventing a Repeat: Drainage, Pot Size, and Reading the Soil
The best rescue is the one you never need. Three habits prevent nearly every waterlogging problem.
Drill or check drainage holes. Every decorative pot without holes is a rot trap. Either drill holes with a ceramic bit, or keep the plant in a plastic grow pot and slip it inside the pretty one.
Right size the pot. Repot up one size only when roots visibly circle the bottom. Extra soil equals extra held water, which is the root cause of most rot cases.
Read the soil, not the calendar. Ditch the "water every Sunday" habit. Lift the pot to feel its weight, or check moisture 2 inches down. According to Royal Horticultural Society guidance, most houseplants prefer the top inch of soil to dry between waterings.
Fix the drainage of your potting mix by adding 20 to 30% perlite or pumice. It's the cheapest insurance you can buy.
FAQs on Reviving a Waterlogged Potted Plant
How long does it take for a plant to recover from overwatering?
Most plants show new growth within 2 to 4 weeks if you catch the rot early and follow a proper bare root rescue. Severe cases can take 2 to 3 months. If you see no new leaves or roots after 6 weeks, the rescue likely failed and it's time to propagate cuttings from what's still green.
Can I save a plant with completely mushy stems?
No, the plant itself is gone once the main stem turns to mush. Rot spreads upward from the roots, and a soft stem means the vascular tissue is destroyed. Cut healthy top growth immediately and root the cuttings in water, sphagnum, or perlite to preserve the plant.
Should I add sand to improve drainage?
No, fine sand actually makes drainage worse in pots. It fills the air pockets between soil particles and creates a concrete like layer. Use coarse perlite, pumice, or orchid bark instead.
These add space for air and let water pass through cleanly.
Is it safe to reuse the old soil after washing it?
No, discard the old mix in a sealed bag. Pythium, Phytophthora, and Fusarium spores can survive for months in used soil, even after drying. Cross contamination to your other plants is the biggest risk, so treat infected soil as biohazard, not garden compost.
Do I need to remove the plant from a cachepot every time I water?
Yes, unless the cachepot has drainage holes. Water pools invisibly at the bottom and keeps the grow pot sitting in a puddle for days. Either water the grow pot in the sink, drain fully, then return it, or dump the cachepot after each watering.
Your Quick Decision Guide: What to Do in the Next Hour
Print this list if you need to. It covers the first hour after you realize your plant is waterlogged.
- Stop watering. Empty the saucer and any cachepot immediately.
- Check symptoms. Soil heavy and sour smelling? Continue. Just dry looking? Water lightly instead.
- Slip the plant out of the pot. Inspect the roots against the healthy vs. rotten guide.
- Match to a path. Path A: dry out in place. Path B: bare root trim and repot. Path C: aggressive triage. Path D: propagate.
- Sterilize your shears with 70% isopropyl alcohol before cutting.
- Trim, dust with cinnamon, and air dry the roots for at least 30 minutes.
- Repot into fresh, dry, fast draining mix in a properly sized pot with drainage holes.
- Place in bright indirect light, 65 to 75°F, and do not water for 3 to 7 days.
Act inside the 72-hour window and most plants pull through. Wait longer and you're propagating, not rescuing.

Similar Posts