Why Are My Plant Leaves Turning Brown Around the Edges?
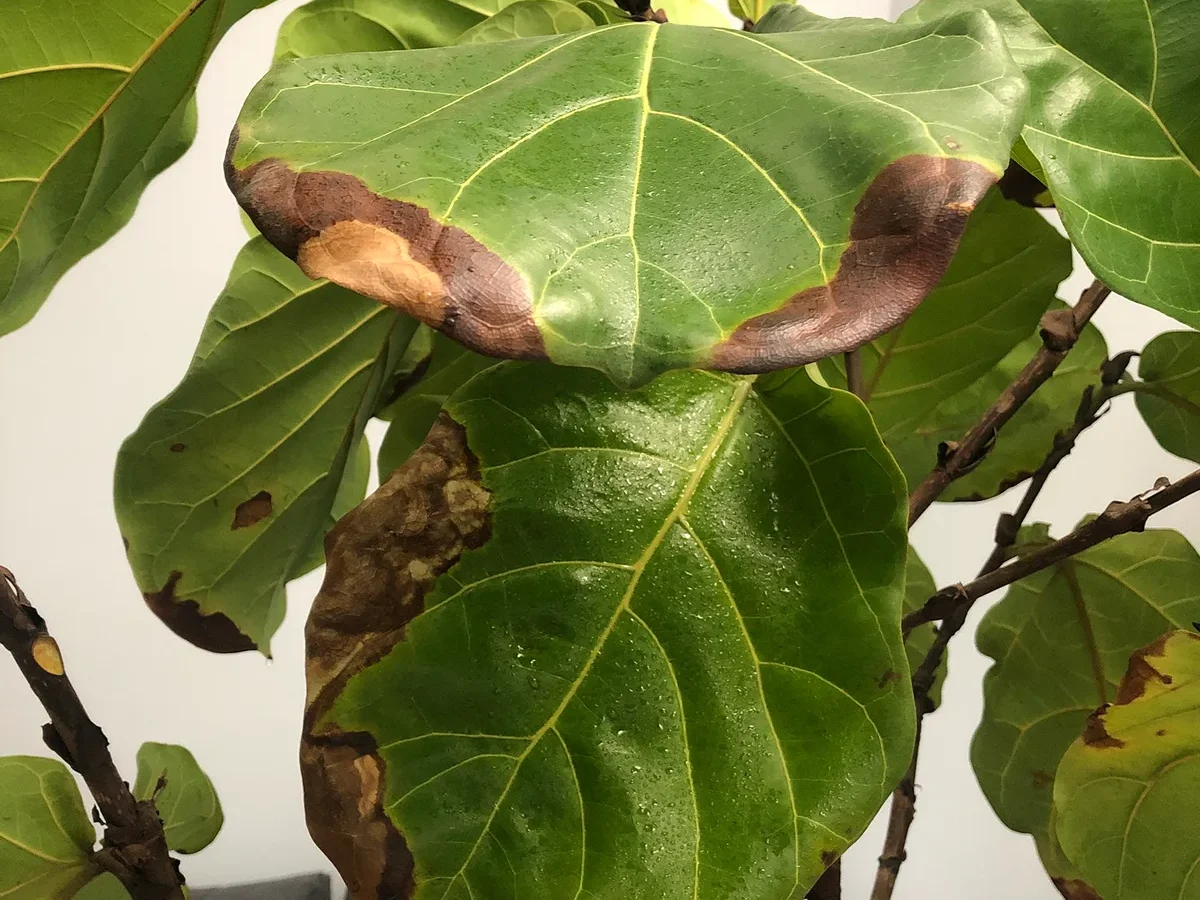
"Why are my plant leaves turning brown around the edges?" is one of the most common questions in houseplant care, and the honest answer is that six or seven different problems all look nearly identical at first glance. The brown edge itself is just a symptom. What's causing it, whether that's watering, water quality, humidity, or fertilizer, is what actually decides the fix.
The good news is you can narrow it down in about a minute with a few simple checks. Aggregate research from university extension programs shows that as of 2026, most cases trace back to just three culprits: salt buildup in the soil, chronically dry roots, or air sitting below 40% relative humidity. Get those right and the browning stops.
Here's how to work through it.
Quick Answer
Brown leaf edges usually come from moisture stress or salt buildup. The five main causes are underwatering, overwatering, tap water chemicals, fertilizer burn, and low humidity. Crispy, papery edges point to thirst, salts, or dry air.
Soft, mushy edges point to overwatering or root rot. Match the texture to the cause before you act.
The Real Reason Your Plant Leaves Are Browning at the Edges
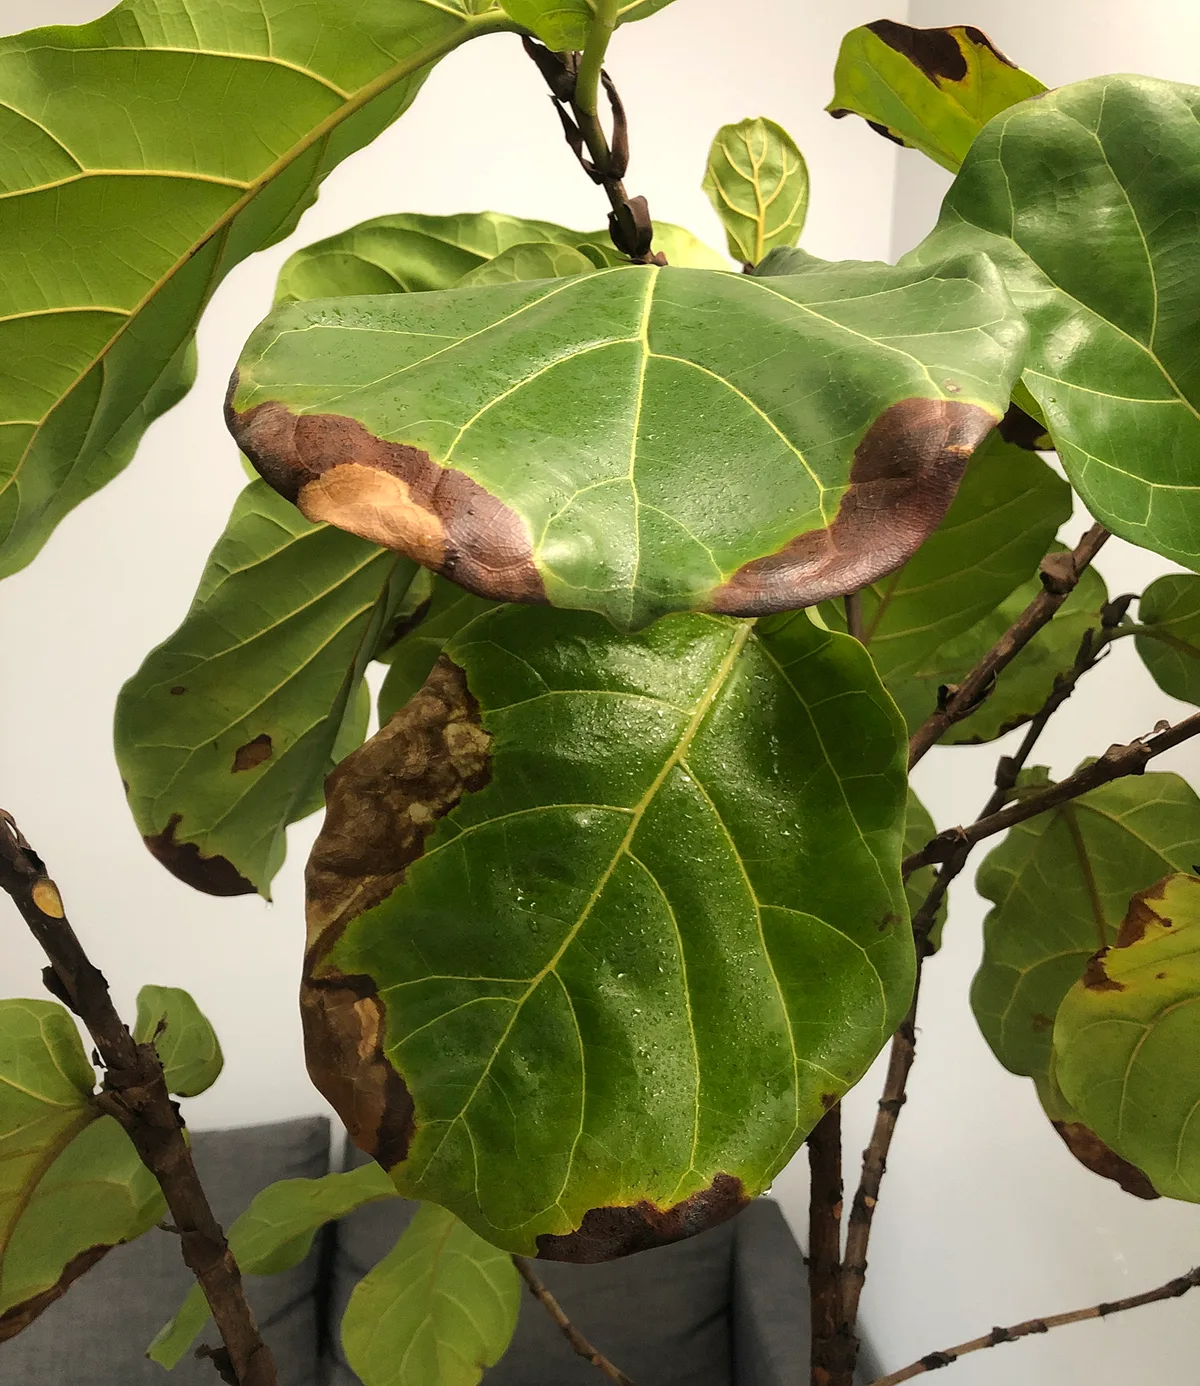
Brown edges are a symptom, not a diagnosis. The leaf margin is the last stop for water and nutrients in the plant's plumbing, so it's the first place to show damage when something upstream goes wrong. Whether the issue is dry soil, waterlogged roots, salty water, or dry air, the tissue at the edge dies first because it's furthest from the vein supply.
That's why treating "brown edges" as one problem leads people to do the wrong thing. Watering a plant that's already drowning makes the browning worse. Misting a plant suffering from fluoride toxicity won't touch the real cause.
The Missouri Botanical Garden's plant care resources note that most tipburn cases are cultural, meaning something in the plant's environment or watering routine is off, not a disease.
Before you change anything, figure out which lane you're in.
Crispy vs. Mushy: What the Texture Tells You First
The single fastest diagnostic is to pinch a browned edge between your fingers. That one detail splits the possible causes in half.
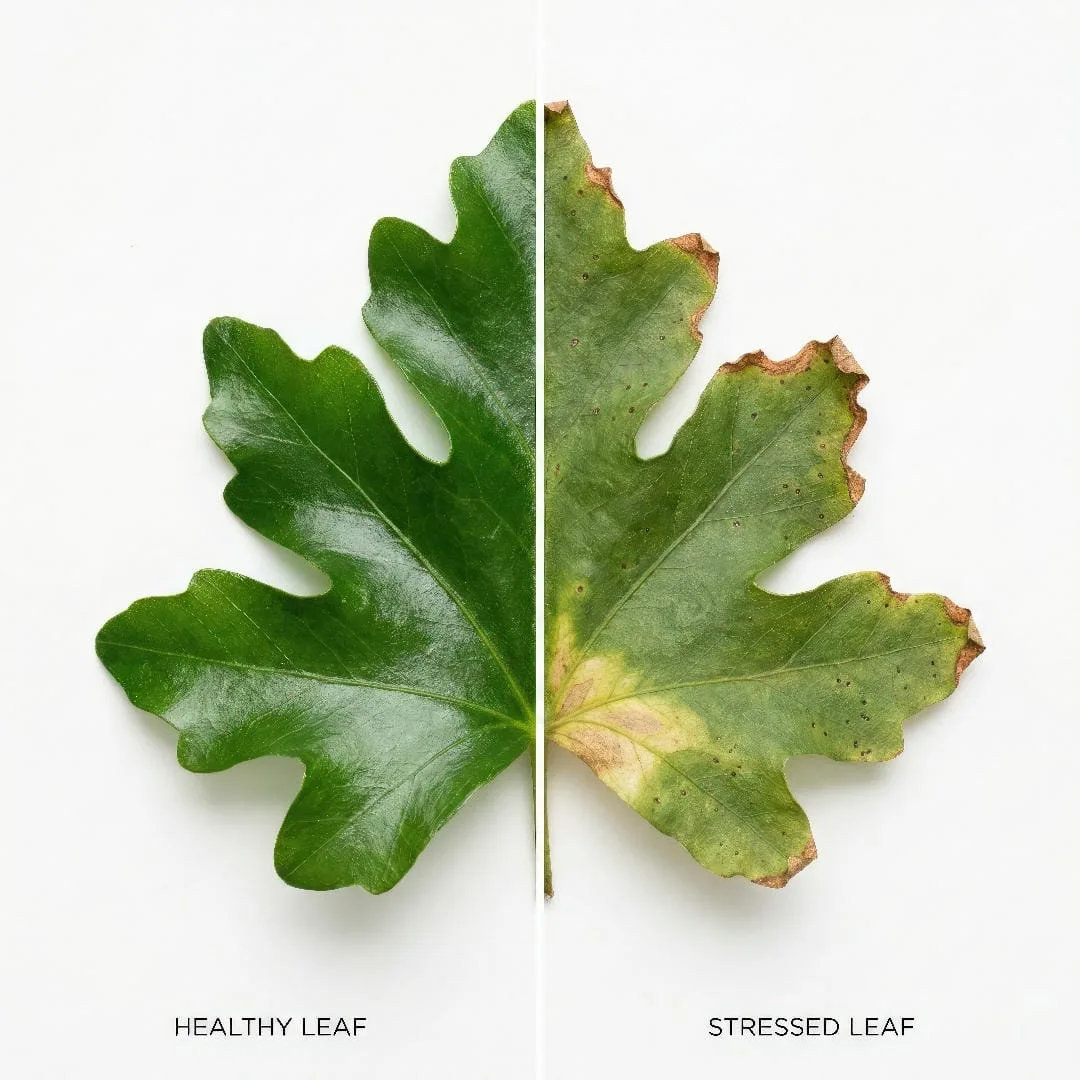
- Crispy, papery, brittle edge: tissue died from lack of water reaching it. Think underwatering, salt buildup, fluoride or chloride toxicity, low humidity, or sunburn.
- Soft, mushy, darkened edge: tissue died from too much water and failing roots. Think overwatering, root rot, cold damage, or bacterial infection.
Also look at the border. A crisp brown edge with a thin yellow halo separating it from the healthy green is the classic signature of tipburn from salts or water quality. A brown edge that fades gradually into soft yellow and then dark mush points toward root problems.
Pinch first. Everything else follows from that one check.
The 5-Second Diagnostic Checklist Before You Do Anything
Run through these five checks before you water, feed, or move the plant. Each one rules out a whole branch of possible causes.
- Pinch a brown edge. Crispy or mushy?
- Push a finger 2 inches into the soil. Bone dry, evenly damp, or soggy?
- Lift the pot. Light for its size (dry) or heavy (waterlogged)?
- Check the soil surface. Any white crust, salt rings, or mineral film on the pot rim?
- Think about your water. Tap, softened, filtered, or rainwater? When did you last fertilize?
Write the answers down if more than one plant is affected. Patterns matter. If every plant on the same shelf is browning, it's almost certainly water quality, humidity, or light.
If just one plant is affected, the cause is usually in its pot.
Underwatering: How Thirsty Roots Show Up at the Leaf Tips
Underwatered leaves brown from the outside in because water reaches the edges last. When the root zone dries out, the plant pulls moisture back from the margin to protect the veins and stems. That tissue crisps and dies within a day or two.
Signs you're looking at underwatering:
- Soil is bone dry 2 inches down
- Pot feels noticeably light
- Leaves look slightly wilted in the morning
- Brown edges are crispy and uniform across many leaves
- Recovery is fast once you water thoroughly
The fix is a slow, deep soak. Water until it runs freely from the drainage holes, wait a minute, then water again. If the soil has pulled away from the pot walls or repels water on contact, set the pot in a basin of room-temperature water for 20 to 30 minutes so the root ball fully rehydrates.
Adjust your schedule based on pot weight, not a calendar.
Overwatering and Root Rot: When Too Much Love Burns the Edges
Overwatered plants show brown edges for a completely different reason. When roots sit in saturated soil, they suffocate and start to die. Dead roots can't move water, so leaves show drought symptoms even though the soil is soaking wet.
That's why so many people water a dying plant and watch it get worse.
Signs you're looking at overwatering or root rot:
- Soil is wet or soggy days after watering
- Pot feels heavy
- Brown edges are soft, dark, or mushy rather than crispy
- Yellowing on lower leaves, often with a sour smell from the soil
- Black, slimy roots when you slide the plant out of the pot
The fix is drainage, not water. Stop watering immediately. Unpot the plant, trim any black or mushy roots with clean scissors, and repot into fresh, well-draining mix.
Only water when the top 1 to 2 inches of soil feels dry to the touch. Empty saucers within 15 minutes so roots aren't sitting in standing water.
Tap Water Damage: Fluoride, Chloride, and Salt Buildup Explained
Municipal tap water carries dissolved minerals that plants can't process. Fluoride, chloride, sodium, and boron accumulate at the leaf tips as water evaporates through the pores. Over weeks and months, the concentration crosses the tissue's tolerance and the edges die back.
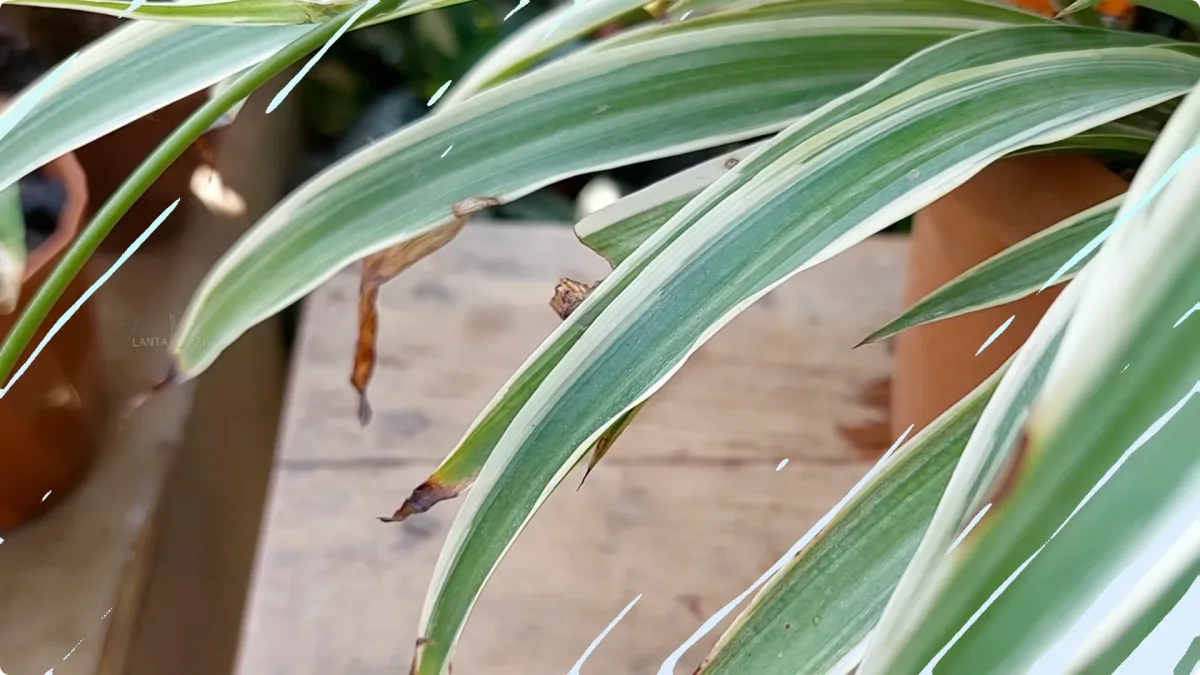
The classic pattern is a sharply defined brown tip with a narrow yellow band separating it from the healthy green. It shows up on the oldest leaves first, because they've been transpiring the longest. You can check your local water quality report through the EPA's Consumer Confidence Report tool to see what's actually in your tap water.
The permanent fix is switching your water source. Rainwater, distilled water, or reverse osmosis water solves the problem for good. Filtered water from a standard carbon pitcher helps with chlorine but does not remove fluoride.
Which Plants Are Most Sensitive (Calathea, Spider Plant, Dracaena)
Some species tolerate tap water fine. Others react to as little as 1 ppm of fluoride. The most sensitive houseplants include Dracaena, Cordyline, Chlorophytum (spider plant), Calathea, Maranta, and Ctenanthe.
If you own any of these, switch to rainwater or distilled from the start and skip the trial and error.
Why Letting Water Sit Overnight Doesn't Actually Help
Leaving tap water out overnight only helps with chlorine, which off-gasses within 24 hours. It does nothing for fluoride, chloramine, sodium, or calcium. Chloramine, used by most modern US water systems since the mid 2010s, is stable and won't evaporate.
If tap water is the culprit, change the source, not the timing.
Fertilizer Burn: The Silent Cause Most People Miss
Fertilizer burn happens when salts in the fertilizer concentrate in the soil beyond what the roots can handle. The osmotic pressure pulls water out of root tissue instead of into it, and the plant essentially dehydrates at the edges even in moist soil.
Signs point to fertilizer burn when:
- You fed recently, within the last 2 to 3 weeks
- White or yellow crust is visible on the soil surface or pot rim
- Brown edges appeared shortly after a feeding
- The soil smells faintly chemical
The fix is a thorough soil flush and cutting your fertilizer strength. Aggregate guidance from horticulture extensions puts the safe range for most houseplants at one quarter to one half of the label rate, applied every 4 to 6 weeks during active growth. Skip feeding entirely in winter when growth slows.
Low Humidity and Dry Indoor Air (Especially in Winter)
Tropical foliage plants evolved in air between 60 and 90% relative humidity. Indoor air, especially in heated homes, often drops to 20 to 30% in winter. At that level, the leaf loses water faster than the roots can replace it, and the tips crisp.
You'll notice this cause when browning ramps up as soon as the heater kicks on in fall or winter. It hits sensitive species hardest: Calathea, Maranta, Alocasia, ferns, and Fiddle Leaf Fig. Plants near forced-air vents or wood stoves show it worst.
The fixes, ranked by effectiveness:
| Method | Effectiveness | Notes |
|---|---|---|
| Ultrasonic humidifier | High | Raises whole-room RH reliably |
| Grouping plants together | Medium | Creates a shared humid microclimate |
| Pebble tray under pot | Low to medium | Only helps immediate leaf zone |
| Misting | Very low | Effect lasts minutes, not useful long-term |
Aim for 50 to 60% relative humidity for tropicals. A cheap hygrometer removes the guesswork.
Sunburn, Cold Drafts, and Heating Vents: Environmental Stress
Environmental damage often mimics watering problems, so check before changing your routine. Sunburn shows as bleached or brown patches on the leaf surface facing the window, usually with crispy edges on the exposed side only. It happens when a low-light plant gets moved into direct afternoon sun without acclimation.
Cold drafts do the opposite. Leaves near a single-pane window in winter can drop below the plant's tolerance overnight, and damaged tissue turns brown or black within a day or two. Most tropicals suffer below 55°F (13°C).
Heating vents create a triple problem: hot, dry, moving air. Even a plant several feet from a vent can show scorched edges on the side facing the airflow. Move the plant, block the vent, or redirect the deflector.
If one side of the plant is browning and the other isn't, environmental exposure is almost always the reason.
The Decision Tree: Matching the Symptom to the Right Fix
Use this table to match what you're seeing to the most likely cause and the correct first move.
| Symptom | Most likely cause | First action |
|---|---|---|
| Crispy edge, dry soil, light pot | Underwatering | Deep soak, adjust schedule |
| Mushy edge, wet soil, heavy pot | Overwatering or root rot | Stop watering, check roots |
| Crispy tip with yellow halo, oldest leaves worst | Tap water minerals | Switch to rainwater or distilled |
| White crust on soil, recent feeding | Fertilizer burn | Flush soil, halve fertilizer strength |
| Browning worse in winter, RH below 40% | Low humidity | Add humidifier, group plants |
| Brown on one side only, near window or vent | Environmental exposure | Move plant, block airflow |
| Bleached patches with crispy edges | Sunburn | Move to indirect light |
| Sudden brown or black edges after cold night | Cold damage | Move away from window, warm space |
If two rows apply, treat the more urgent one first. Root rot beats humidity. Fertilizer burn beats watering schedule.
Fix the biggest threat, then work down.
How to Flush Salt Buildup From the Soil the Right Way
Flushing removes accumulated fertilizer and mineral salts by running clean water through the soil until dissolved solids wash out. Do it every 4 to 6 months if you use tap water, or any time you see white crust on the soil surface.
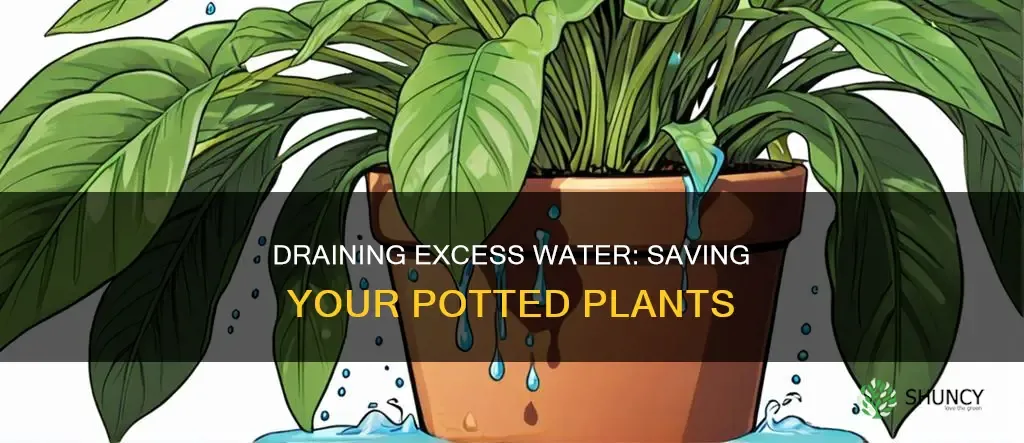
Take the pot to a sink, bathtub, or outside. Slowly pour room-temperature distilled or rainwater through the soil until roughly 3 to 5 times the pot's volume has drained through the bottom. For a 6-inch pot holding about 1 quart of soil, that's 3 to 5 quarts of water.
Let the pot drain fully for 30 minutes before returning it to its saucer. Skip fertilizer for the next 4 weeks so the plant can recover. If white crust reappears within a month, your water source is the real problem, not the soil.
Should You Trim the Brown Edges? (And How to Do It Without Making It Worse)
Yes, you can trim brown edges, and doing it correctly won't hurt the plant. Dead tissue never turns green again, so trimming is purely cosmetic, but it helps you spot new damage clearly.
Use sharp scissors cleaned with rubbing alcohol. Follow the natural shape of the leaf, cutting just inside the brown zone but leaving a thin margin of dead tissue at the edge. If you cut into live green tissue, that fresh wound will brown too within days.
For long strap leaves (Dracaena, spider plant), trim to a point that mimics the original leaf tip. For rounded leaves, follow the curve. If more than about a third of the leaf is dead, remove the whole leaf at its base instead of trimming.
Mistakes That Turn a Small Problem Into a Dying Plant
The wrong response usually causes more damage than the original problem. Watch for these.
- Watering a plant with brown edges without checking the soil first. You could be drowning a plant that just needs light.
- Repotting a stressed plant right away. Repotting causes root shock. Fix the water or environment first.
- Fertilizing to "help" a struggling plant. Never feed a stressed or dry plant.
- Misting instead of raising humidity. Misting evaporates in minutes and does nothing for dry air.
- Moving the plant to a brighter spot to "cheer it up." Sudden light changes cause fresh scorch.
- Ignoring the pattern. If every plant is browning, the cause is environmental.
When in doubt, do less. Stabilize the water and light first. Watch for 7 to 10 days before making another change.
When Brown Edges Mean Something More Serious (Pests, Disease, Root Damage)
Sometimes the browning isn't cultural. Check for these red flags.
- Fine webbing on the underside of leaves or between stems: spider mites. Look for pinprick yellow speckling too.
- Silvery streaks with black dots: thrips. Damage often looks like tipburn but shows on newer leaves.
- Sudden wilting with dark stem base: root rot has moved into the crown. Often unsalvageable.
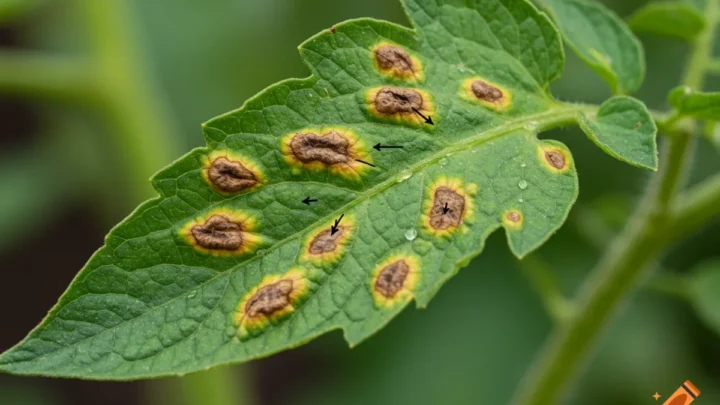
- Brown lesions with a yellow halo in the middle of the leaf (not just the edge): fungal or bacterial infection like anthracnose. Isolate the plant.
- Roots visibly circling the pot with no soil left: severely root-bound. The plant can't hold enough water to reach the edges.
If you spot pests, isolate the plant immediately and treat with insecticidal soap or neem oil. For suspected disease, remove affected leaves with sterilized scissors and reduce leaf wetness. If root rot has reached the stem, take healthy cuttings for propagation and discard the parent plant along with the contaminated soil.
Frequently Asked Questions
How long does it take for brown leaf edges to recover?
Brown tissue never turns green again. What you're watching for is new growth without browning, which usually appears within 2 to 4 weeks once the underlying cause is fixed. If new leaves are still emerging with brown edges after a month, the root cause hasn't actually been resolved and you'll need to reassess.
Can I still use tap water for less sensitive houseplants?
Most pothos, philodendrons, snake plants, and ZZ plants tolerate tap water without issue. Sensitive species like Calathea, spider plant, Dracaena, and Maranta need rainwater, distilled, or reverse osmosis to stay clean. If you keep a mix, water the sensitive ones separately with clean water and use tap for the tough ones.
Does misting actually help with brown edges?
Misting provides only a few minutes of surface humidity and does not raise ambient relative humidity in any meaningful way. For plants suffering from dry air, a room humidifier is far more effective. Aggregate horticulture guidance confirms misting can actually promote fungal issues on some species, so it's rarely the best fix.
Why do brown edges keep coming back even after I water correctly?
Persistent browning after correct watering almost always points to water quality or salt buildup in the soil. Flush the pot thoroughly and switch to rainwater or distilled for 4 to 6 weeks. If the browning stops on new growth, you've confirmed the cause and should stick with clean water long-term.
Should I cut off leaves that are more than half brown?
Yes, remove leaves that are more than about 50% damaged by cutting them at the base with sterilized scissors. Heavily damaged leaves drain more energy from the plant than they produce through photosynthesis. Removing them redirects that energy into new, healthy growth.
Is a little brown edging normal on older leaves?
Some minor edge browning on the oldest leaves is normal aging, especially on long-lived tropicals. What isn't normal is browning on new or middle-aged leaves, or edges spreading across many leaves at once. Isolated tipping on the plant's original leaves after a year or more of growth is usually nothing to worry about.
Your Quick-Reference Recovery Guide
Pinch first. Crispy means thirst, salts, or dry air. Mushy means overwatering or rot.
Check soil moisture, pot weight, and water type before doing anything.
Fix one variable at a time and wait 7 to 10 days. Switch to rainwater or distilled for sensitive species. Flush the soil every 4 to 6 months.
Keep humidity at 50 to 60% and fertilizer at quarter to half strength.
Trim damaged edges with clean scissors, following the leaf's natural shape. Remove any leaf that's more than half brown. Watch new growth.
If it comes in clean, you've solved it.

Similar Posts