How to Fix a Hole in the Middle of a Garden Hose
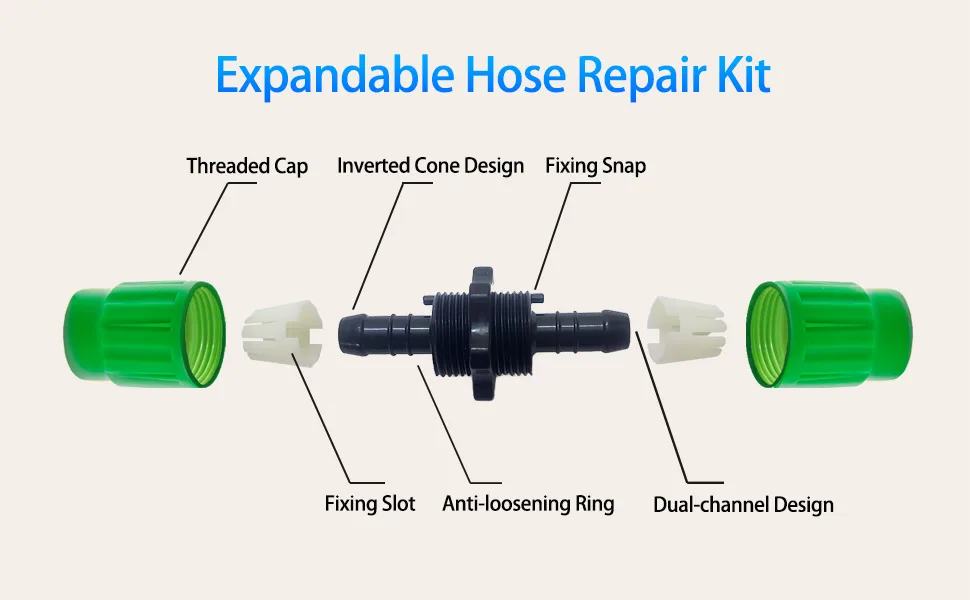
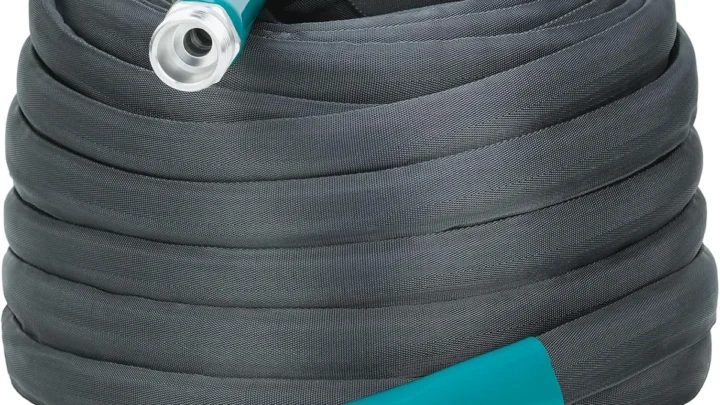
Image source: Web (Bing) / amazon.com (Web image (fair-use with source credit))
How Do I Repair a Leak in the Middle of a Garden Hose?
If you've ever asked, "How do I repair a leak in the middle of a garden hose?", you already know the answer isn't always as simple as wrapping some tape around it. Mid-hose leaks pop up at the worst times, usually when you're halfway through watering or cleaning. The good news is that fixing one doesn't require replacing the entire hose.
Understanding your hose type and the size of the damage will determine whether a quick tape job holds through the summer or whether you should invest in a more permanent repair. In our research, proper mid-hose repairs using rubber repair sleeves and oetiker clamps can restore functionality for three to five years, depending on usage patterns. Let's walk through the real methods that actually work.
Why Your Hose Leak Is More Than Just a "Quick Patch"
A slow drip from the middle of your hose might seem minor, but it adds up fast. Over an entire watering season, that steady trickle can waste hundreds of gallons and quietly raise your water bill. The real problem is what happens around the leak.
Water constantly escaping weakens the surrounding material, which means one small hole often turns into two or three within a few months. Ignoring it usually makes the repair harder and more expensive down the road.
The right fix depends on a few practical factors that most guides skip. Your hose material matters a lot. Vinyl hose, rubber hose, and reinforced triple-layer hose each respond differently to repair methods.
A mender that works perfectly on thin vinyl may split apart on a thick rubber hose. Finding the correct hose diameter before buying any repair part prevents wasting money on ill-fitting kits.
You also need to consider how long the repair should last. Are you looking for a fix that holds through one more season, or something that will survive years of regular use? If the hose already has multiple weak spots or feels brittle along its length, patching one leak might just delay an unavoidable replacement.
Sometimes the most practical choice is accepting that a new hose is cheaper than another round of repairs.
Every Real Method for Mid-Hose Leak Repair — Pros, Cons, and Best Use
Choosing the right repair method comes down to matching the fix to your specific situation, not just grabbing whatever is cheapest at the store. Each approach has clear strengths and noticeable weaknesses, and using the wrong one for your hose type is the most common reason repairs fail within weeks.
Hose mender (oatmeal-style split coupling)
Installation takes about three minutes and needs nothing more than a standard screwdriver. It works well on straight vinyl and light rubber hoses with clean cuts, but the split seam can gradually separate under repeated flexing or high pressure. Not the best choice for reinforced heavy-duty hose.
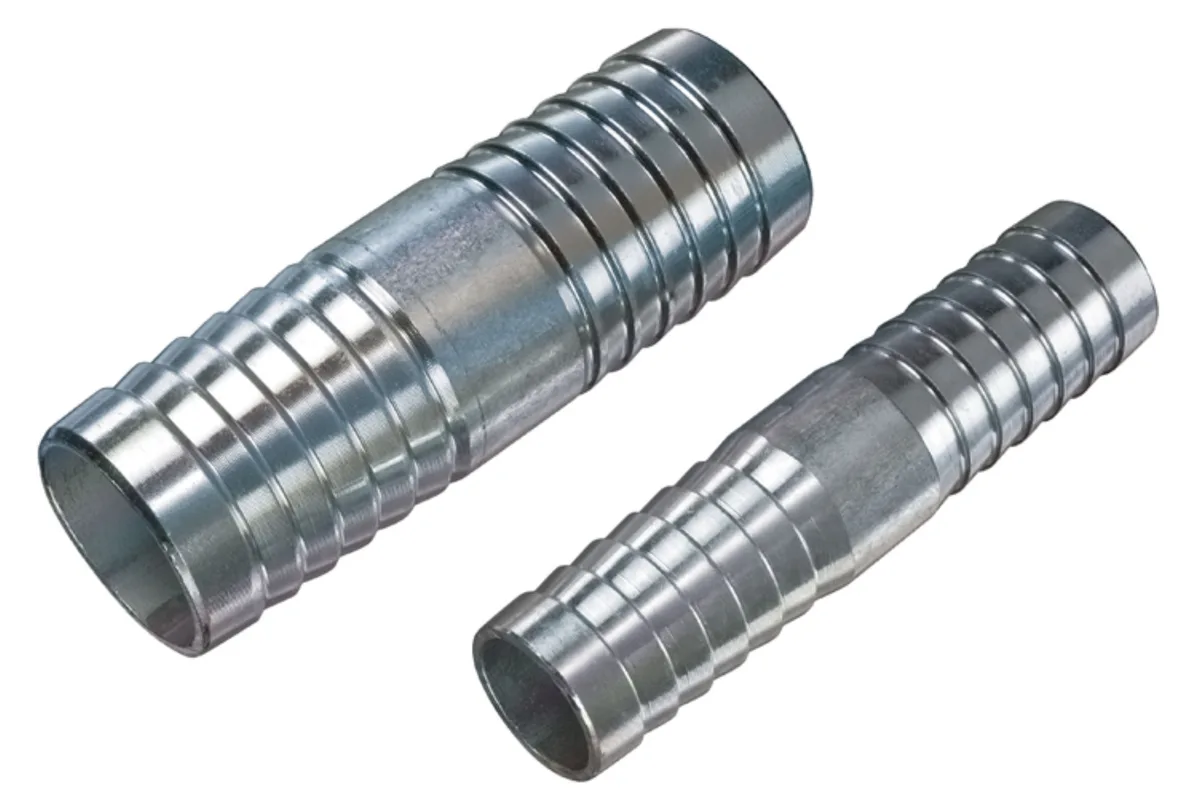
Rubber hose repair sleeve
This creates a sealed sleeve around the damaged section and is paired with worm gear or oetiker clamps for a secure hold. It requires cutting out the bad section cleanly, but it is one of the most durable options available for reinforced and heavy-duty garden hoses.
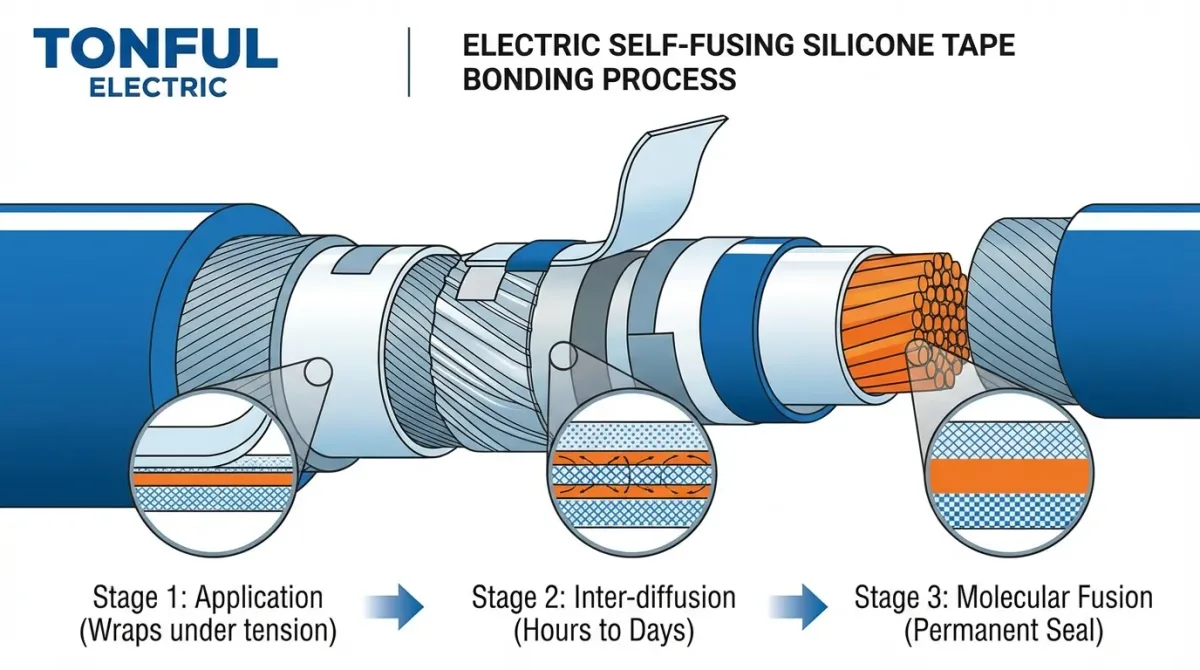
Self-fusing silicone repair tape
You wrap this directly around the leak without cutting the hose at all, which makes it ideal for small pinholes or hairline cracks in a pinch. However, it can shift or unwind over time under pressure and movement, so it is less reliable for large splits or high-pressure applications.
Stick-on patch kits
These adhesive-backed patches offer a truly temporary fix for low-pressure, short-term needs. They rarely survive extended UV exposure or repeated bending, so experienced gardeners rarely consider them a permanent solution.
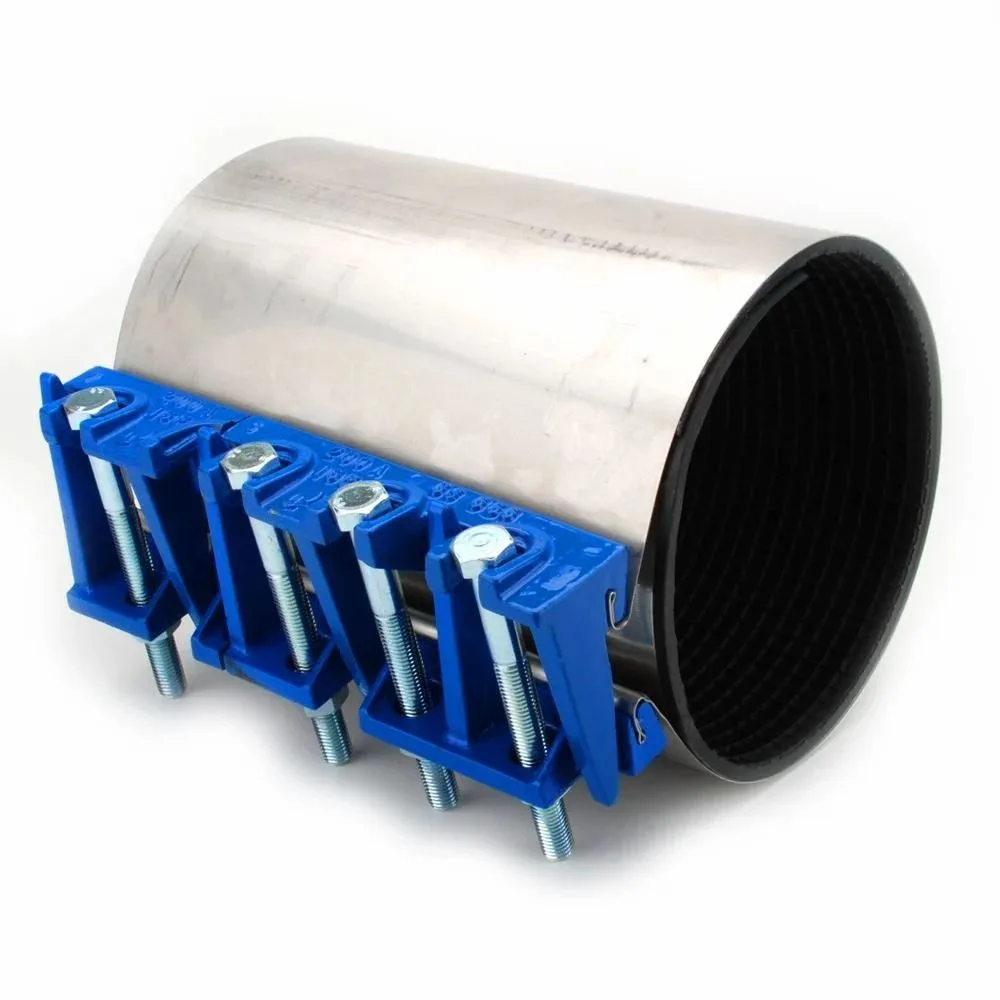
Section replacement with coupling
Cutting out the damaged segment and splicing in a new piece of hose produces the strongest long-term repair for heavy-use situations. It takes more steps and the right coupling size, but it can extend the hose's usable life back to near-original levels.
Hose end or fitting replacement
This only applies when the leak sits near a connector rather than in the middle of the run. It won't help with mid-hose damage, but it's worth knowing if your problem is actually at the fitting end.
Side-by-Side: Which Method Fits Your Hose and Situation
Picking between repair methods gets simpler when you line them up against what actually matters in real use. Durability, ease of installation, and upfront cost don't tell the whole story. What really matters is whether the method matches your hose type, the size of the damage, and how long you need it to hold before the next repair.
| Method | Best For | Durability | Ease of Use | Cost |
|---|---|---|---|---|
| Hose mender | Quick vinyl hose fixes | Moderate | Very easy | Low |
| Rubber repair sleeve | Reinforced and heavy-duty hoses | High | Easy | Low to moderate |
| Self-fusing tape | Small leaks, emergency use | Low to moderate | Very easy | Low |
| Stick-on patches | Temporary low-pressure use | Low | Very easy | Low |
| Section replacement | Long-term heavy-use repair | High | Moderate | Moderate |
| Hose end replacement | End or fitting leaks only | High | Easy | Low to moderate |
The rubber repair sleeve scores highest on durability and handles both reinforced and standard hoses when installed correctly. The hose mender is the fastest option but struggles with thick or highly flexible hose material. Self-fusing tape shines for emergency fixes on small holes but should never be your final answer on a hose that sees regular pressure cycles.
How to Choose the Right Fix in Under 2 Minutes
Start by checking the hose material. If it is a thin vinyl hose, a mender or tape job will likely hold. If it is a thick rubber or reinforced hose, go with a repair sleeve or section replacement instead.
Hose construction changes everything about which method survives long-term pressure.
Next, look at the leak itself. A small pinhole or narrow crack can often be handled with tape or a patch kit. A split, gash, or section that feels soft and degraded needs something more substantial like a sleeve or full section splice.
Trying to tape over a large split is usually a waste of time.
Then ask yourself how long the repair needs to last. One more season calls for a mender or tape. Several years of reliable use calls for a sleeve or section replacement.
Be honest about your usage pattern. A hose used daily for landscaping needs a different fix than one used twice a week for watering flower beds.
Finally, check what tools you have and what you are willing to spend. If you only own a screwdriver, a hose mender is your most realistic option. If you have basic wrenches and can make a clean cut, a rubber sleeve or section replacement gives you far better long-term value.
Knowing how to measure a garden hose accurately beforehand saves you from buying the wrong size parts.
Step-by-Step: How to Install a Rubber Hose Repair Sleeve (Best All-Around Fix)
This method delivers the strongest result for most mid-hose leaks, especially on reinforced or heavy-duty hose. It takes only a few minutes once you have the right sleeve and clamps on hand.
What you will need
- Rubber repair sleeve sized to your hose outer diameter
- Worm gear clamps or oetiker clamps in stainless steel
- Pipe cutter or a sharp utility knife
- Screwdriver or clamp crimping tool
- Clean rag and coarse sandpaper
Installation steps
Turn off the water supply and run the hose until pressure drops to zero. Locate the leak and mark it clearly with a marker or tape. Dry the hose thoroughly around the damage.
Moisture trapped under the sleeve is the fastest way to make a repair fail early.
Cut out the damaged section with a pipe cutter for a straight, clean edge. A jagged cut leaves uneven surfaces that a sleeve cannot seal properly. Slide one end of the repair sleeve onto one cut end of the hose, then push the other cut end into the opposite side until both hose ends sit evenly inside the sleeve.
Position a clamp over each hose end where it meets the sleeve. Tighten worm gear clamps firmly, but stop before the clamp crushes the hose wall. Oetiker clamps should be crimped once with the proper tool for even pressure.
Turn the water back on slowly and inspect the repair while it is still pressurized. Check again after five minutes of full flow to confirm the seal holds.
Common Mistakes That Turn a Quick Fix Into a Repeat Repair
Most mid-hose repair failures come from the same few errors, and they are easy to avoid if you know what to watch for. The biggest mistake is cutting the hose at an angle instead of straight across. A crooked cut leaves an uneven surface that a repair sleeve cannot seal properly, no matter how tightly you tighten the clamps.
Always use a pipe cutter or a sharp utility knife and rotate it evenly around the hose until the cut is clean and square.
Another frequent error is skipping the drying step before applying any repair. Moisture trapped between the hose and a rubber sleeve creates a weak bond that fails under pressure. Even a damp surface prevents self-fusing tape from properly welding to itself.
Take the time to thoroughly dry the area with a clean rag before starting any installation.
Using the wrong clamp size or over-tightening causes silent damage that leads to early failure. Worm gear clamps that are too small will dig into the hose wall instead of creating an even seal. Over-tightening can crush the hose material and create a new leak path right next to your repair.
Tighten clamps firmly but stop before the hose deforms under pressure.
Choosing a mender or tape for a hose that has multiple weak spots is another costly mistake. If the rest of the hose feels brittle, cracks easily, or has several older repairs, patching one leak rarely buys you more than a season. In those cases, replacing the entire hose is often the smarter financial choice.
Skipping the pressure test after repair is the fastest way to waste your time. Turning the water back on without inspecting the repair means you will likely discover a leak only after it has soaked your garden bed or flooded a walkway. Run the hose at normal operating pressure for five minutes and check every seam and clamp before walking away.
Costs, Lifespans, and Real-World Value of Each Repair Option
Understanding the true cost of each repair method helps you avoid spending money on fixes that fail within a few months. The cheapest option upfront is not always the cheapest over time. A $5 tape job that lasts one season costs more per year than a $15 sleeve that holds for four.
Average repair costs as of 2026
- Hose mender kits: $3 to $10
- Rubber repair sleeves: $5 to $15 per sleeve
- Self-fusing silicone tape: $6 to $18 per roll
- Hose section replacement kit: $8 to $20
- Worm gear clamps: $2 to $8 per pack
- Oetiker clamps: $5 to $15 per pack
Expected repair lifespan by method
- Tape and stick-on patches: weeks to one season
- Hose menders: one to three seasons
- Rubber sleeves: three to five plus seasons
- Section replacements with quality clamps: five plus seasons
Cost per year perspective
A tape fix averaging $10 and lasting half a season works out to about $20 per year. A hose mender at $6 lasting two years drops to $3 per year. A rubber sleeve costing $12 over four years also comes to $3 per year.
A full section replacement at $15 over five years matches that same $3 annual cost. A brand new vinyl hose at $40 lasting three years runs about $13 per year.
These numbers show that investing in a proper rubber sleeve or section replacement pays for itself quickly. The initial cost difference between a mender and a sleeve is small, but the lifespan gap is huge. Your time matters too.
Cutting out a bad section and installing a sleeve takes about ten minutes for most people. That is hardly more effort than wrapping tape, but the result lasts years longer.
Frequently Asked Questions
Can I use self-fusing tape on a high-pressure hose?
It is not recommended for sustained high pressure or continuous use. The tape can shift or unwind under repeated stress cycles. A rubber repair sleeve or section replacement handles high-pressure situations far more reliably.
How do I find a slow leak without seeing water spray?
Run the hose at normal operating pressure and listen carefully for hissing sounds along the length. You can also submerge the suspected section in a bucket of water and watch for a steady stream of bubbles rising to the surface.
What is the difference between worm gear and oetiker clamps?
Worm gear clamps use a screw mechanism and are adjustable by hand with a screwdriver. Oetiker clamps are crimp-style rings that require a dedicated tool but provide even, consistent pressure around the entire circumference without risk of over-tightening.
Will a repair sleeve work on a kinked or crushed hose?
Only if the damage is limited to a small section. If the hose is kinked or collapsed over a long stretch, the structural integrity is compromised beyond what a sleeve can restore. Replace the damaged section entirely in that case.
How long should a properly repaired garden hose last?
With a rubber sleeve or section replacement using quality stainless steel clamps, expect three to five years or more. Tape and mender repairs typically last one to three seasons depending on usage frequency and sun exposure.
Is it worth repairing a cheap $20 vinyl hose?
If the leak is isolated and the rest of the hose still feels flexible, a mender or sleeve can extend its life significantly. If the hose is brittle, cracked in multiple places, or kinks permanently, replacement is usually more cost-effective than another repair.
Final Recommendation: Pick the Method That Matches Your Needs
The best repair method is the one that matches your specific hose, leak type, and how long you need it to hold. There is no single right answer, but there is a clear right answer for your situation once you evaluate those factors honestly.
For most homeowners with a standard reinforced garden hose, a rubber repair sleeve paired with stainless oetiker clamps delivers the best balance of durability, ease of installation, and long-term value. It handles both vinyl and rubber hose types and survives years of pressure cycling when installed correctly.
If you need the fastest possible fix and your hose is light-duty vinyl, a hose mender gets the water running again in under five minutes. It is a solid temporary to mid-term solution, especially if you do not have a pipe cutter on hand.
Self-fusing silicone tape belongs in your toolkit for emergency situations. It is perfect for small pinholes when you are out in the garden and cannot stop to install a proper sleeve. Do not treat it as a permanent fix on a hose that sees regular use.
Section replacement with a coupling is the gold standard for heavy-use hoses on farms, landscapes, or anywhere failure is not an option. It costs more in time and parts but restores the hose to near-original strength.
If your hose has multiple leaks, feels hard and brittle, or kinks permanently in several spots, skip the repairs and replace it. No amount of patching will bring a degraded hose back to reliable performance.

Similar Posts