Fix Garden Hose Leaks That Only Happen When Pressurized
Why does water leak from a garden hose connection only when the hose is pressurized? The answer almost always comes down to a failing seal that only complains under force. A worn washer, cracked coupling, or loose thread can hold back a trick of moisture, then spray everywhere once you turn the tap on.
Standard garden hose thread is ¾ inch with 14 threads per inch, and it relies on a flat washer to create a pressure‑tight seal. When that washer hardens, flattens out, or sits on grit, water finds the gap the moment pressure builds. Let’s figure out exactly where your leak is coming from and how to stop it for good.
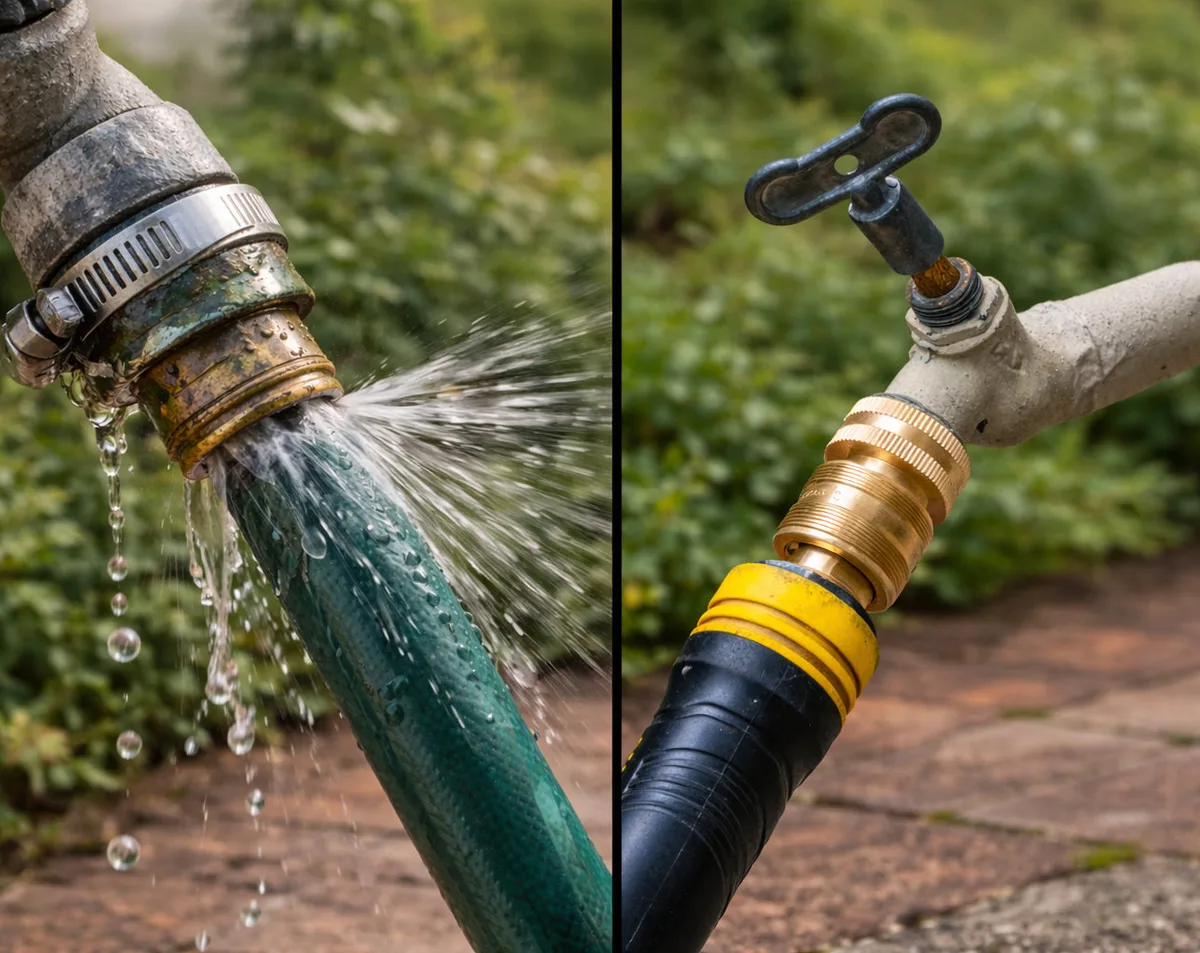
Image source: Web (Bing) / gorillaeasyconnect.com (Web image (fair-use with source credit))
Quick Answer
Water leaks from a garden hose connection only when pressurized because the seal depends on compression. A flat washer pins metal threads together. When that washer wears out, cracks, or sits on debris, the seal fails under pressure.
You’ll often see a steady drip at rest that turns into a spray once the water flows.
The Quick Fix Most People Miss
Before you chase hoses or buy new parts, check the most common culprit: the flat washer inside the female coupler. That rubber disk does all the sealing work. Over time, it compresses, hardens, or picks up grit from your spigot.
The result is a leak that hides when the water is off but springs open the moment you turn it on.
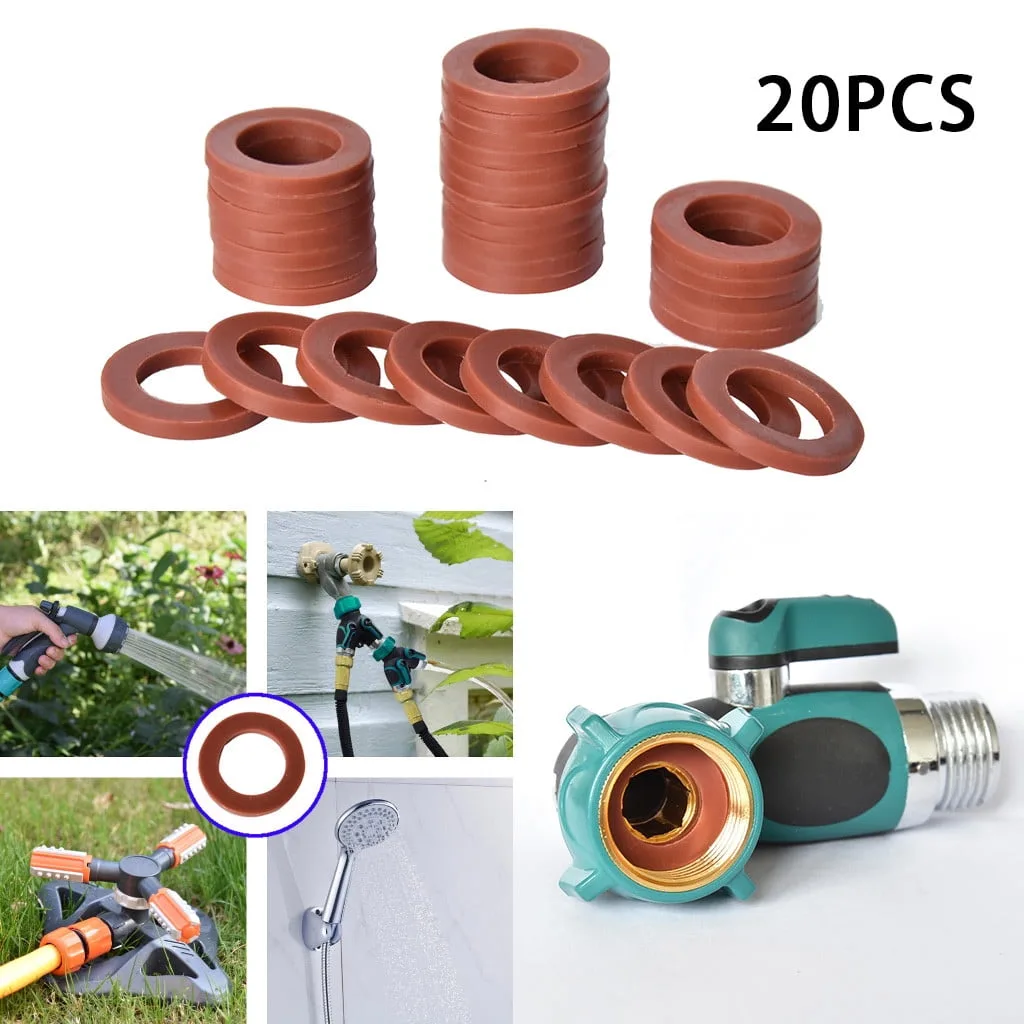
Image source: Web (Bing) / walmart.com (Web image (fair-use with source credit))
Try this first: disconnect the hose from your spigot, pull out the washer, and inspect it. If it’s cracked, squashed flat, or feels like stiff plastic, swap it out. A standard replacement washer costs about a dollar.
Many homeowners skip this step and end up replacing perfectly good hose ends.
You can also run your finger around the threads where the hose meets the spigot. Feel for moisture or mineral deposits. A quick rinse with a toothpick or old toothbrush clears hidden sand that ruins the seal.
This simple fix solves the majority of pressure‑only leaks. For a deeper dive into proper how to connect a garden hose to a sprayer, you’ll see the same washer plays a central role in every connection.
Where Exactly Is the Leak Coming From
Pinpointing the leak saves you from guessing. A drip at the spigot end behaves differently from a spray at the nozzle end. Follow this quick flowchart:
- Turn the water on. Watch the entire hose while it’s pressurized.
- Identify the source. Look for the exact point where water escapes.
- Check the three main zones: , Spigot end (where the hose attaches to the outdoor faucet)
, Nozzle end (where the hose attaches to a spray wand or reel)
, Mid‑hose (any coupling or section between the two ends)
Leak location tells you which part to replace. A spigot‑end leak usually points to the washer or the hose’s male threads. A nozzle‑end leak often means the washer inside that coupler is done, or the hose itself is cracked near the fitting.
Mid‑hose leaks frequently signal a failed repair coupling or a split hose wall.
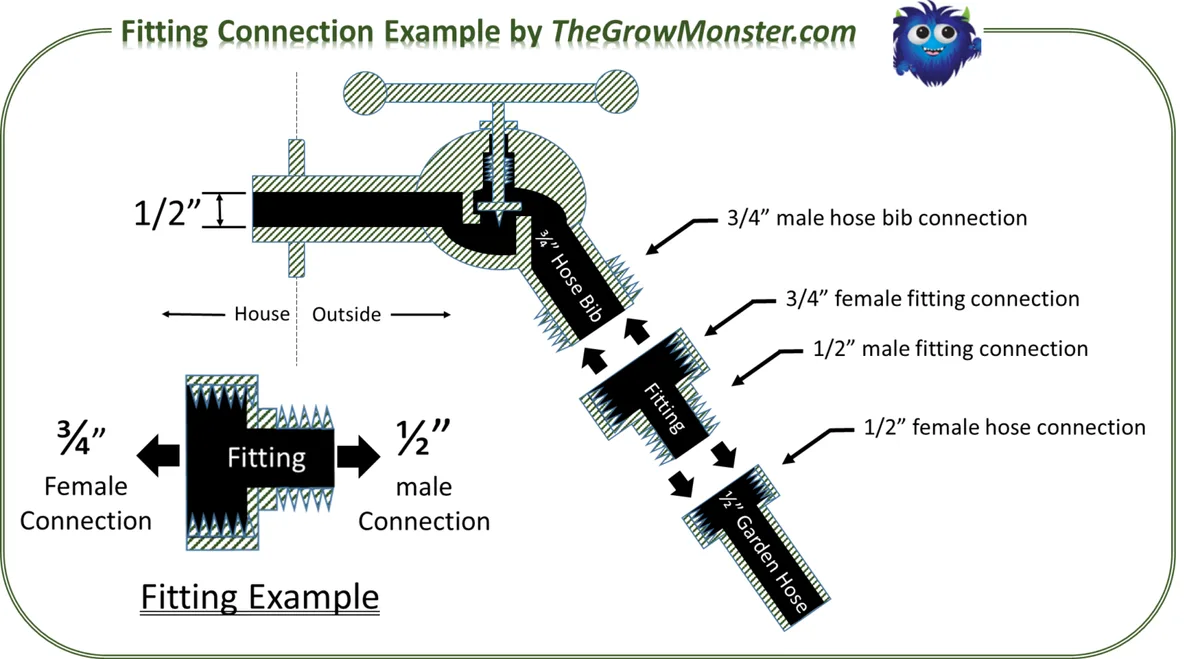
Image source: Bing (Web (fair-use with source credit))
| Leak Location | Most Likely Cause | First Check |
|---|---|---|
| Spigot end | Worn washer or stripped threads | Inspect the flat washer inside the female coupler |
| Nozzle end | Failed washer or cracked coupling | Remove and examine the nozzle‑end washer |
| Mid‑hose | Split hose or loose mender coupling | Squeeze along the hose; look for soft spots or visible cracks |
If you’re unsure about your hose dimensions, understanding how garden hoses are measured: diameter & length guide can help you pick the right replacement parts. Also, knowing how big is a standard garden hose ensures you don’t buy mismatched fittings.
How to Fix It Based on Where It’s Leaking
Leaking at the Spigot End
Step 1: Disconnect and inspect. Unscrew the hose from your outdoor faucet. Pull out the flat washer inside the female coupler. If it’s hard, cracked, or flattened, replace it.
A silicone or Gortex washer lasts longer than standard rubber.
Step 2: Check the threads. Look at the male threads on the hose end. Are they stripped, cross‑threaded, or pitted with rust? Light corrosion can be cleaned with a wire brush.
Deep damage means you’ll need a new coupler or a hose mender.
Step 3: Test the spigot. Turn on the water with the hose detached. If the faucet itself drips from its stem, the issue isn’t the hose. You may need to replace the spigot washer or cartridge.
For tips on boosting flow, see how to increase water pressure from your garden hose.
Leaking at the Nozzle End
Step 1: Remove the nozzle. Unscrew the spray wand or reel from the hose. Pull out the washer inside that coupler. Again, replace if it looks worn.
Step 2: Inspect the hose threads. The male threads here are easier to damage because you often hand‑tighten the nozzle. If they’re stripped, you can wrap them with PTFE tape (clockwise, two to three wraps) to restore the seal. Don’t overdo it; too much tape can prevent the washer from seating properly.
Step 3: Try a different nozzle. Sometimes the problem is a cracked nozzle body, not the hose. Attach a known‑good nozzle and see if the leak stops. If you’re deciding between nozzles, our INNAV8 garden hose nozzle heavy duty review breaks down which models hold up best over time.
Leaking Mid‑Hose or at a Coupling
Step 1: Locate the exact split. Run your hands along the hose while it’s pressurized. Feel for wetness. Look for visible cracks, especially near any repair couplings.
Step 2: Decide between repair or replace. If the damage is small and isolated, a hose mender coupling can patch it. Cut out the bad section and join both ends with the mender.
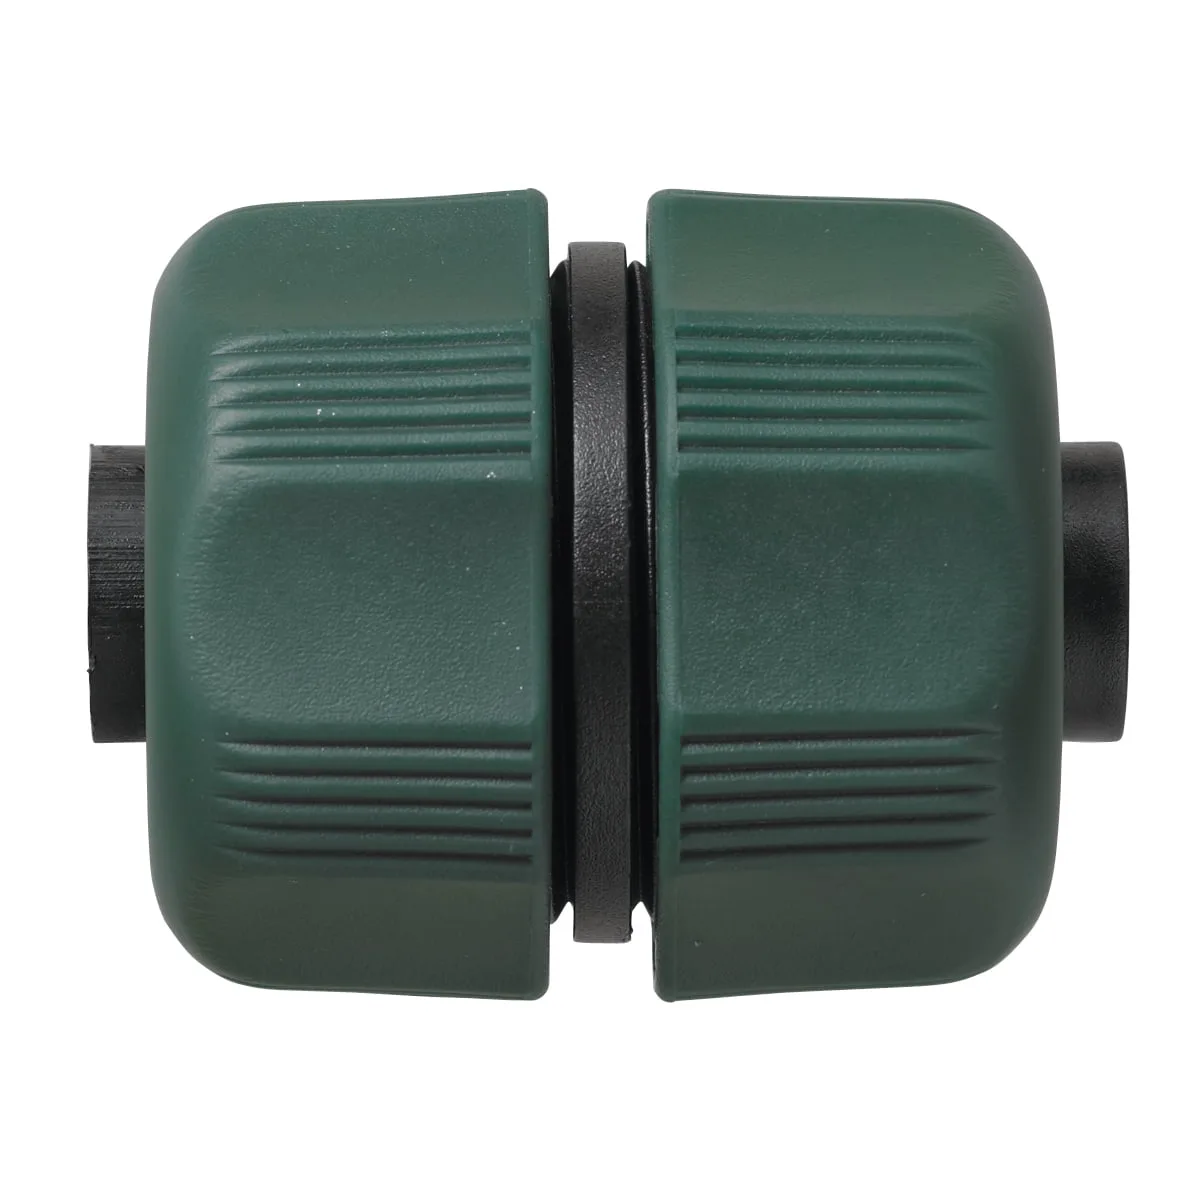
Image source: Web (Bing) / walmart.com (Web image (fair-use with source credit))
Step 3: When to replace the whole hose. If you see multiple splits, soft spots, or extensive cracking, it’s time for a new hose. DIY repair kits work for one bad section, but a hose with general wear won’t last long. Learn how to repair a garden hose fast and easy if you want to attempt a mender job.
Also, if you need to join two hoses, check our guide on how to connect two garden hoses together.
If the leak seems to come from inside the hose wall (not at a fitting), you might have a more serious crack. Our piece on how to fix a leaking garden hose for good covers additional techniques for stubborn leaks.
Mistakes That Make the Leak Worse
Most leaks get worse because people reach for the wrong fix first. Swearing the hose onto the spigot until your knuckles turn white won't seal a bad washer. It will strip the threads or crack the plastic coupler instead.
Once you've overtightened, the male threads lose their grip and water finds a new escape route.
Don't wrap Teflon tape around the female coupler. Thread sealant belongs on the male spigot threads only, and even then, garden hose connections aren't supposed to need it. A proper GHT seal relies on the washer, not tape.
Adding tape to the wrong end creates a bulge that prevents the washer from seating flat.
Skipping the washer inspection is another common trap. You might swap a cracked coupler and still get a leak because the old, hard washer inside is the real problem. Always check both washers when you disconnect a hose.
The one at the spigot end and the one at the nozzle end can age differently depending on which gets more sun exposure.
Image source: Web (Bing) / walmart.com (Web image (fair-use with source credit))
Ignoring mineral buildup quietly ruins seals over time. Hard water leaves calcium deposits on the washer seat inside the coupling. That rough surface stops the rubber from flattening evenly.
A quick soak in white vinegar and a scrub with an old toothbrush clears the deposit without damaging the threads.
Using a hose mender on a cracked section sounds cheap until the repair splits again under pressure. Mender couplings work for clean cuts through intact hose. They don't hold on frayed or sun-rotted material.
If the hose around the mender feels soft or crumbly, replace the whole run instead of patching it. Our guide on how do you fix a garden hose walks through when a patch actually makes sense.
Costs, Parts, and What to Expect
Replacing a garden hose washer costs about $1 to $3 per unit at most hardware stores. Silicone and Gortex upgrades run $3 to $8 each and last three to five times longer than standard rubber. That upfront difference pays for itself quickly if you're swapping out cheap washers every spring.
A brass replacement coupler runs $5 to $15. Plastic ones sit cheaper at $2 to $5 but crack faster in freezing weather. If your hose has a broken female end, a brass coupler gives you a longer service life.
Just make sure the thread size matches your existing hose, which is almost always the standard 3⁄4 inch GHT.
Hose mender couplings price between $3 and $10 for basic rubber hose models. Heavy-duty brass versions cost $8 to $15 and handle higher pressure better. If you need to join two hoses together, understanding how to connect two garden hoses together helps you pick the right coupling for the job.
| Part | Average Cost | Replacement Frequency |
|---|---|---|
| Standard rubber washer | $1–$3 | Annually or biannually |
| Silicone / Gortex washer | $3–$8 | Every 2–4 years |
| Brass coupler | $5–$15 | Every 3–5 years |
| Plastic coupler | $2–$5 | Every 1–2 years |
| Hose mender coupling | $3–$15 | One-time repair |
Professional plumber rates start around $75 to $150 per hour, but most hose leaks don't require a pro. The only time calling someone makes sense is when the outdoor spigot itself is leaking from the house side. That means a valve cartridge or stem seal issue inside the wall, which involves shutting off water to the house and opening plumbing.
If your hose is beyond repair, factor in a full replacement. A basic 50-foot hose runs $10 to $25. Heavy-duty reinforced models cost $25 to $60.
Expandable hoses tend toward the higher end at $30 to $80 but offer easier storage. Learn how expandable garden hoses work if you're weighing that option against traditional rubber or vinyl.
When you're ready to dispose of your old hose, check how do you dispose of old garden hose for recycling options instead of sending it to the landfill. Proper disposal keeps rubber and metal out of waste streams.

Similar Posts