How to Fix a Leaky Garden Hose (Step-by-Step)
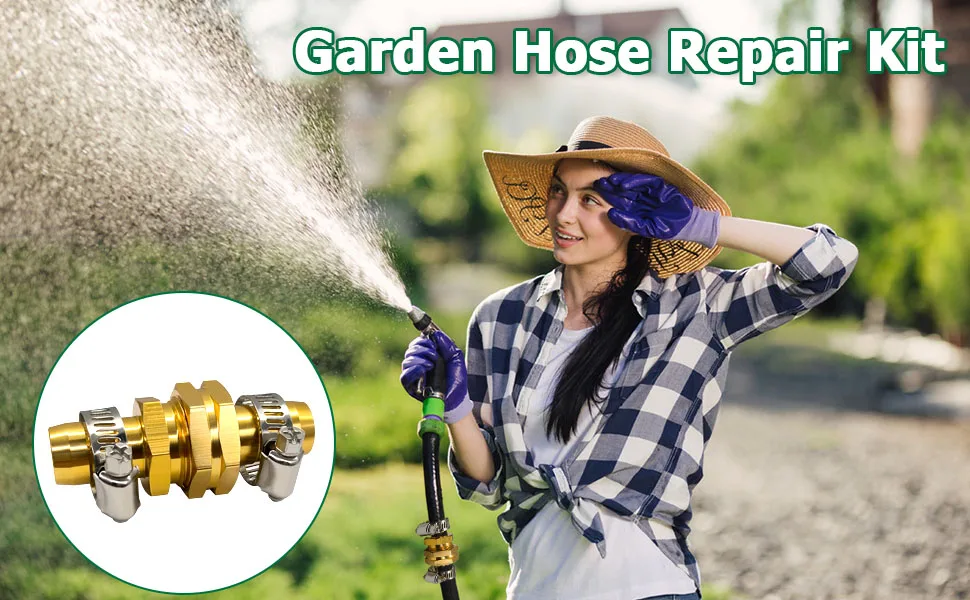
If you're asking how do you fix a garden hose, the answer depends on one thing: where it's leaking. A drip at the spigot connection is almost always a worn rubber washer. A crack in the hose body needs either a barbed inline mender or self-fusing silicone tape.
Getting the diagnosis right first is the whole game.
The good news is that most hose repairs cost between $5 and $15 as of 2026, and take less than 15 minutes. Garden hose fittings follow the GHT standard (Garden Hose Thread, 3/4 inch, 11.5 threads per inch). Replacement parts are universally available at any hardware store.
Here's how to find the problem and pick the right fix.
Quick Answer
How do you fix a garden hose? First, locate the exact leak. A dripping spigot connection needs a new rubber washer.
A cracked hose body needs a barbed inline mender. A small pinhole seals fast with self-fusing silicone tape. Broken end fittings can be cut off and replaced.
Why Garden Hoses Fail (And What That Tells You About the Fix)
Hoses fail in a handful of predictable ways. Knowing which one saves you from buying the wrong parts.
UV degradation turns rubber and vinyl brittle over time. Hoses left in direct sun crack along their length, often after 3, 5 years in high-sun climates. The damage usually shows up as a thin split midway along the hose body.
Freeze damage is the other major cause. Water expands roughly 9% when it freezes, and a hose left outside through winter often splits along a seam. The damage is typically obvious and lengthwise.
Mechanical damage from lawnmowers, vehicle tires, or tools creates a clean puncture or cut. These are straightforward repairs since the rest of the hose is usually fine.
Worn washers are the most common failure of all. The rubber washer inside the female connector compresses over years of use and stops sealing properly, causing a persistent drip at the spigot.
What You Need Before You Start: Tools and Parts
Most repairs need only a screwdriver and the right fittings. The exact parts depend on your specific leak type.
| Item | Used For | Approximate Cost |
|---|---|---|
| Flathead screwdriver | Tightening hose clamps | Already owned |
| Utility knife / hose cutter | Cutting hose for splice repair | $5–$15 |
| PTFE tape | Sealing threaded connector joints | $2–$4 |
| Self-fusing silicone tape | Patching pinholes and small cracks | $6–$12 |
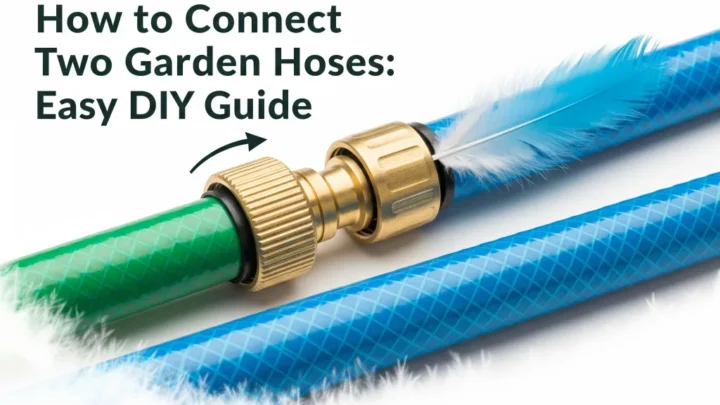
| Barbed inline hose mender | Splicing a cracked hose body | $5–$15 |
| Screw-type hose clamps, x2 | Securing mender fittings | Included in most kits |
| Rubber washer, 5/8 in | Fixing spigot drip | $2–$5 per pack |
| Male or female end fitting | Replacing a broken connector end | $5–$12 |
Before you buy anything, confirm your hose's diameter. The standard residential size is 5/8 inch, but some hoses run at 1/2 inch or 3/4 inch. Check the correct diameter for your hose before purchasing a mender or end fitting.
A wrong-size barb won't seal under pressure.
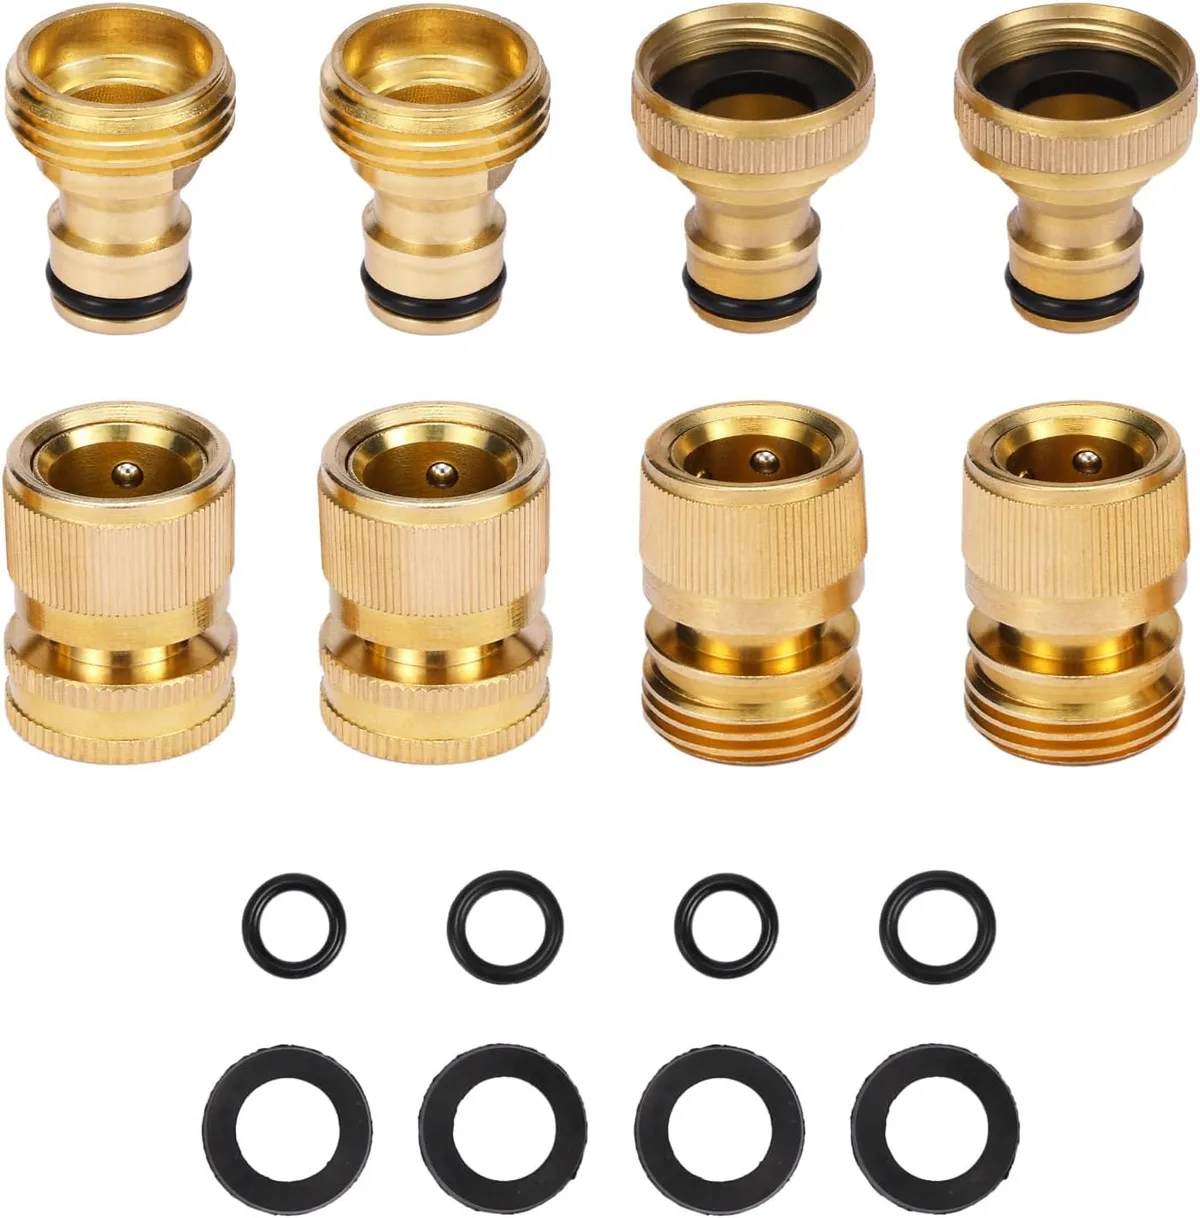
Always choose brass fittings over plastic. They handle UV exposure and temperature changes far better, and they won't crack at the collar.
Step One: Find the Exact Leak — This Determines Everything
Turn the water on fully and walk the entire length of the hose before buying any parts.
Check three locations in this order:
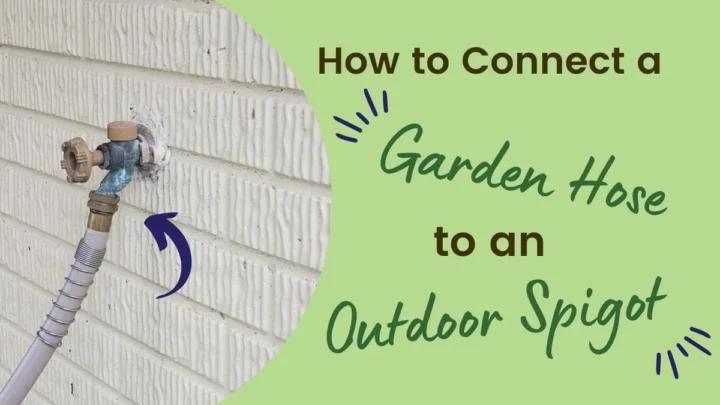
- The spigot connection. A drip here almost always points to the rubber washer. Skip straight to that fix below.
- The hose body. Look for water spraying sideways, a damp swollen patch, or a visible crack. A pinhole needs tape. Anything longer needs an inline mender.
- The nozzle end. Dripping at the nozzle usually means a worn washer or stripped threads on the hose end fitting.
Once you've found the main leak, keep the water on and run your hand along the rest of the hose. UV-damaged or freeze-damaged hoses rarely fail in just one spot. Finding secondary weak points now saves another repair trip in a few weeks.
If the leak is at the spigot and you can't get the hose off first, a connector stuck on the faucet is a separate issue that needs sorting before anything else.
How to Fix a Leaking Hose Connector (Worn Washer or O-Ring)
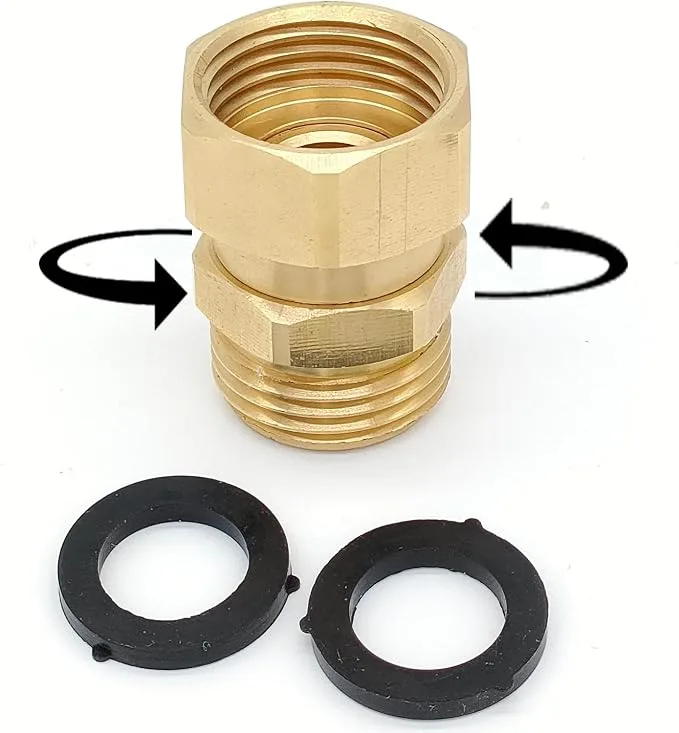
This is the most common garden hose repair, and it takes about three minutes. The rubber washer inside the female end fitting creates the seal at the spigot. When it flattens or cracks, you get a steady drip even when the connection feels tight.
You'll need: a 5/8-inch replacement rubber washer and a pair of pliers.
Steps:
- Turn off the spigot and unscrew the hose.
- Look inside the female threaded end. The rubber washer sits in a recess at the back.
- Pry out the old washer with a flathead screwdriver or your fingernail.
- Press the new washer flat into the recess with no gaps around the edge.
- Reconnect and hand-tighten, then add a quarter-turn with pliers.
- Turn the water on slowly and check for drips.
If it still drips after a new washer, wrap 2, 3 layers of PTFE tape around the spigot's male threads before reconnecting. That handles most stubborn leaks on worn or older fittings.
According to the EPA WaterSense program, a leaking outdoor connection can waste thousands of gallons over a single irrigation season. A $2 washer fixes it in minutes.
How to Replace a Cracked or Broken End Fitting
When the connector itself is cracked, the threads are stripped, or the plastic collar has snapped off, a new washer won't help. You need to replace the fitting entirely.
Hose end fittings are easy to swap out, and the process takes about 10 minutes. You'll need a matching replacement fitting (male or female), two screw-type hose clamps, a utility knife, and a screwdriver.
Steps:
- Cut the hose 2 inches back from the damaged fitting. The cut must be perfectly perpendicular. An angled cut creates gaps that leak under pressure.
- Slide two hose clamps onto the cut end, threaded side facing outward.
- Push the barbed end of the new fitting fully into the hose until the barbs disappear inside the hose wall.
- Slide each clamp over a barb position.
- Tighten both clamps with a screwdriver. Firm, not so hard you crush the hose wall.
- Reconnect and test at full water pressure.
One mistake to avoid: buying the wrong gender fitting. The spigot end of your hose is female (threaded on the inside). The nozzle end is male (threaded on the outside).
Double-check before you buy.
For any hose used near sensitive water applications, choose NSF/ANSI 61-certified, lead-free brass fittings.
How to Repair a Split or Cracked Hose Body With an Inline Mender
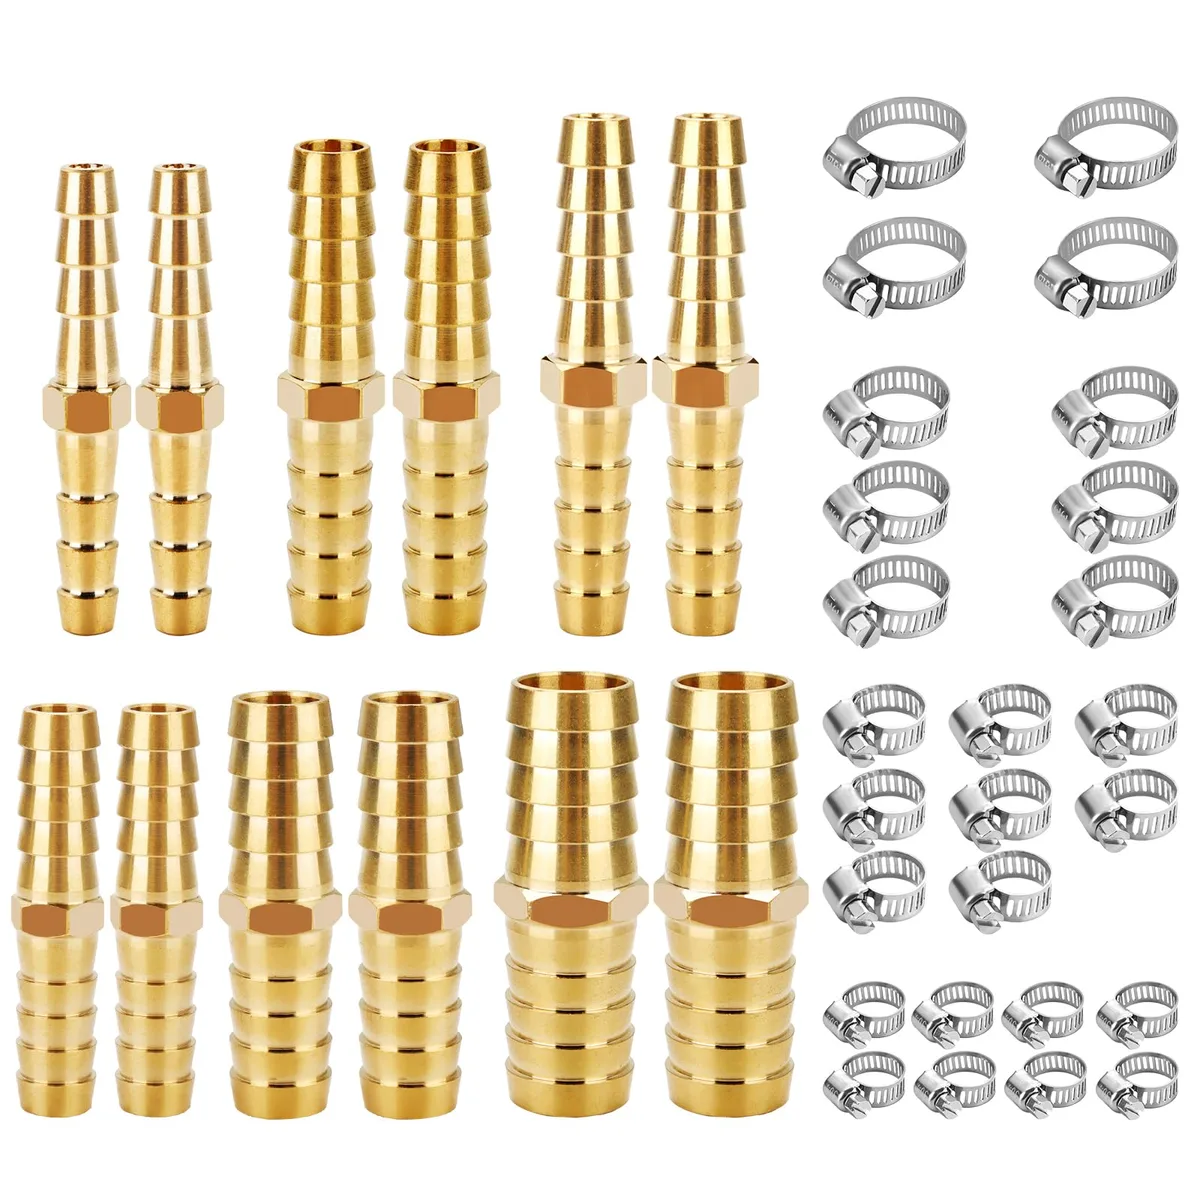
This is the right fix when you've got a visible crack, split, or crushed section along the hose body. You're cutting the damaged section out entirely and bridging the gap with a barbed inline mender fitting.
Steps:
- Turn off the water and release pressure by opening the nozzle end.
- Mark cut lines at least 1 inch past each visible end of the damage.
- Cut at both marks with a sharp utility knife or hose cutter. Perpendicular cuts only.
- Slide one hose clamp onto each cut end before inserting anything.
- Push one side of the barbed mender fully into the first hose end until the barbs disappear inside the hose wall.
- Repeat on the second hose end.
- Slide each clamp over a barb position and tighten firmly.
- Turn the water on slowly and check both clamp positions for leaks.
The most common failure here is forgetting to slide the clamps on before inserting the fitting. If you miss that step, you'll need to pull the fitting back out and start over.
Manufacturer specs confirm that standard hose mender kits handle normal residential water pressure (40, 80 PSI) when installed correctly. If the repair leaks, the cut was likely angled or the clamps weren't seated over the barbs.
How to Fix a Pinhole Leak With Self-Fusing Silicone Tape
Self-fusing silicone tape is the fastest fix for a pinhole or hairline crack. It bonds to itself under tension, forming a watertight seal without any adhesive.
Steps:
- Dry the hose surface around the damage with a rag. The tape won't fuse to a wet surface.
- Start wrapping 2 inches before the damage, stretching the tape to 50, 75% of its original width as you go.
- Overlap each pass by half the tape's width.
- Continue 2 inches past the damage.
- Complete at least 3, 4 full layers, then press the tail firmly against the previous layer.
Aggregate reviews report this holds reliably for pinholes and hairline cracks under standard household pressure. It's not the right fix for a full split or crushed section. Those need an inline mender.
Repair or Replace? How to Make the Right Call
If the hose is under five years old with a single isolated failure, repair it. The cost is minimal and the rest of the hose will likely hold up fine.
If the hose is older than five to seven years and you found more than one weak spot during your inspection, replacement is the smarter move. A degraded hose tends to fail again within a season or two, regardless of how well the current repair holds.
Cases where replacement makes more sense:
- Expandable hoses with a burst inner latex tube (the outer sleeve offers no structural support without it)
- Vinyl hoses where the outer surface has gone chalky and is cracking in multiple places
- Any hose already shortened by a previous repair, where new damage sits close to a connector end
If the hose is past saving, check whether your hose material can be recycled before binning it.
Brass Fittings vs. Plastic Fittings: Which Repair Parts Last
Buy brass. It costs a dollar or two more per fitting, and it's worth it every time.
Plastic fittings crack from UV exposure, particularly at the collar where the fitting meets the hose clamp. They deform under sustained pressure and can fail at the joint within a single season. Aggregate reviews across major hardware retailers consistently flag plastic fittings as the most common source of repeat repairs.
Brass fittings resist UV, handle freeze-thaw cycles reliably, and maintain their grip over time. For any hose connected to high-pressure equipment, brass is the only practical choice.
For potable water use, look for NSF/ANSI 61-certified, lead-free brass fittings. Per NSF International, this certification confirms the material won't leach contaminants into the water supply.
How Much a Garden Hose Repair Actually Costs
Repairs are almost always worth it compared to buying new. Here's what parts typically run.
| Repair Type | Parts Cost | Time to Complete |
|---|---|---|
| Replace rubber washer | $2–$5 | 3–5 minutes |
| Replace end fitting | $5–$12 | 10 minutes |
| Inline mender kit | $8–$20 | 15 minutes |
| Self-fusing silicone tape | $6–$12 | 10 minutes |
| Full hose replacement (50 ft) | $20–$100+ | 5 minutes |
The repair-vs-replace crossover sits at roughly $15 in parts. If the fix costs less than that and the hose is in decent overall shape, repair it. If parts cost approaches $20 and the hose is already well worn, a new hose often makes more sense.
For reference, a quality 50-foot rubber hose runs $40, $80. A reinforced model costs $60, $100 or more. A $5 washer or $8 mender kit protects that investment easily.
Mistakes That Make the Repair Fail
Forgetting to pre-position hose clamps. Slide them onto the hose before pushing in the barbed fitting. Once the barb is fully seated, there's no getting a clamp past it without pulling the whole fitting back out.
Cutting at an angle. A slanted cut leaves a gap between the hose wall and the barb. That gap leaks under pressure every time. Use a straight edge as a guide and make one clean perpendicular slice.
Wrapping silicone tape on a wet surface. Self-fusing tape only bonds to itself under tension. A damp or dirty hose stops the layers fusing, and the wrap peels away when the water comes on.
Leaving the water pressure on between uses.Closing the spigot after each session relieves constant pressure from every fitting in the line. Verified buyer feedback consistently links always-on pressure to early connector wear.
Choosing plastic fittings for an outdoor hose. The collar cracks in UV and the joint fails. Verified buyer feedback on hardware retail sites flags this repeatedly. The extra $2 for brass is always worth paying.
How to Store Your Hose So This Doesn't Happen Again
Drain completely before coiling. Water left sitting inside a hose expands if temperatures drop near freezing, stressing the wall from the inside. Lift the spigot end, run the hose straight, and let it drain fully before storing.
Keep it off the ground and out of direct sun. Ground contact exposes the hose to UV from above and radiated heat from below. A wall-mounted or freestanding reel coils the hose evenly, prevents kinking, and keeps it off a hot surface.
Bring it indoors before the first frost. In cold climates, storing the hose in a garage or shed from late autumn onward is the single most effective step against splits and freeze damage.
Frequently Asked Questions
Can you fix a garden hose with duct tape?
No. Duct tape doesn't bond to rubber or vinyl under water pressure and typically fails within minutes. Self-fusing silicone tape is the right fix.
It bonds to itself under tension, requires no adhesive, and holds up to normal residential water pressure when applied in enough overlapping layers.
How long does a garden hose repair last?
A correctly installed barbed mender with hose clamps can last the remaining life of the hose, often several years. A self-fusing silicone tape wrap holds well for one to two seasons on a pinhole but may need re-wrapping if the hose flexes repeatedly at that spot.
Can you repair an expandable hose?
Rarely with reliable results. Expandable hoses use a latex inner tube inside a braided outer sleeve. If the tube bursts, silicone tape won't bond to latex reliably and barbed menders can't grip the thin wall securely.
Replacement is usually the better call. Check whether the old hose material is recyclable before binning it.
Why does my hose still drip at the nozzle end after tightening?
The most likely cause is a worn rubber washer inside the female hose end. The fix is identical to a spigot drip: unscrew the nozzle, swap the washer, and reconnect. If the threads are stripped, replace the male end fitting using the same steps covered in the connector repair section.
Is a repaired section safe to use with a pressure washer?
No. Standard residential pressure runs 40, 80 PSI, which most repair kits handle. Pressure washers typically operate at 1,000 PSI or more.
A repaired section, whether taped or mended, is not rated for that load. Replace any repaired segment before connecting the hose to high-pressure equipment.

Similar Posts