Why Your Tomatoes Are Rotting on the Bottom (And How to Fix
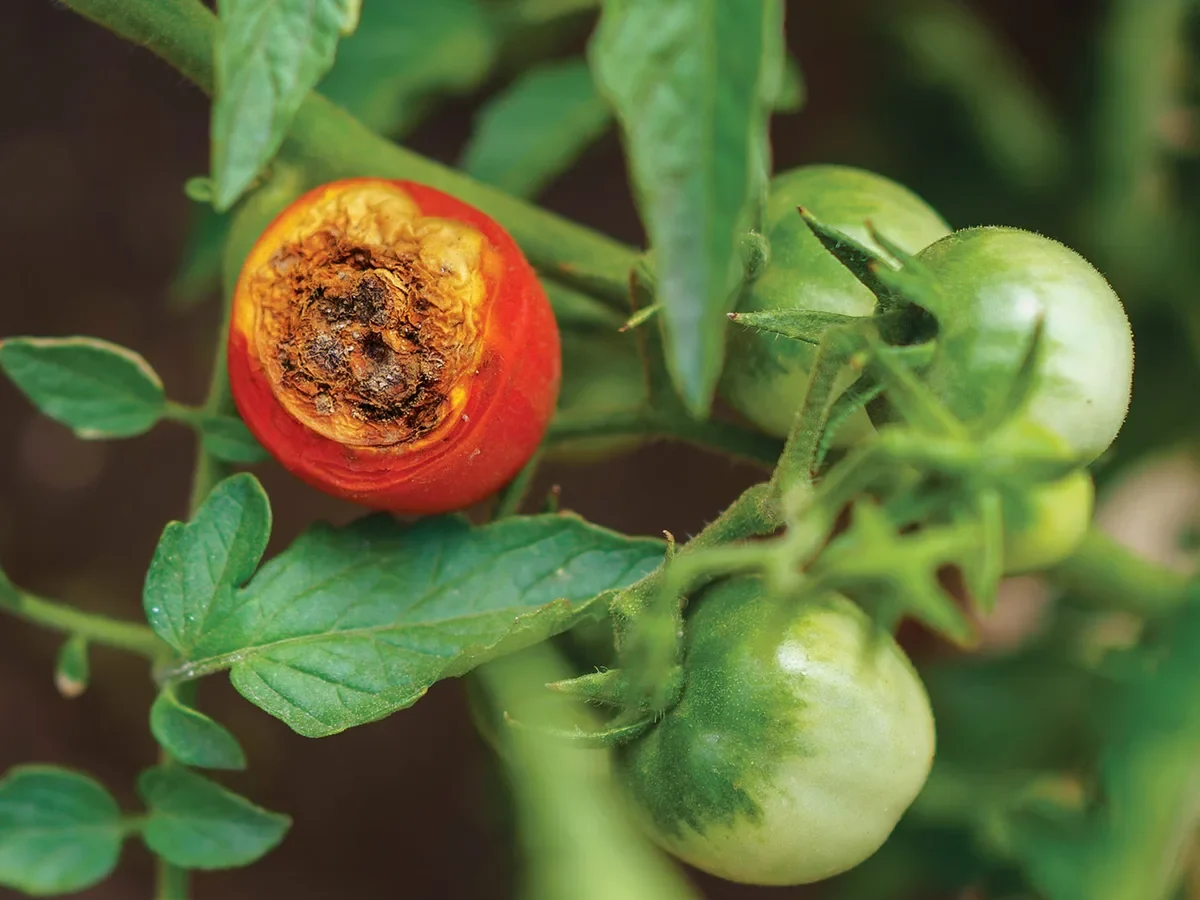
You spot a green tomato ripening beautifully, then flip it over and find a sunken, leathery black patch on the bottom. If you've asked yourself, "Why is the bottom of my tomatoes rotting (blossom-end rot)?" the short answer is this: your plant isn't sick, and it isn't infected. This is a physiological disorder tied to how calcium moves through the plant, and the fix is almost never what you'd expect.
Blossom-end rot (BER) shows up most often on the first trusses of the season, per USDA Cooperative Extension guidance current as of 2026. It's especially common on paste varieties like Roma and San Marzano, and on plants growing in containers or sandy soil. Before you reach for a calcium spray, let's walk through what's really going on.
Quick Answer
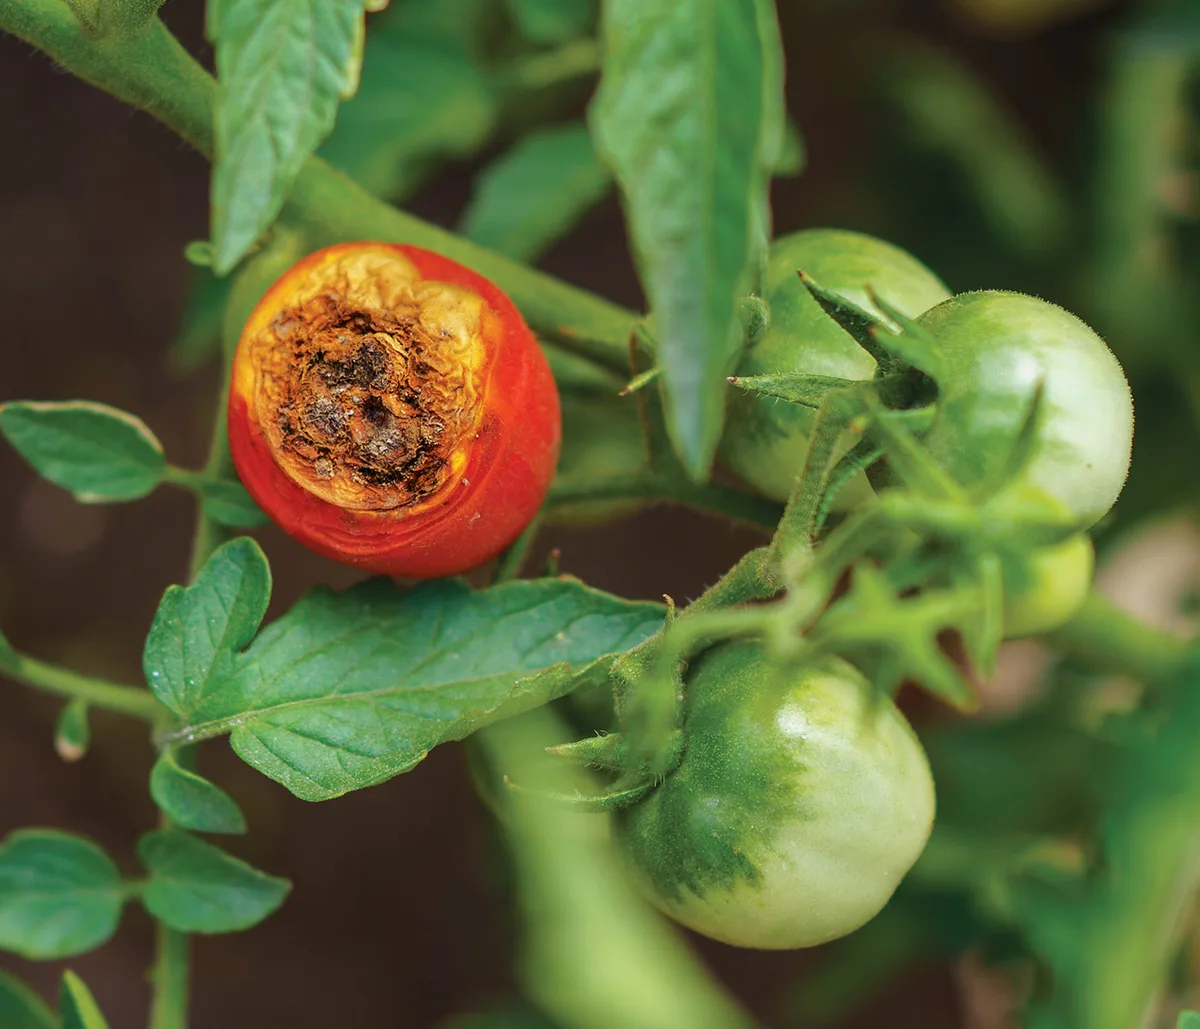
Blossom-end rot is a physiological disorder, not a disease. It shows up as a sunken black patch on the bottom of the fruit. The cause is calcium not reaching the fruit fast enough.
Inconsistent watering is the main culprit, not low soil calcium. Steady moisture and mulch prevent it on future trusses.
Why the Bottom of Your Tomatoes Is Turning Black
That black, leathery patch forms because cells at the blossom end of the fruit collapsed early. They collapsed because calcium didn't arrive when the fruit was expanding fastest. The rot you see now started weeks ago, when that tomato was pea-sized.
The rot itself isn't spreading. It's a scar from a past event. That's why spraying anything on the black spot won't reverse it, and why the plant can still set clean fruit on later trusses once conditions stabilise.
What Blossom-End Rot Actually Is (and What It Isn't)
Blossom-end rot is a physiological disorder, meaning the plant caused it, not a pathogen. There's no fungus to kill, no bacteria to spray, no virus in the soil. University extension research consistently ranks it as one of the most reported tomato problems each season.
Here's what BER looks like in each stage:
- Early stage: a small, water-soaked spot on the bottom of a green or ripening fruit
- Mid stage: the spot enlarges, darkens, and starts to sink inward
- Late stage: a dry, leathery, dark brown or black patch, sometimes covering a third of the fruit
The rot is firm and dry. If it's soft, oozing, or fuzzy, you're looking at something else, probably a secondary fungal infection that moved in after the cells died. BER also appears only on the bottom (the blossom end), never at the stem end.
The Real Cause: It's Almost Never a Calcium Shortage
Here's the myth worth dropping right now. Most soils across the US and UK have plenty of calcium already. Multiple university extensions have documented this repeatedly.
The problem isn't the amount of calcium in the ground. The problem is calcium not moving fast enough into the developing fruit.
Calcium travels with water, pulled up through the xylem by transpiration. When water flow to the fruit stutters, calcium delivery stutters with it. The fastest-growing cells sit at the blossom end, farthest from the stem, so they run short first and collapse.
What actually interrupts that water flow?
- Inconsistent watering, dry spells followed by heavy soaking
- Drought stress during rapid fruit expansion
- Waterlogged soil that suffocates roots
- Root damage from hoeing or cultivating too close
- Cold soil early in the season slowing uptake
- Heavy nitrogen feeding that pushes leaves competing with fruit for calcium
- High soil salts or excess potassium and magnesium blocking calcium uptake
Notice what's missing? "Not enough calcium in the soil." That's why dumping eggshells, gypsum, or Tums into the planting hole rarely fixes the problem in the same season.
Quick Diagnosis: Is It Really Blossom-End Rot?
Before you treat anything, confirm the diagnosis. Several tomato disorders look similar at a glance, and the fixes are completely different.
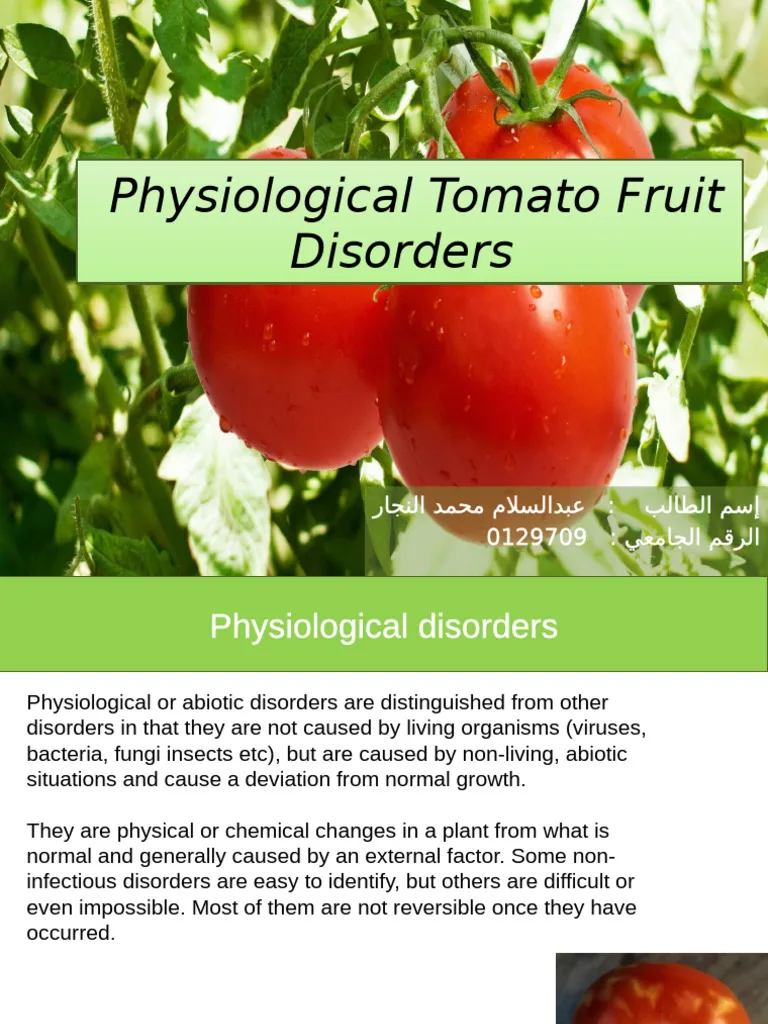
Check three things on the affected fruit:
- Location: is the damage on the bottom (blossom end) or somewhere else?
- Texture: is it dry and leathery, or soft, sunken with rings, or blistered?
- Colour progression: did it start as a water-soaked spot, or as a pale patch?
If it's dry, leathery, dark, and dead-centre on the bottom, it's BER. Anything else, check the table below.
Blossom-End Rot vs Anthracnose vs Sunscald vs Catfacing
| Disorder | Where on fruit | Texture | Cause |
|---|---|---|---|
| Blossom-end rot | Bottom (blossom end) | Dry, leathery, sunken | Calcium not reaching fruit |
| Anthracnose | Anywhere, often ripe fruit | Sunken circular spots with dark rings | Fungal infection (Colletotrichum) |
| Sunscald | Top or shoulders | Pale, papery, blistered patch | Direct sun on exposed fruit |
| Catfacing | Bottom, misshapen | Puckered scars and holes | Cold or disturbance at flowering |
| Buckeye rot | Bottom, touching soil | Firm brown zones with rings | Soil-borne fungus (Phytophthora) |
Get the diagnosis right first. Treating BER as a fungus wastes time. Treating fungal rot as a calcium issue lets it spread.
The Decision Tree: Find Your Exact Cause
BER has one mechanism (calcium can't reach the fruit) but several triggers. Walk through these questions in order. The first "yes" is almost always your answer.
Are You Watering Inconsistently?
If your tomatoes go three or four days dry, then get a heavy soak, this is your culprit most of the time. The plant's water uptake yo-yos, and calcium delivery yo-yos with it. Water deeply on a schedule, aim for 1 to 2 inches per week including rainfall, and never let the top inch of soil stay bone-dry for long.
Is Your Soil Drying Out Too Fast?
Sandy soil, unmulched beds, and hot windy weather pull water out faster than roots can replace it. Even daily watering can fall short. Add 2 to 4 inches of straw, shredded leaves, or wood-chip mulch around each plant.
Mulch stabilises soil moisture and temperature at once.
Did You Recently Fertilize Heavily?
High-nitrogen fertilizers push a burst of leaf and stem growth. Those new leaves outcompete developing fruit for calcium in the transpiration stream. Ammonium-heavy formulas make it worse because ammonium ions block calcium uptake at the roots.
Switch to a balanced or lower-nitrogen feed (something like 5-10-10) once fruit sets.
Are Your Plants in Containers or Raised Beds?
Container tomatoes dry out faster, hold less buffer against temperature swings, and often run on soilless mixes with lower calcium reserves. Grow bags and small pots amplify all of it. Use pots at least 5 gallons (ideally 10 to 15), water once or twice daily in hot weather, and use a tomato-specific fertilizer with added calcium.
Was There a Cold Snap or Heat Spike?
Cold soil below about 60°F slows root activity and calcium uptake. A sudden heat spike above 90°F cranks up transpiration and pulls calcium toward leaves instead of fruit. Warm the soil before transplanting with black plastic or landscape fabric, and shade-cloth young plants during heat waves to reduce stress.
Did You Cultivate or Hoe Near the Roots?
Deep hoeing or aggressive weeding near the base slices feeder roots. Fewer working roots means less water uptake, which means less calcium moving up. Pull weeds by hand within 12 inches of the stem, and let mulch smother anything further out.
Fixes That Actually Work (Matched to the Cause)
The right fix depends entirely on which trigger you found in the decision tree. Match the cause to the fix and you'll stop wasting effort.
| Trigger | The fix that actually works |
|---|---|
| Inconsistent watering | Water on a schedule, aim for even soil moisture |
| Fast-draining soil | Add 2 to 4 inches of organic mulch |
| Too much nitrogen | Switch to low-nitrogen fertilizer once fruit sets |
| Container drying out | Bigger pot, daily watering, tomato-specific feed |
| Root damage | Stop cultivating close to the stem |
| Cold or heat spike | Warm soil early, shade cloth during heat waves |
Pick your one or two real triggers and change those. Don't try to fix all six at once. If you overhaul everything, you won't learn what your garden actually needed, and next year you'll be guessing again.
Fixes That Waste Your Time and Money
Some of the most common BER "cures" don't do much, and a few actively cause new problems. Skip these:
- Crushed eggshells in the planting hole. They take months to break down. Any calcium released arrives long after the affected fruit is past saving.
- Tums, antacids, or milk drenches. Same problem. The calcium doesn't move into the fruit quickly enough to help.
- Epsom salt. This is magnesium sulfate. Extra magnesium actually competes with calcium at the root and can make BER worse.
- Foliar calcium sprays on affected fruit. The rot is already set. The spray won't reverse existing damage, and calcium absorbed through leaves rarely moves into fruit anyway.
- Dumping extra fertilizer. More nitrogen accelerates leaf growth, pulling calcium away from fruit and making the next round worse.
The one calcium application that occasionally helps is a foliar calcium chloride spray on developing fruit early in the season, but only if a soil test confirms low calcium. That's rare in most garden soils.
How to Water Tomatoes So This Stops Happening
Watering is the single biggest lever you control. Get this right and BER usually disappears on its own within a few weeks.
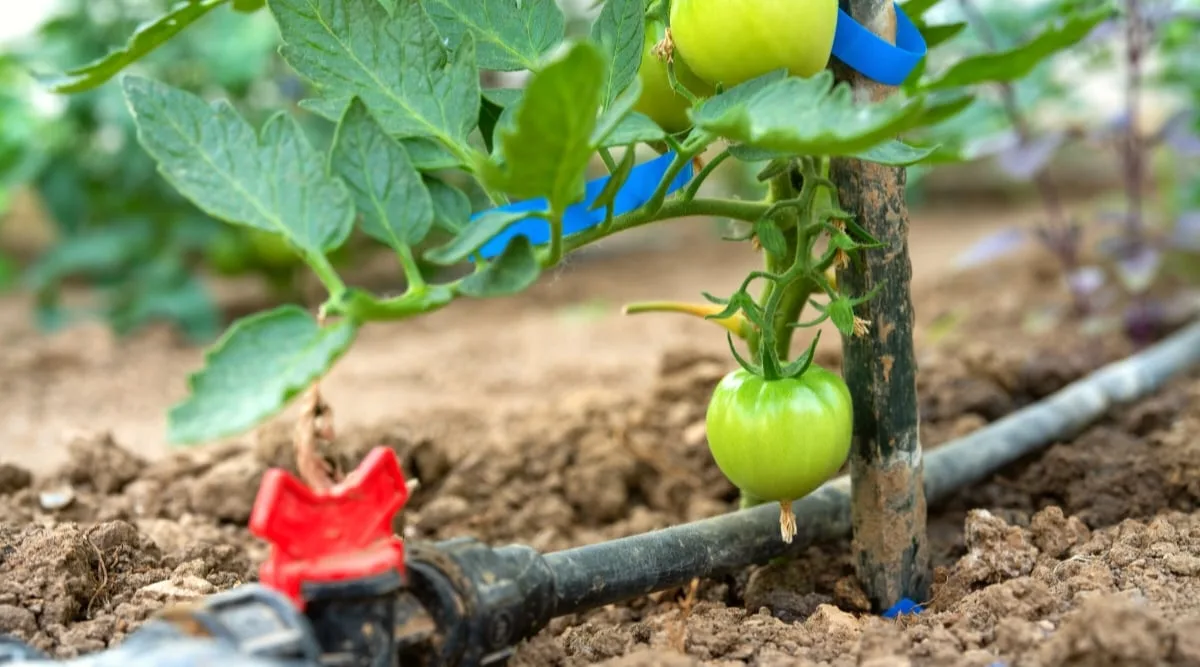
Aim for 1 to 2 inches of water per week, delivered deep and slow. Shallow daily sprinkling encourages surface roots that dry out fast. Deep watering pushes roots down where soil stays moist longer.
The best delivery methods, in order:
- Drip irrigation on a timer. Consistent, targeted, no wasted water. This is the gold standard.
- Soaker hoses under mulch. Almost as good as drip, cheaper to set up.
- Hand-watering at the base. Works fine if you're consistent. Skip a few days and you're back in trouble.
- Overhead sprinklers. Least effective for tomatoes. Wet leaves invite fungal disease.
Check moisture at 3 to 4 inches deep with your finger or an inexpensive moisture meter. If the top inch is dry but soil at knuckle depth is damp, hold off. If it's dry at knuckle depth, water deeply.
Cornell Cooperative Extension recommends morning watering so leaves dry before nightfall. It's a small habit that pays off across the whole plant, not just fruit quality.
Mulch, Soil, and pH: The Long-Term Prevention Setup
Mulch is the cheapest, most reliable BER prevention tool you'll use. A 2 to 4 inch layer of straw, shredded leaves, grass clippings, or wood chips smooths out the moisture swings that trigger the disorder.
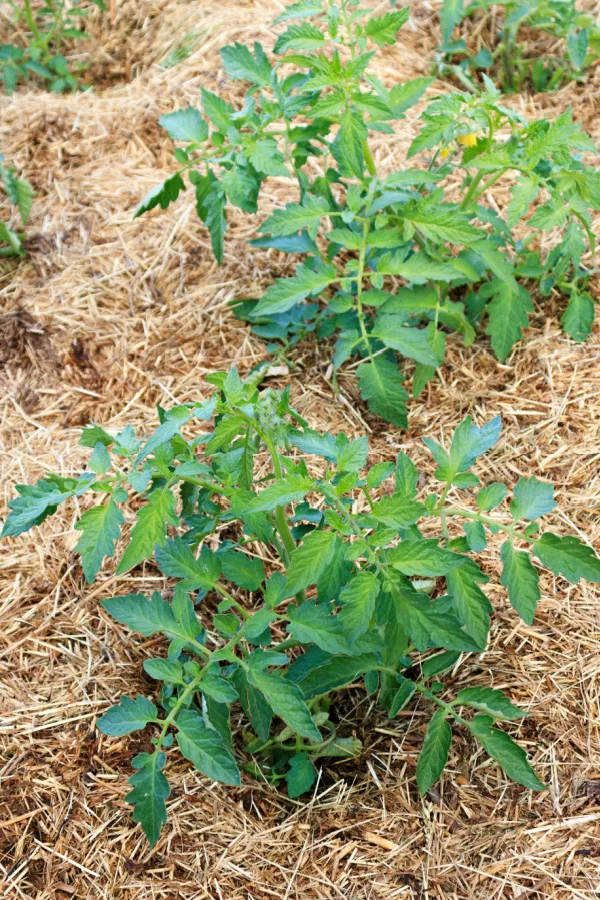
Apply mulch after the soil has warmed in late spring, not before. Cold mulched soil in early May slows root activity and can trigger the very BER you're trying to prevent. Keep mulch pulled back an inch from the main stem to avoid stem rot.
For soil pH, tomatoes want 6.2 to 6.8. Below 6.0, calcium becomes less available even when it's plentiful. Above 7.5, other micronutrients lock up.
A basic soil test from your local extension office tells you exactly where you stand.
Adjust with garden lime if pH is too low, applied in autumn so it has time to work. Don't guess at lime rates. Follow the test recommendation exactly, because overshooting is much harder to reverse than undershooting.
The University of Minnesota Extension offers solid guidance on interpreting soil tests.
Container and Grow-Bag Tomatoes: Special Rules
Container tomatoes get BER more often than in-ground plants, and for reasons the standard advice doesn't always cover. The pot itself is the biggest variable.
Use pots of at least 5 gallons per plant, ideally 10 to 15 gallons for indeterminate varieties. Small pots dry out in hours during hot weather, and no watering schedule can keep up. Fabric grow bags breathe well but dry out even faster, so size up when using them.
Container-specific rules that actually help:
- Water once or twice daily in summer. Check by lifting the pot: light means water now.
- Use a soilless mix with added calcium, or amend with a small amount of gypsum at planting.
- Feed with a tomato-specific fertilizer that includes calcium (look for calcium nitrate in the ingredient list).
- Mulch the top of the pot with straw or coco coir to slow evaporation.
- Move pots out of afternoon wind if you can. Wind dries containers three times faster than still air.
Self-watering containers with a reservoir cut BER rates dramatically because they eliminate the wet-dry cycle entirely. If you've fought BER in pots for years, that's the upgrade worth making next season.
What to Do With the Affected Fruit
Pick affected tomatoes off the plant as soon as you spot the rot. Leaving them on drains energy the plant could spend on clean fruit further up the truss. Toss them in the compost.
BER isn't contagious, so composting is fine.
Fruit with small BER patches is safe to eat. Cut off the discoloured portion, plus about half an inch of surrounding flesh, and use the rest. The unaffected tissue tastes normal and cooks or slices as usual.
If secondary rot has set in (soft, oozing, or fuzzy patches), throw the whole fruit out. That's a fungal or bacterial infection that moved into the dead tissue, and it's no longer just BER.
When to Expect Clean Fruit on the Next Trusses
Once you stabilise watering and mulch the bed, expect clean fruit on new trusses within 2 to 4 weeks. Fruit already partway through development can't be saved. Only the flowers setting after your fix will benefit.
The pattern is usually clear: the first one or two trusses show BER, the third truss is a mixed bag, and everything above sets clean. If BER continues on high trusses six weeks after your fixes, you missed the real trigger. Go back through the decision tree.
Paste varieties (Roma, San Marzano, Amish Paste) stay more prone to BER all season. Even with perfect conditions, expect a few affected fruits. That's a variety trait, not a garden failure.
Mistakes That Keep Blossom-End Rot Coming Back
Most repeat BER problems trace back to one of these habits:
- Watering by calendar instead of by soil. Fixed schedules don't adjust for weather. Check the soil first, then decide.
- Skipping mulch to "let the sun warm the soil." Once summer hits, unmulched soil swings too much. Mulch by early to mid summer, always.
- Fertilizing on autopilot. Heavy side-dressing every two weeks pushes leafy growth that steals calcium. Feed less once fruit sets.
- Growing in undersized pots. A 2-gallon pot can't buffer a hot afternoon. Size up next year.
- Ignoring the soil test. Guessing at lime, gypsum, or calcium amendments creates new imbalances. Test first.
- Blaming the variety. Some paste tomatoes get BER even with perfect care. But if beefsteaks and cherries are also affected, it's your conditions, not the seed.
Pro Tips From Experienced Tomato Growers
A few habits from long-time growers make a measurable difference across a season:
- Bury seedlings deep at transplant, up to the first true leaves, to build a bigger root system that resists drought stress.
- Prune lower leaves touching the soil to reduce disease pressure and improve airflow.
- Cage or stake early, before plants get top-heavy. Damaged stems disrupt water flow the same way root damage does.
- Water in the morning, never late evening, to keep foliage dry overnight.
- Keep a simple garden log. Note which trusses had BER and what the weather did that week. Patterns show up fast.
- Rotate tomato beds every two to three years to keep soil biology balanced and reduce disease carryover.
Small consistent habits beat any single miracle product. That's the through-line in every extension guide you'll read.
Frequently Asked Questions
Can I eat tomatoes with blossom-end rot?
Yes, tomatoes with blossom-end rot are safe to eat. Cut away the dark, sunken patch plus about half an inch of surrounding flesh. The rest of the fruit is fine for slicing, cooking, or sauce.
Only discard the tomato if soft rot, mould, or a foul smell has set in on top of the BER.
Does Epsom salt fix blossom-end rot?
No, Epsom salt does not fix blossom-end rot and often makes it worse. Epsom salt is magnesium sulfate, and extra magnesium competes with calcium at the roots. That competition can actually block calcium uptake and worsen the disorder.
Skip the Epsom salt and focus on steady watering and mulch instead.
How long does it take for BER to stop?
Once you fix the underlying trigger, new fruit sets clean within 2 to 4 weeks. Existing affected fruit won't recover, since the damage happened when the tomato was tiny. The next trusses that flower after your fix are the ones that show the improvement.
Will calcium spray cure existing BER?
No, calcium spray cannot reverse existing blossom-end rot. The cells at the blossom end collapsed weeks ago, and no spray rebuilds dead tissue. Calcium chloride foliar sprays may help prevent BER on newly setting fruit in specific cases, but only alongside fixing the watering and soil issues that caused the problem.
Does blossom-end rot spread to other plants?
No, blossom-end rot does not spread from plant to plant. It's a physiological disorder, not a disease, so there's no fungus, bacteria, or virus to transmit. If multiple plants show BER at once, they're all responding to the same environmental trigger, usually watering or soil conditions across the whole bed.

Similar Posts