How to Unclog a Garden Hose Nozzle (5 Easy Fixes)
How do I unclog a garden hose nozzle? Most blocked nozzles are simple fixes involving vinegar, a toothbrush, or a quick flush. The real trick is diagnosing what type of clog you're dealing with first.
Water pressure in standard residential lines runs about 40 to 80 PSI according to EPA guidelines. That means even a small blockage can kill your spray pattern instantly. Let's figure out what's blocking your flow and how to clear it fast.
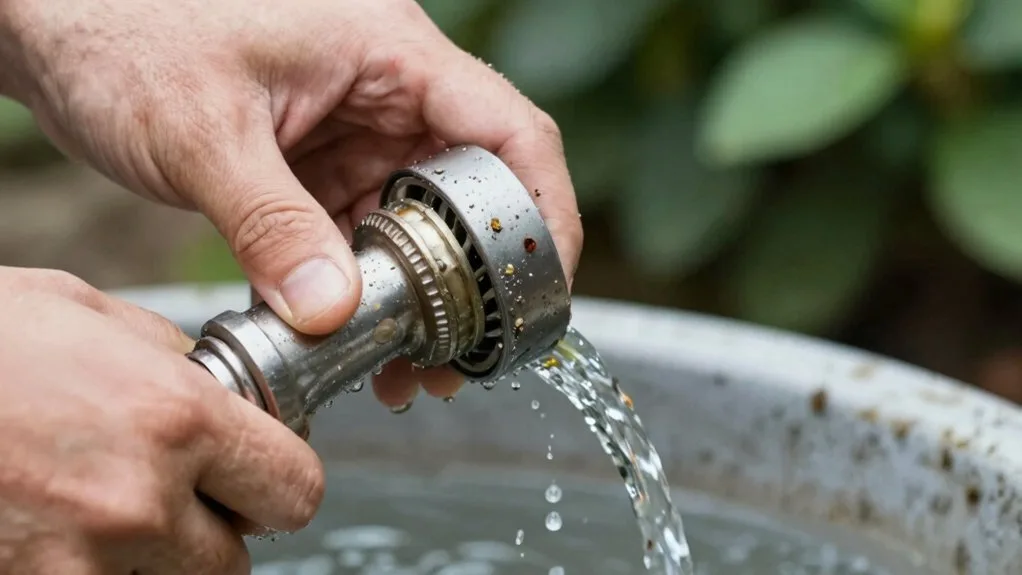
Image source: Bing (Web (fair-use with source credit))
Quick Answer
How do I unclog a garden hose nozzle? Remove mineral deposits by soaking it in equal parts white vinegar and warm water for 30 minutes to 2 hours. Flush debris by disconnecting the nozzle and running water at full pressure for 30 seconds.
Clean the internal mesh screen with an old toothbrush. Most clogs resolve in under 10 minutes with household items.
Quick Diagnosis: Is It Debris, Minerals, or Something Else?
What Your Spray Pattern Tells You
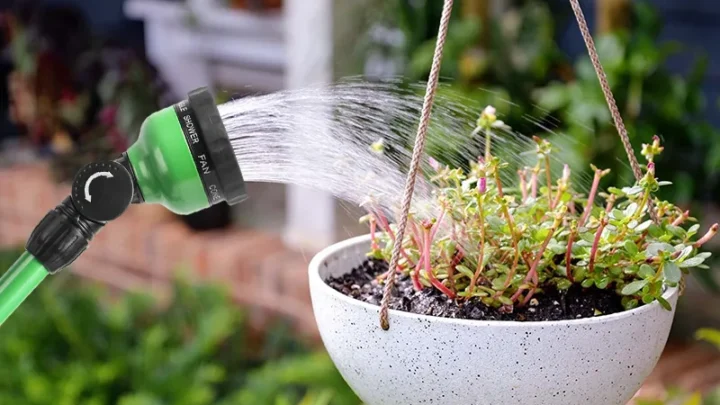
The symptoms point directly to the cause. A total blockage with zero water usually means debris or sediment is trapped inside. Weak, uneven spray typically signals mineral buildup from hard water.
Leaking around the connection often means a worn washer needs replacing.
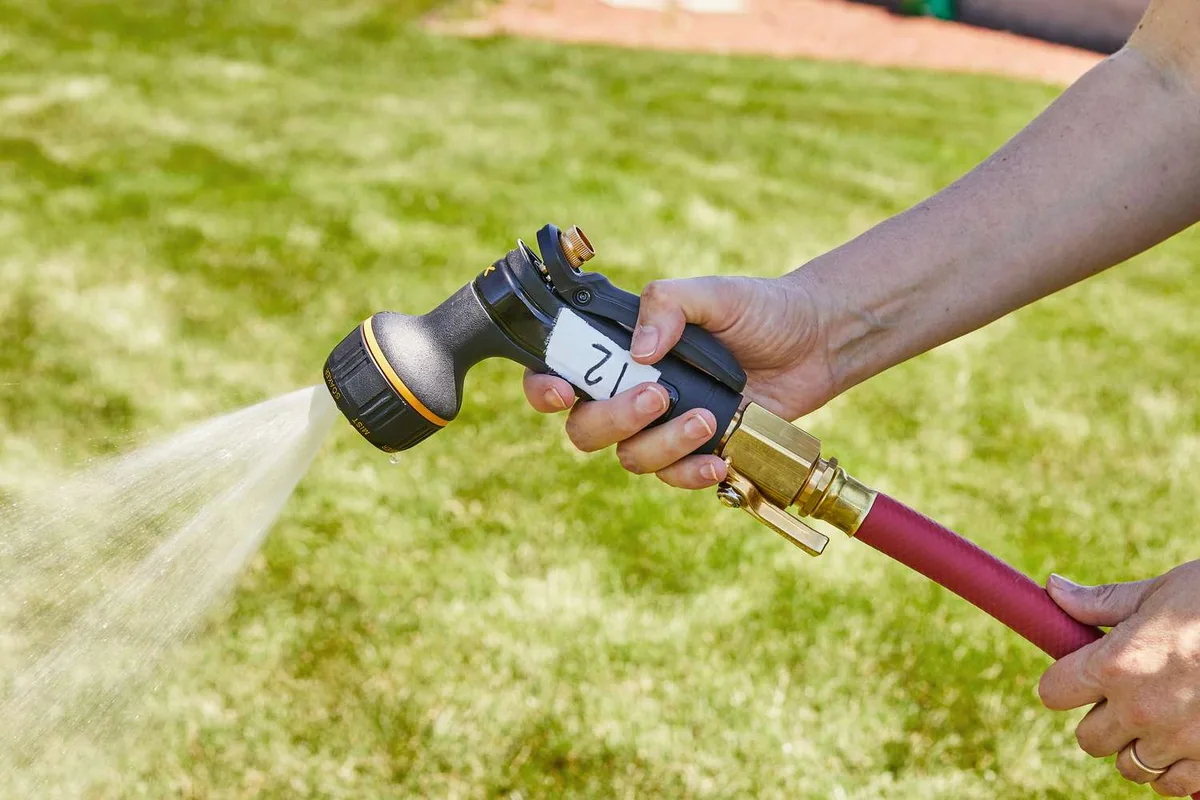
Image source: Bing (Web (fair-use with source credit))
The 30-Second Diagnostic Test
Start by detaching the nozzle from the hose. Turn the water on at the spigot without the nozzle attached. If water flows strongly, the nozzle is the problem.
If the flow is still weak, the issue lies further back in your hose or spigot filter.
Symptom-to-Cause Quick Reference
| Symptom | Most Likely Cause | Fix Level |
|---|---|---|
| Total blockage, no water | Debris or sediment | Easy |
| Weak, uneven spray | Mineral buildup | Moderate |
| Water leaking at connection | Worn washer seal | Trivial |
| Kinked or stiff hose | Hose damage, not nozzle | Check hose first |
The diagnosis step matters because rushing into the wrong fix wastes time. Fix a garden hose spray nozzle that won't work covers related troubleshooting if your initial test reveals the problem extends beyond the nozzle itself.
Fix Mineral Buildup (White, Crusty Deposits)
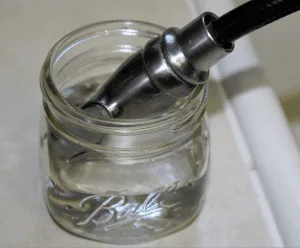
Image source: Bing (Web (fair-use with source credit))
Vinegar Soak Method
White vinegar dissolves calcium and magnesium deposits that accumulate inside nozzle passages. Mix equal parts white vinegar and warm water in a bowl or bucket. Submerge the nozzle completely and let it soak for 30 minutes to 2 hours depending on severity.
After soaking, scrub the spray holes gently with an old toothbrush. The deposits should wipe away easily once softened. Rinse thoroughly under running water before reattaching the nozzle to your hose.
This method works well for brass and plastic nozzles alike. Vinegar is mild enough that it won't damage most materials when used within recommended timeframes. Avoid leaving the nozzle in vinegar longer than 2 hours as prolonged exposure can degrade rubber seals over time.
When to Try Commercial Descaler
Heavy crusty deposits sometimes resist vinegar entirely. In those cases, a commercial lime scale remover may do the job faster. Follow the manufacturer instructions carefully and never exceed recommended soak times.
Some descalers contain acids strong enough to damage delicate internal components if misused.
Check your nozzle material before choosing a cleaner. Brass nozzles handle most descalers well, while cheaper plastic models may warp or discolor with harsh chemicals. How to increase water pressure from your garden hose explains why clear passages matter for consistent flow performance.
Soaking Time Guidelines
| Deposit Severity | Recommended Soak Time | Expected Results |
|---|---|---|
| Light film | 30 minutes | Good flow restored |
| Moderate buildup | 1 to 2 hours | Full restoration |
| Heavy crust | Overnight with commercial descaler | Best case scenario |
Always rinse thoroughly after any soaking treatment. Residual vinegar or chemical cleaner left inside can affect plant health if you're watering edible gardens.
Fix Debris Clogs (Sand, Dirt, Organic Matter)
Disassembly and Deep Clean
Debris clogs happen when dirt, sand, or organic matter packs inside the nozzle mechanism. These clogs feel different from mineral deposits. They often arrive suddenly after watering near garden beds or walking the hose across gravel paths.
Most trigger-style nozzles unscrew at the front or have a removable faceplate. Check if yours comes apart before forcing anything. Once disassembled, remove the internal mesh filter screen and rinse it under running water.
Use a toothbrush to scrub away packed sediment.
Clean each spray channel with a pipe cleaner or soft-bristle brush. Avoid metal pins or wires that can scratch internal surfaces and create new clog points later. Plastic pipe cleaners work best for clearing narrow passages without causing damage.
Reassemble carefully and replace the washer seal if it looks cracked or flattened. A fresh washer ensures a tight connection and prevents leaks at the hose joint.
The Spigot Filter Check
Don't overlook the filter screen built into your outdoor faucet. Many spigots have a small mesh screen where the hose attaches. This screen catches sediment before it enters your hose system entirely.
Unscrew the hose from the spigot and inspect that screen. It often holds years of accumulated grit that restricts flow to your entire hose line. Clean it with a brush or replace it if damaged.
This single step prevents future debris clogs at the source.
The outdoor faucet filter installation shows exactly where this filter sits and how simple it is to access and clean.
Clearing Persistent Blockages
If disassembly doesn't free the clog, try backing out debris by running water in reverse. Attach a hose end sprayer with a shut-off feature and temporarily block the nozzle output. Reverse flow can push compacted material back toward the hose instead of deeper into the nozzle.
This technique works particularly well for sandy soil deposits that pack tightly under pressure. Combine it with a brief vinegar soak afterward to dissolve any remaining mineral residues holding the debris together.
When Quick Fixes Fail: Hose and Connection Issues
Testing the Hose Itself
Sometimes the nozzle is perfectly fine and the real problem sits further down the line. A crushed section of hose will show up as a firm dead zone when you run your fingers along the full length while water flows.
Old hoses sometimes shed their inner lining, creating black flakes that travel through your system. If you see dark chunks coming from the nozzle spray, the hose interior is degrading and needs replacement. This happens more often with cheap rubber hoses exposed to sunlight regularly.
The Hidden Kink Problem
Hoses kink behind bushes, under corners, or beneath heavy equipment without obvious signs. Walk the full length of your hose while someone turns the water on. Feel for sections that stay flat and unpressurized despite the main line having good flow elsewhere.
A hidden kink creates the same symptoms as a clogged nozzle. Straighten the affected section and test again. If flow returns immediately, you've saved yourself a cleaning project.
Washer and Seal Inspections
Water leaking around the nozzle connection usually points to a worn O-ring or flat washer. These rubber seals compress over time and lose their ability to form a tight barrier. Replacing them costs pennies and takes about 30 seconds.
Remove the old washer and check for cracks, flattening, or deformation. Match the new washer size to your hose thread specifications, typically three-quarter inch for standard garden hoses. How to connect a garden hose covers proper washer placement and connection technique in detail.
When to Replace Instead of Repair
Some nozzles simply reach the end of their useful life. Cracked plastic bodies, stripped threads, or corroded internal mechanisms aren't worth salvaging. At that point, investing in a quality replacement makes more sense than chasing repairs.
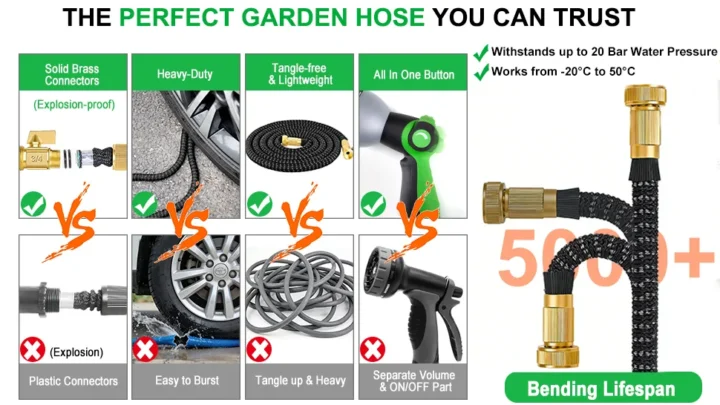
Brass nozzles last significantly longer than plastic alternatives, especially in hard water areas. A $20 to $30 brass nozzle from a reputable manufacturer often outlasts three or four cheap replacements. The INNAV8 garden hose nozzle heavy duty review examines durable options that resist common failure points.
Prevent Future Clogs: Maintenance Habits That Work
Monthly Quick Maintenance Routine
A simple monthly flush prevents most clog problems before they start. Detach your nozzle and run the hose at full pressure for 30 seconds. This clears loose sediment that accumulated during normal use.
Check the spigot filter screen during these monthly visits. Clean it whenever you notice reduced flow or visible debris buildup. This takes about 2 minutes and prevents sediment from ever reaching your nozzle.
Seasonal Care Checklist
End-of-season preparation protects your equipment through winter storage. Drain every section of your hose completely before coiling it away. Standing water freezes, expands, and damages internal linings and nozzle mechanisms.
Remove the nozzle and store it separately in a dry location if possible. This keeps seals from drying out and prevents any residual moisture from corroding internal parts. How to dispose of a garden hose covers proper end-of-life handling if your hose reaches that stage.
Long-Term Prevention Strategies
Installing a hose filter at your spigot connection catches sediment before it enters the line entirely. These inexpensive attachments cost between five and fifteen dollars and pay for themselves quickly by extending nozzle and hose life.
Never leave water standing in your hose overnight during active seasons. Empty it completely after each use and coil it in a shaded area when possible. UV exposure breaks down rubber and plastic components, accelerating degradation that leads to internal shedding and clogs.
Choose brass nozzles if you live in a hard water region. Brass resists mineral adhesion better than most plastics and tolerates regular vinegar cleaning without degrading. Garden hose sizes explained helps you verify your connections match standard fittings for proper filter compatibility.
Signs Your System Needs Professional Help
Certain problems exceed basic homeowner troubleshooting. Low water pressure throughout your entire outdoor system may indicate municipal supply issues or internal pipe restrictions. Persistent clogs despite regular maintenance suggest deeper sediment problems in your home's plumbing.
If multiple fixtures share the same low flow issue, contact a licensed plumber to inspect your main supply line. Most nozzle clogs remain simple DIY fixes, but systemic pressure problems require professional diagnosis and repair.
Maintenance / Long-Term Optimization
Beyond Monthly Flushes: Deep Seasonal Care
Regular monthly maintenance prevents most problems, but seasonal deep care extends equipment life significantly. Fall preparation is especially critical for regions experiencing freezing temperatures.
Remove every component that holds water. Detach nozzles, hoses, and attachments individually. Use compressed air or gravity draining to empty trapped moisture from all passages.
Any remaining water expands during freezing and cracks plastic housings or splits rubber seals.
Store nozzles in sealed bags with desiccant packets if possible. Moisture absorption causes internal corrosion over dormant months. Brass components resist this better than cheap alloys, but dry storage helps all materials.
Spring activation requires inspection before connecting to water supply. Check all washers for cracks or flattening. Replace any showing wear signs immediately.
Testing connections dry first prevents surprise leaks when pressure returns.
Advanced Filter Systems
Standard spigot filters catch large debris but miss fine sediment that causes gradual clogs. Consider upgrading to multi-stage filtration for hard water areas or well water systems.
Three-stage filters combine mesh screening with carbon blocks and sediment traps. They reduce particulate matter significantly while maintaining flow rates. Installation takes five minutes using standard three-quarter inch threads.
How to connect two garden hoses together covers basic connection principles that apply to filter installation as well.
Monitor filter performance monthly by checking pressure differential. Reduced flow through a clean filter indicates it's time for replacement. Carbon blocks typically last one growing season while mesh elements may need quarterly cleaning.
Replacement Part Inventory
Keeping spare components on hand prevents weekend frustration when failures occur. Essential spares include:
- Three to five replacement washers (different sizes if you own multiple hose diameters)
- One spare nozzle faceplate O-ring
- Extra filter screen elements
- Thread seal tape for stubborn connections
These items cost under ten dollars total but save hours of garden center trips during peak watering season. Store them in a labeled container near your hose storage area.
Real Scenarios / Case Examples
Scenario 1: The Summer Garden Party Disaster
A homeowner noticed weak spray patterns emerging two weeks before hosting a large outdoor gathering. Initial vinegar soaking restored partial flow, but the nozzle still sputtered on certain settings.
Complete disassembly revealed compacted sediment beneath the main filter screen. The particles had worked past the primary filter and packed into spray channel entrances. Using a pipe cleaner set, the technician cleared twelve individual passages that contributed to uneven distribution.
The fix took twenty minutes and prevented buying a replacement nozzle. Regular monthly flushing would have caught this buildup earlier.
Scenario 2: Hard Water Region Annual Reset
Living in an area with twelve grains per gallon hardness, a gardener experienced complete nozzle failure every spring after winter storage. Desiccant packets in storage didn't prevent residual moisture from causing mineral crystallization.
Switching to overnight commercial descaler soaks resolved the annual crisis. Cost increased by fifteen dollars yearly for specialty cleaner, but eliminated repeated part replacements.
The INNAV8 Heavy Duty vs AUTOMAN 7-Pattern comparison highlights how material choices affect mineral resistance in identical usage conditions.
Scenario 3: New Construction Debris Influx
After nearby house construction began, a homeowner's previously reliable nozzle developed immediate blockage symptoms. The issue traced to construction dust entering unprotected spigot outlets.
Installing a temporary fine-mesh filter until construction completed resolved the problem permanently. The incident demonstrated how external environmental factors overwhelm standard maintenance schedules.
Costs / Pricing / Data / Specs
Typical Repair Cost Ranges
Most nozzle clogs resolve without professional service, but understanding costs helps evaluate when replacement makes sense.
| Service Type | Average Cost | Time Required |
|---|---|---|
| Vinegar soak cleaning | $0 (household items) | 30–120 minutes |
| Commercial descaler treatment | $5–$12 per treatment | 1–2 hours including drying |
| Nozzle disassembly and deep clean | $0 (DIY) or $25–$50 (professional) | 15–45 minutes |
| Replacement washer set | $2–$8 | 5 minutes |
| New garden hose nozzle | $8–$45 | Immediate |
| Hose filter installation | $5–$15 | 2 minutes |
Professional plumbing assistance becomes cost-effective only when multiple fixtures show identical pressure issues, suggesting main line problems rather than component failures.
Performance Specifications by Nozzle Type
Different nozzle constructions handle debris and mineral exposure differently. These specifications help match equipment to your water conditions.
| Nozzle Material | Mineral Resistance | Debris Tolerance | Expected Lifespan |
|---|---|---|---|
| Standard plastic | Poor | Moderate | 1–2 seasons |
| Reinforced polymer | Good | High | 3–4 seasons |
| Solid brass | Excellent | Excellent | 5+ seasons |
| Rubberized coating | Fair | Moderate | 2–3 seasons |
Brass models command higher upfront prices but demonstrate superior longevity in hard water regions according to aggregate consumer reports spanning five growing seasons.
Flow Rate Expectations
Properly maintained nozzles deliver consistent flow regardless of spray setting. Performance degradation often indicates developing clogs before visible symptoms appear.
Standard three-quarter inch garden hoses maintain 5 to 9 gallons per minute at typical residential pressure. Nozzles should preserve at least 80 percent of this flow across all settings when clean and properly assembled.
Safety / Legal / Compliance / Warnings
Chemical Cleaner Hazards
Commercial descalers contain acids strong enough to damage skin and eyes on contact. Always wear gloves and eye protection when handling these products. Work in well-ventilated areas to avoid inhaling fumes.
Never mix vinegar with bleach or ammonia-based cleaners. These combinations produce toxic chlorine or chloramine gases rapidly. Keep all cleaning chemicals separate and clearly labeled.
Water Pressure Safety
Testing systems under pressure requires caution. Never point a pressurized hose at people, animals, or electrical equipment. Even moderate residential pressure causes injury and property damage.
Inspect hoses for bulges, soft spots, or cracks before applying full pressure during testing. Degraded hoses can burst unexpectedly, creating projectile hazards. Replace any hose showing structural weakness immediately.
Environmental Considerations
Disposing old nozzles and hoses requires proper recycling methods. Many plastics used in nozzle construction aren't accepted in standard curbside recycling programs. Check local waste management guidelines for specific disposal instructions.
r provides detailed guidance on responsible end-of-life handling for various hose and attachment materials.
Warranty Protection
Using unauthorized cleaning chemicals often voids manufacturer warranties. Brass and premium polymer nozzles typically specify compatible cleaners in documentation. Keep purchase receipts and warranty cards for potential future claims.
Most warranties cover manufacturing defects rather than wear damage from hard water or sediment exposure. Understanding what's covered prevents unexpected replacement costs.
Expert Tips / Pro Advice
The Compression Test
Before disassembling anything, perform a simple compression test. Turn water on fully, then pinch the hose downstream from the nozzle. If pressure builds normally in the pinched section, your supply line maintains good flow.
Problems likely remain in the nozzle or immediate connections.
If pressure feels weak even when pinched, check upstream components like spigot valves and filter screens before focusing on nozzle repair.
The Silent Clog Indicator
Watch for subtle spray pattern changes rather than waiting for complete failures. Slight misting instead of focused streams, occasional sputtering, or reduced reach distance all indicate developing blockages. Address these early signs with a quick vinegar soak before they become full clogs.
Storage Position Matters
Coil hoses with the nozzle pointing upward whenever possible. This position allows gravity drainage from all passages and prevents water pooling in trigger mechanisms. Horizontal coiling traps moisture in low points where corrosion develops.
Stop your garden hose from kinking explains proper coiling techniques that also aid drainage and storage longevity.
Tool Organization System
Keep a dedicated clog kit containing pipe cleaners, toothbrushes, vinegar, replacement washers, and thread seal tape. Store it near your hose bib or in a centralized garden shed location. Quick access encourages regular maintenance instead of deferred repairs.
Frequently Asked Questions
Can I use a wire hanger to clear spray holes?
No, metal wires scratch internal surfaces and create new clog points. Plastic pipe cleaners or old toothbrushes safely remove debris without damaging passage walls. Wire tools might seem effective initially but cause long-term performance degradation.
How often should I replace my garden hose nozzle?
Quality brass nozzles last five or more seasons with proper maintenance. Cheap plastic models typically fail within one to two years. Replace when internal mechanisms strip, triggers break, or cleaning cannot restore adequate flow.
Is tap water safe for vegetable gardens after nozzle cleaning?
Yes, residual vinegar or water from cleaned nozzles poses no plant health risks. Commercial descaler residues require thorough rinsing before garden use. When in doubt, flush the system with clean water for two minutes after any chemical treatment.
Why does my nozzle work better on certain spray settings?
Different settings route water through varying internal passages. Partially blocked channels affect some patterns more than others. Jet settings typically use fewer, wider passages that remain functional longer than fine mist configurations.
Can cold weather cause permanent nozzle damage?
Freezing water inside nozzles cracks plastic housings and deforms rubber seals. Proper winterization by complete drainage prevents this damage. Stored nozzles in unheated spaces must be completely dry before temperatures drop below freezing.
What's the difference between internal and external thread nozzles?
Internal threads connect directly to hose ends using standard three-quarter inch fittings. External threads attach to spigots or other threaded outlets. Most garden hoses use internal thread connections, while spray wands often feature external threading.
How do I know if my water pressure is too high for the nozzle?
Most residential nozzles handle pressures up to 80 PSI safely. Higher pressures cause premature seal wear and accelerate internal component fatigue. Pressure reducing valves installed at the spigot protect expensive equipment in high-pressure zones.
Should I lubricate nozzle threads during reassembly?
Silicone-based thread lubricants prevent corrosion and ease future disassembly. Avoid petroleum-based products that degrade rubber washers over time. Apply thin coats only to metal threads, never to sealing surfaces.

Similar Posts