How to Replace a Damaged Garden Hose End Fitting (Easy Fix)
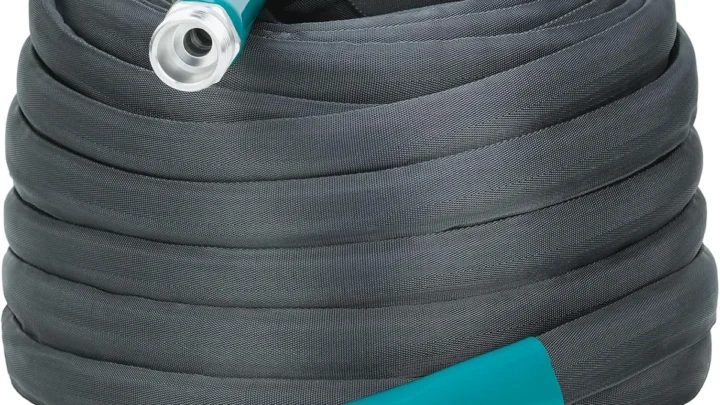
How do I replace a damaged end fitting on a garden hose? The fix is straightforward: cut off the broken coupling, slide a new one onto the hose end, and crimp it down with a proper tool. You can do it in under 20 minutes for about $5 to $15 in parts.
Every residential hose in the US and UK uses GHT, Garden Hose Thread, which measures 3/4-inch with 14 threads per inch. That standard means any hardware store carries the right replacement parts. Before you grab a new coupling though, you need to know what type of hose end you're working with, because the repair approach shifts based on that choice.
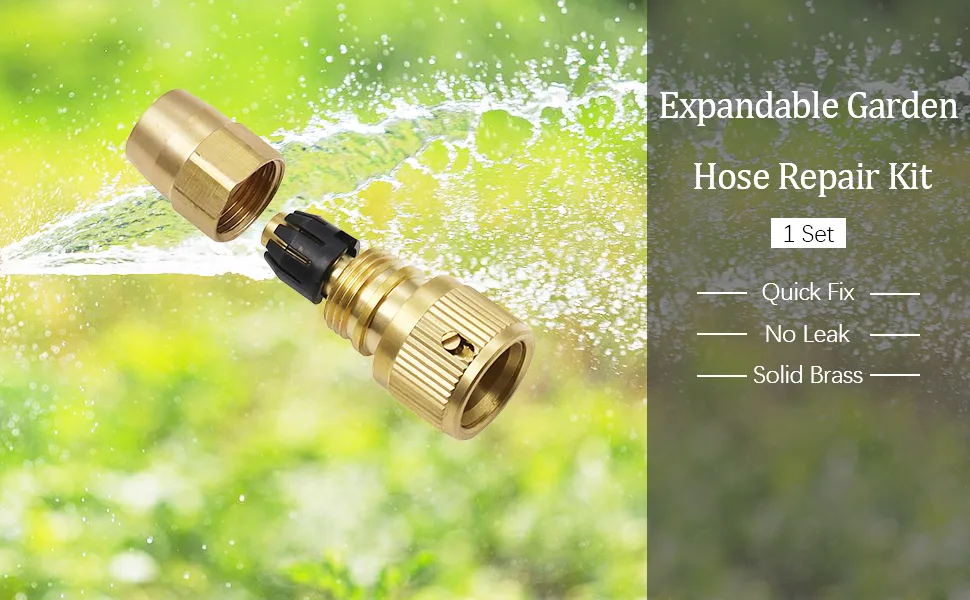
Image source: Bing (Web (fair-use with source credit))
Quick Answer
The fastest path from broken fitting to flowing water
To replace a damaged garden hose end fitting, cut the old coupling off with a utility knife, slide a new GHT-rated replacement coupling over the hose end, and secure it with a crimp ring or hose clamp. Use a proper hose crimp tool for a durable seal, then turn the water on and check for leaks before storing the hose away. Most residential hoses use 3/4-inch GHT fittings, so verify your hose diameter first how to identify your garden hose size easily.
A basic repair kit runs $8 to $25 and includes everything you need. If the hose itself is cracked or split further down the line, replacement of the entire hose makes more sense than patching it.
That Dripping Hose End: When Replacement Makes Sense
Knowing whether a fitting swap is worth your time
You've probably seen it happen. One spring morning you grab the hose to water the lawn, turn on the tap, and a jet of water sprays from where the coupling meets the hose. Or maybe the brass fitting is cracked down the side, dripping steadily onto the walkway.
Either way, the frustration is real, especially when you already own a decent 50-foot or 100-foot standard garden hose.
Here is the truth most people miss: a damaged end fitting is one of the easiest hose problems to fix. The coupling is a separate piece bolted or crimped onto the hose. When it fails, the hose body itself is often still perfectly good.
Replacing just the end fitting extends the life of a quality hose by two to five years, depending on how you store it and how often you run it through a freeze cycle.
The decision to repair or replace comes down to one question. Is the hose body itself still in good shape? Look a few inches back from the broken coupling.
If the rubber or vinyl is firm, intact, and free of cracks or soft spots, a fitting swap is absolutely worth your time. If the hose is brittle, split, or swollen near the coupling, the material has degraded past the point of no return. In that case, skip the repair and dispose of your old garden hose properly before getting a replacement.
Another thing to consider is your existing equipment. If you already have a heavy-duty nozzle attached to that hose, replacing the fitting ensures a clean connection that won't let pressure escape. A leaking coupling drains your garden hose pressure just as surely as a kink in the line does.
Fixing the end fitting restores full flow to whatever sprayer or attachment you are using downstream.
Check Your Hose and Fitting Type Before You Buy Anything
Matching the right coupling to your hose diameter and connection style
Before you drive to the hardware store, you need to pull a few details from your hose and write them down. The wrong size coupling is the single biggest reason people's first repair attempt fails. They buy a fitting, get home, and realize the barb doesn't match the hose diameter at all.
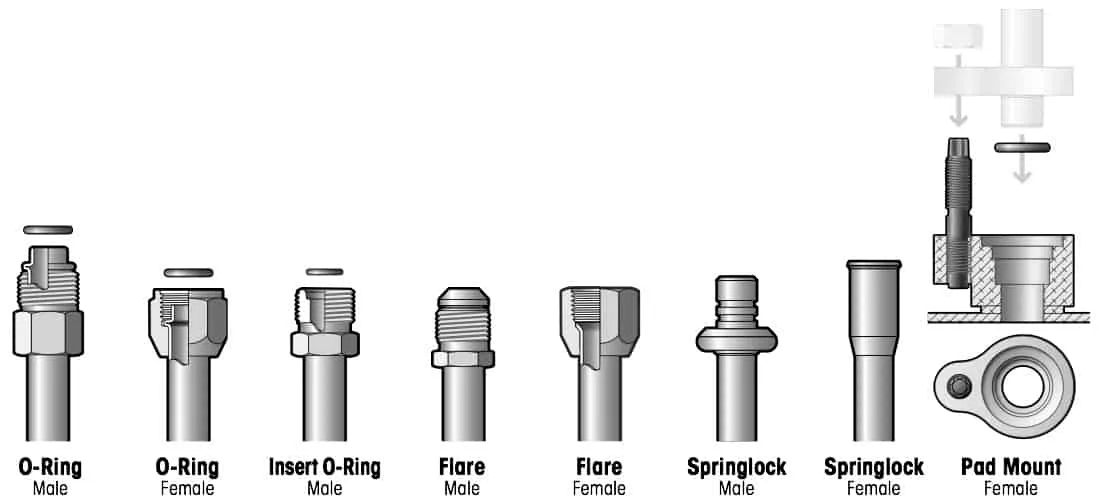
Image source: Bing (Web (fair-use with source credit))
Here is what to check:
- Hose inside diameter: Most residential hoses are 5/8-inch. A smaller number of older or lighter-duty hoses are 1/2-inch. Very rarely you will find 3/4-inch hose meant for commercial or high-flow use.
- Fitting thread type: Almost every US and UK garden hose uses 3/4-inch GHT, Garden Hose Thread. This is a male thread on the spigot end and a female thread on the receiving coupling. It is not the same as NPT pipe thread, so don't guess based on looks alone.
- Coupling attachment style: Some fittings snap on and use a plastic ring that locks in place. Others require a screw-type hose clamp or a metal crimp ring. Crimp-style is the most common for permanent installations and gives the strongest seal.
- Barb condition: The barbed insert inside the coupling must grip the hose interior. If your old fitting came off cleanly and the hose end is still smooth, you are good. If the hose wall is shredded or compressed flat, cutting that damaged section off first may be necessary before installing a new coupling.
Write down the diameter and attachment style, then either head to a store or order a garden hose repair kit. Many kits include multiple sizes and clamp types, which removes the guesswork entirely. If your hose already has a nozzle or hose mender attached elsewhere on the line, a universal kit covers most scenarios without requiring multiple trips to the store.
How to Replace a Garden Hose End Fitting (Step-by-Step)
Tools needed, the correct order of parts, and how to crimp without ruining the hose
This process takes about 15 minutes from start to finish if you have the right tools on hand. Lay out your materials first and double-check that the new coupling matches your hose diameter. Everything else is a matter of clean cuts and proper seating.
Tools and materials you need:
- Utility knife or sharp scissors
- Adjustable wrench or slip-joint pliers
- Hose crimp tool (or screwdriver if using clamp-style fittings)
- Replacement GHT coupling sized to your hose diameter
- Correct crimp rings or hose clamps
- A bucket or rag to catch residual water
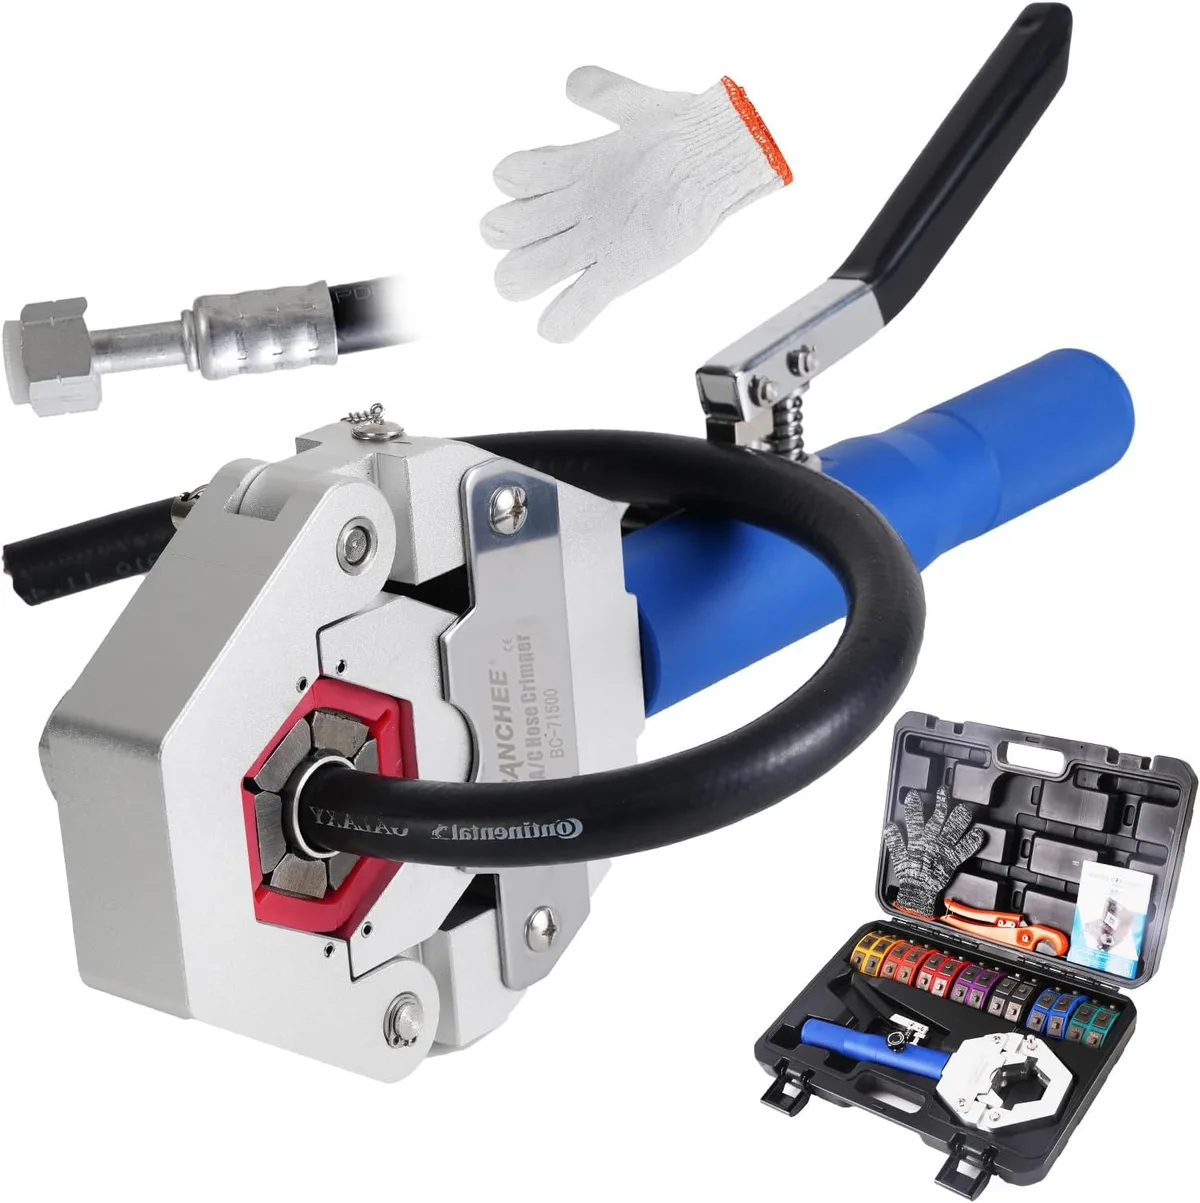
Image source: Bing (Web (fair-use with source credit))
Step 1: Turn off the water and relieve pressure
Disconnect the hose from the spigot. Hold the raised end and squeeze the hose to push out any trapped water. A few drops are fine, but a pressurized line can spray debris into your face when you cut.
Step 2: Cut off the old fitting
Position your utility knife about two inches back from the coupling base. Cut straight around the hose in one clean pass. Do not saw back and forth, which frays the inner liner and makes a good seal harder to achieve.
Pull the severed coupling off the hose. If it is stuck, see our guidance on loosening a stuck garden hose.
Step 3: Inspect and trim the hose end
Check the cut edge. If the outer sheath is frayed or the inner tube is compressed, trim another half-inch off to expose a clean, round edge. The hose end must sit flush and circular for the new barb to grip properly.
Step 4: Slide coupling components on the right order
This is the part most beginners mess up. Before the coupling body touches the hose, slide these on in exact sequence: the crimp ring or hose clamp first, then the seal or O-ring if your fitting uses one, then the coupling body itself. The barb inserts last, and only after every other piece is already positioned past the hose end.
Step 5: Push the hose onto the barb fully
Grip the coupling body and push the hose end onto the barbs as far as it will go. You should feel it seat firmly against the internal shoulder. If it stops short, pull the hose back and recheck that you did not miss a component in the slide-order step.
A partially seated hose is what causes leaking garden hoses at the coupling after water pressure builds.
Step 6: Position and secure the crimp ring or clamp
Slide the crimp ring or clamp over the coupling nose and align it with the groove marked on the fitting. If using a crimp ring, squeeze it closed with a hose crimp tool until the ring deforms into a tight circle around the coupling. If using a screw clamp, tighten it with an adjustable wrench until it is snug, but do not overtighten and crush the coupling body.
Step 7: Test for leaks
Reconnect the hose to the spigot. Turn the water on slowly and watch the new fitting for 30 seconds. A small weep at first is normal as the seal beds in, but steady dripping means the coupling is not seated correctly and you should redo steps four through six.
Once the connection runs dry, you are finished.
If your hose has a second damaged end, repeat the entire process for the opposite side. And if you ever need to extend the line, check how to connect two garden hoses together before buying extra fittings.
Mistakes That Turn a $5 Fix into a $40 Headache
The hidden pitfalls most beginners miss on their first try
Replacing a hose fitting is simple if you avoid the traps that catch first-timers. Most of them come down to rushing the steps or skipping a detail that seems minor but causes a leak later.
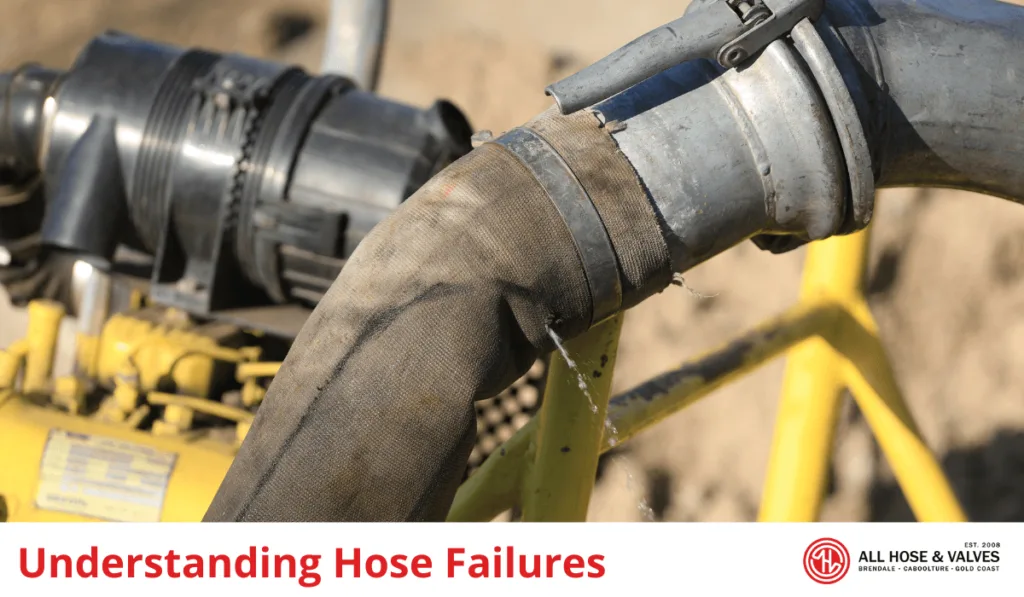
Image source: Bing (Web (fair-use with source credit))
Here are the most common errors and how to sidestep them:
Forgetting to slide the clamp on before the coupling body: This is the number one mistake. Once the coupling is pushed onto the hose, the clamp cannot pass the wide neck of the fitting. You are left with a hose you cannot secure and a trip back to the store. Always slide the ring or clamp onto the hose first, then the coupling body, then the clamp back into position.
Cutting the hose at an angle: A diagonal cut leaves an uneven surface that the barb cannot grip evenly. Water pressure will force the hose off the barbs over time, creating a slow leak that is hard to trace. Keep your knife perpendicular to the hose axis and aim for a clean, round edge.
Over-crimping the ring: Squeezing a crimp ring too hard flattens the coupling neck and can crack plastic fittings or distort brass ones. Stop crimping as soon as the ring closes completely around the groove. A properly sized crimp ring needs only one firm squeeze, not multiple passes.
Not seating the hose all the way onto the barb: A partially inserted hose looks fine visually, but under pressure the barbs push through the soft inner tube and the fitting blows off. Push until the hose bottom meets the internal stop shoulder of the coupling. If the fitting feels loose after installation, the hose was not fully seated.
Using the wrong size coupling: A 5/8-inch coupling on a 1/2-inch hose will not seal. A 1/2-inch coupling on a 5/8-inch hose will not fit over the hose at all. Verify your hose diameter before purchasing replacement hose couplings.
Ignoring a cracked or split hose body: If the damage extends more than one or two inches back from the coupling, replacing just the end fitting will not solve the problem. Water will continue to seep through the compromised material. In that case, cut the damaged section off and use a hose mender to join the good hose to the new fitting, or simply buy a new hose.
Skipping the leak test before storing the hose: Coiling a leaky hose and putting it away in the shed guarantees a mess the next time you unroll it. Always run water through the repaired end and inspect the connection before winding the hose onto a reel or storing it in a hose storage solution.
Each of these mistakes is easy to avoid with a little patience and a second look at the parts order. Treat the installation like a puzzle with a fixed sequence, and the result holds up for years.
Cost Breakdown: Repair vs. Buying a New Hose
What fittings and kits actually cost, and when the math says just replace it
The financial case for replacing a hose fitting is almost always strong, but it is worth laying out the numbers so you can make an informed call. Prices shown reflect typical US retail costs as of 2026.
| Item | Low End | High End | Notes |
|---|---|---|---|
| Single replacement coupling | $2 | $8 | Brass costs more than reinforced nylon |
| Hose repair kit (5 couplings + clamps) | $8 | $25 | Best value if both ends need work |
| Hose crimp tool | $10 | $30 | One-time purchase; pays for itself quickly |
| Screw-style hose clamps (pack of 20) | $5 | $12 | Alternative to crimp rings |
| Complete new garden hose (50 ft) | $20 | $60 | Depends on material and brand |
| Complete new garden hose (100 ft) | $40 | $100+ | Premium rubber and kink-resistant models |
A single brass coupling runs about $5 at a big-box store. A hose repair kit with multiple fittings and crimp rings runs $10 to $15. Even buying a crimp tool separately at $20, you are still spending far less than the $25 to $60 required for a new 50-foot hose.
The break-even point is clear: if your hose body is in good shape and only the fitting is damaged, a repair saves you $15 to $50 compared to a full replacement. That margin grows even larger if you own a premium expandable garden hose or a heavy-duty rubber model that retails above $60.
There are two situations where replacement makes more financial sense than repair:
- The hose material is degraded. If the vinyl is chalky, the rubber is hard, or the inner liner shows signs of collapse, no amount of fitting work will restore performance. Water will find another leak path within weeks.
- You need a longer or wider hose. Sometimes the coupling fails because you bought a hose that is too short for your yard, and you end up stretching and yanking it hard enough to stress the fittings. Upgrading to a properly sized garden hose solves the root problem rather than masking it with a repair.
In both cases, the repair is technically possible but economically pointless. For the vast majority of homeowners with a moderately used 50-foot 5/8-inch hose and a cracked coupling, swapping the end fitting is the smart move. It costs under $15 in parts, takes 15 minutes, and buys you years of reliable service.
Frequently Asked Questions
Can I replace a hose fitting without a crimp tool?
Yes. Screw-style hose clamps work fine for a temporary or budget repair. Slide a stainless steel clamp over the hose, attach the coupling, then tighten the clamp with a screwdriver.
The seal is slightly less durable than a crimp ring under high pressure, but it holds well for standard residential watering tasks.
Will a rubber hose mender work instead of a full coupling swap?
A rubber hose mender is designed to join two cut hose ends together, not to replace a threaded coupling. If your hose end is frayed beyond a clean cut, a mender can restore the body, but you still need a proper GHT fitting on the very end for a nozzle or sprayer connection. Most repairs combine both: cut off the damaged section, use a mender to rebuild the end, then attach a new coupling.
How do I know if my hose is 1/2-inch or 5/8-inch?
Measure the inside diameter of the hose near the coupling with a ruler or caliper. Five-eighths inch is the residential standard and fits most outdoor spigots. If the hose slides over a 3/4-inch GHT male thread with a small gap, it is likely 5/8-inch.
A 1/2-inch hose will feel noticeably narrower and may not seat properly on standard household faucets without an adapter.
How long does a replaced hose fitting last?
A properly crimped brass or reinforced-nylon coupling lasts three to seven years under normal outdoor use. Frost cycles shorten that lifespan significantly, so coiling and storing the hose indoors over winter roughly doubles its service life. Heavy-duty nozzles and sprayers that restrict flow slightly also reduce stress on the fitting compared to leaving the tap fully open.
Is it safe to use super glue to hold a loose fitting in place?
No. Super glue degrades the inner hose liner over time and creates a brittle bond that cracks under water pressure and temperature changes. If a fitting is loose, the root cause is usually an undersized barb or incomplete seating, not a bonding issue.
Replace the coupling with the correct size rather than attempting a chemical fix.
Should I oil or lubricate the threads before attaching the coupling?
A light coat of silicone spray on the GHT threads helps prevent cross-threading and makes future disconnection easier, but it is not required for a crimp-style permanent fitting since the coupling does not screw onto the hose, it slips over it. Lubrication matters more for the threaded connection between the hose and your nozzle, sprayer, or swivel connector, not for the crimped coupling itself.
Final Recommendation: Know When to Fix and When to Walk Away
If your hose body is still flexible and intact, replacing the end fitting is the clear winner. A $10 kit and 15 minutes of work saves you $30 to $60 compared to buying a new hose. Follow the correct parts order, seat the hose fully on the barb, and test for leaks before coiling.
If the hose is brittle, split, or swollen past the coupling area, skip the repair entirely. Cut it up and dispose of it responsibly rather than spending time on a fix that will fail within weeks. A new hose with a fresh coupling out of the box is the cheaper option when the material itself is compromised.

Similar Posts